Four days, one lens.

I've always manged to pack light in my travels since I first started moving about the country.  Even when my travels started taking me across the world, I've managed to get around with only a 22" carry on and a messenger bag to almost every continent (Antarctica yet to go!). However, when it comes to photography I'm often inclined to bring everything I own.  And I mean everything.  Tripod(s), extra camera bodies, lots of lenses, filters, chargers, diffusers, light stands, flashes, batteries, backup to the backup memory cards...you get the idea.  When shooting a project for a client, this kind of preparation is usually necessary.  The trouble is when traveling for leisure, most of this stuff becomes a burden especially when traveling by air.  My brother and I recently flew our dad out to Montana to celebrate his 60th birthday for a few days of fishing just with the boys.  Along with my fly fishing gear of course I was going to bring along some photographic goodies.  So in the spirit of packing light, this is what I brought along:

  • Nikon D300 body
  • Sigma 18-200mm f/3.5-6.3 lens
  • Zipshot tripod (really light & small)
  • Extra battery & charger
  • 2 CF memory cards
  • Lenspen for cleaning
  • Neutral density filter & polarizer (62mm)
  • Dry bag (for the camera while on/in the river)

That's it!  I wanted to challenge myself to use a single lens in a variety of conditions and something like the Sigma 18-200 allows me to do just that.  Of course, with lenses of this nature there are drawbacks that you must be willing to trade off.  It isn't as tack sharp as say my 70-200mm f/2.8 and the aperture varies with the focal length.  So at 200mm you are certainly not going to get f/3.5 out of this lens.  That said, it's a still an excellent compact option without worrying about changing lenses while standing in a rushing river!

In the end, it was a wonderful four days of fishing with my dad & bro.  Good beers, good meals and great story telling all around!  I was glad I brought along just the one lens and will do so on future trips when packing light is essential.  Hope you enjoy the pics, my wife and I will be heading down a little closer the equator this week with the same basic setup and hope to bring back some great shots.  Stay tuned for another post soon concentrating on the specifics of packing light and the gear itself.

Take Better Camera Phone Pics!

So in my previous article, I surmised that the 'best' camera is indeed the one you happen to have with you at any given moment.  A picture taken is better than not, I say.  And of course, more often than not for some folks that picture ends up coming from your cell phone camera. Now I'd like to dive into how to make those photos 'pop'.  I really don't expect any photographer whom is at least semi-serious to choose on purpose to make a cell phone camera their primary camera - although it has happened as in this wedding shoot with an iPhone!.  But rather, for fun spur of the moment times when nothing else is available.  So why not attempt to produce the best image you can?

So first off, step back and think about your composition for a second.  What exactly are you trying to convey in this image?  Is the available light adequate?  Would a flash (if equipped) help?  Would moving closer or further back from your subject improve the image?  Does your camera have zoom or focusing ability?  Can you stabilize the phone/camera enough for a nice shot?  Can you edit the photo afterward to maximize its effectiveness?

Questions like these should always be going through your head if not already.  I'll freely admit sometimes I forgo the basics and just get snap happy.  Sort of 'shooting from the hip' if you like such verbiage.  Sometimes it works, sometimes it doesn't.  I do find that no matter what kind of camera I'm shooting with, whether it be my iPhone or one of my Nikon DSLRs, slowing the process down and thinking my creative process through almost always ends up with better results.

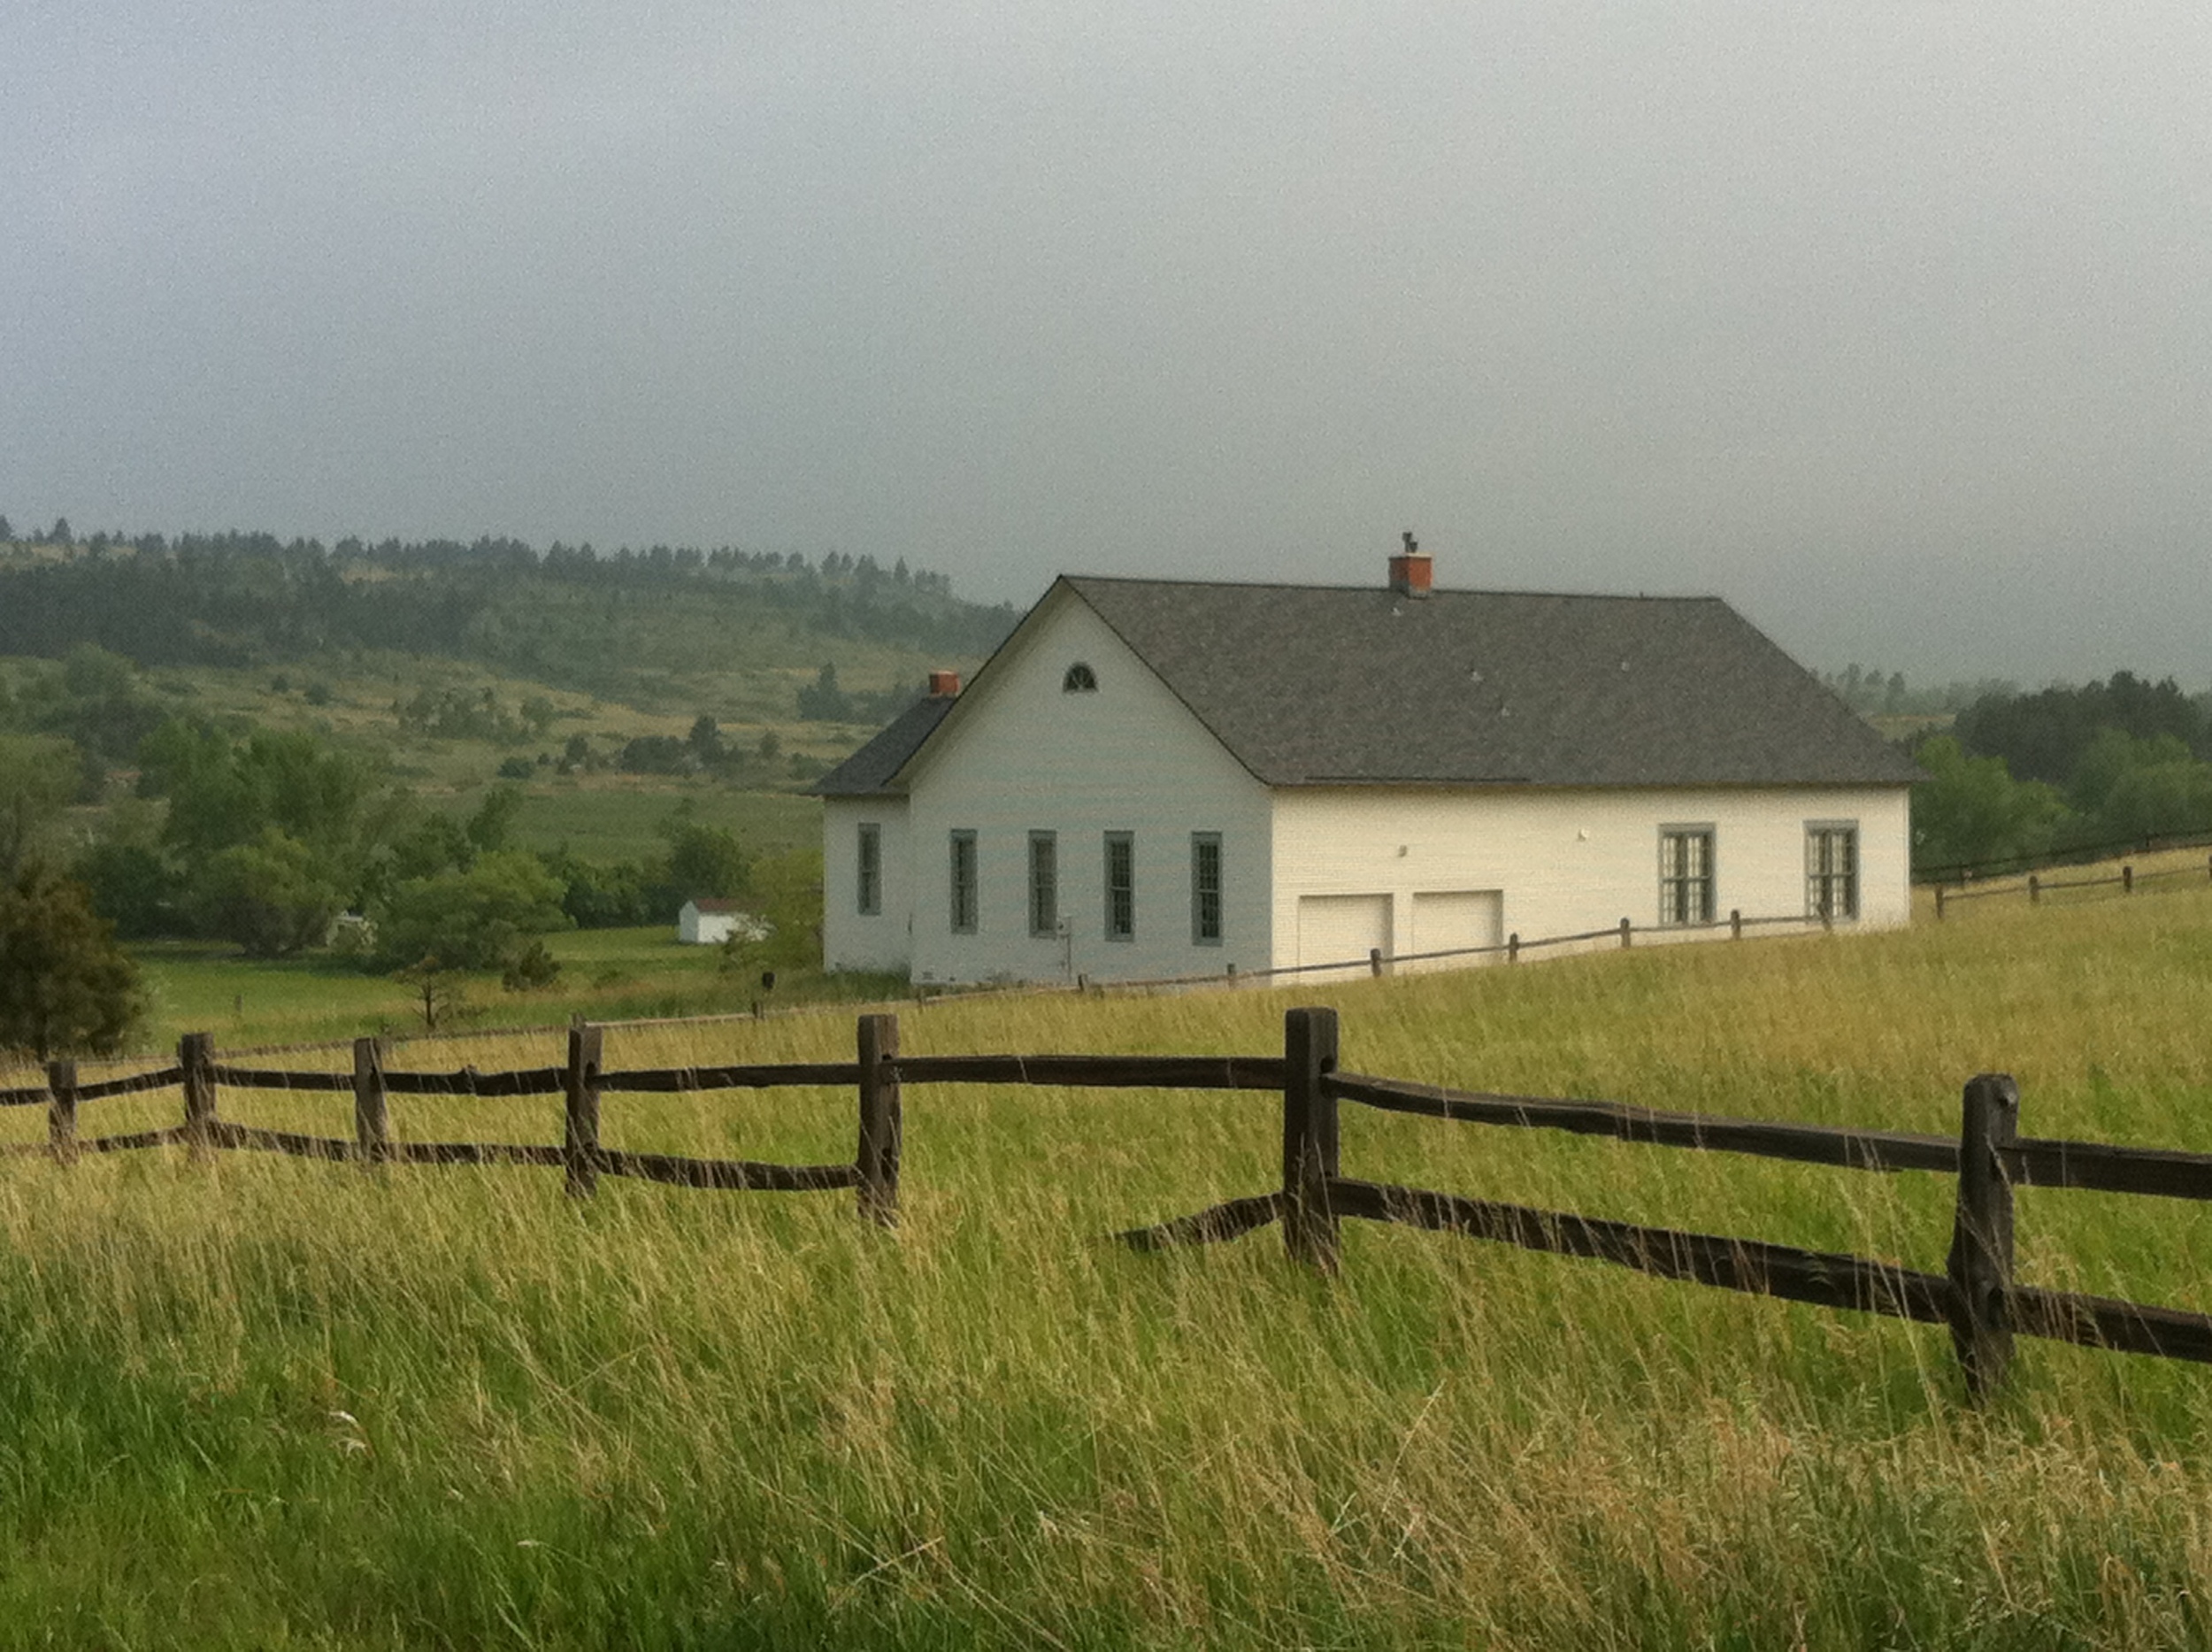
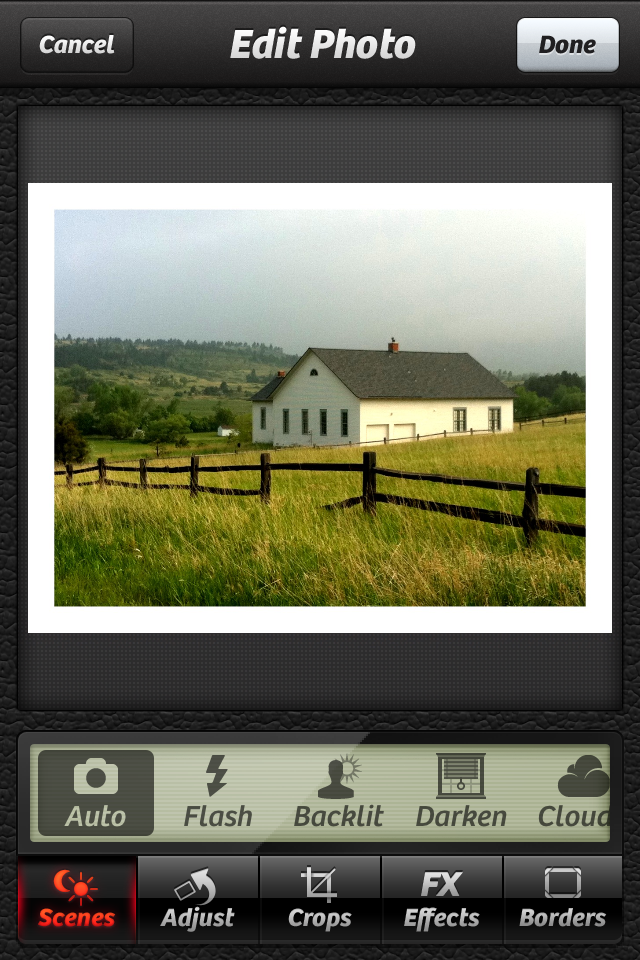
While I won't delve into each of the above topics in this article, I'll pick a couple that often make the image really come together. Pictured below is a shot straight from my iPhone.  Not a bad picture altogether, but as you'll see below after a bit of editing it looks even better!

Tip #1 - steady your aim ace!  Nothing is worse than snapping a photo only to realize later that the image is blurry from camera shake.  Camera phones are especially susceptible to blurriness due to both their design limitations and human error.  If you've been on a bike ride for instance and stop to snap a photo, chances are you are out of breath and don't have a steady hand for the moment.  Give yourself a chance to relax a moment to steady your aim or use something nearby such as a tree or even your bike to help steady your shot.  As you let your heart rate slow down, think about some of the basic tips above to enhance your shot!

Tip #2 - use editing software.  Let's face it most shots straight out of a cell phone camera or 'SOOC' shots as us pros call it aren't that great.  Most images could benefit from a bit of contrast or saturation adjustment.   Sometimes a simple crop or black & white conversion can do wonders for an image too.  Some apps even have the ability to add fancy borders and great styles such as an 'Ansel Adams' look for funky 'Emo' look with just the touch of a button.  So depending on what operating system (OS) your phone is running, have a look at what is available and download an editing app today.  Most are easy and quite intuitive to use, no advanced editing skills necessary!

In the end, I was quite happy with the end result.  Also, I was actually on a bike ride so employed both techniques as I described above to get a nice shot.  While this is by no means an in-depth, how-to article, I do hope it has been helpful in making your images better.  Stay tuned for more upcoming articles!  Next time I'll be trying to solve the oft asked question, "which camera should I buy?".  Cheers!