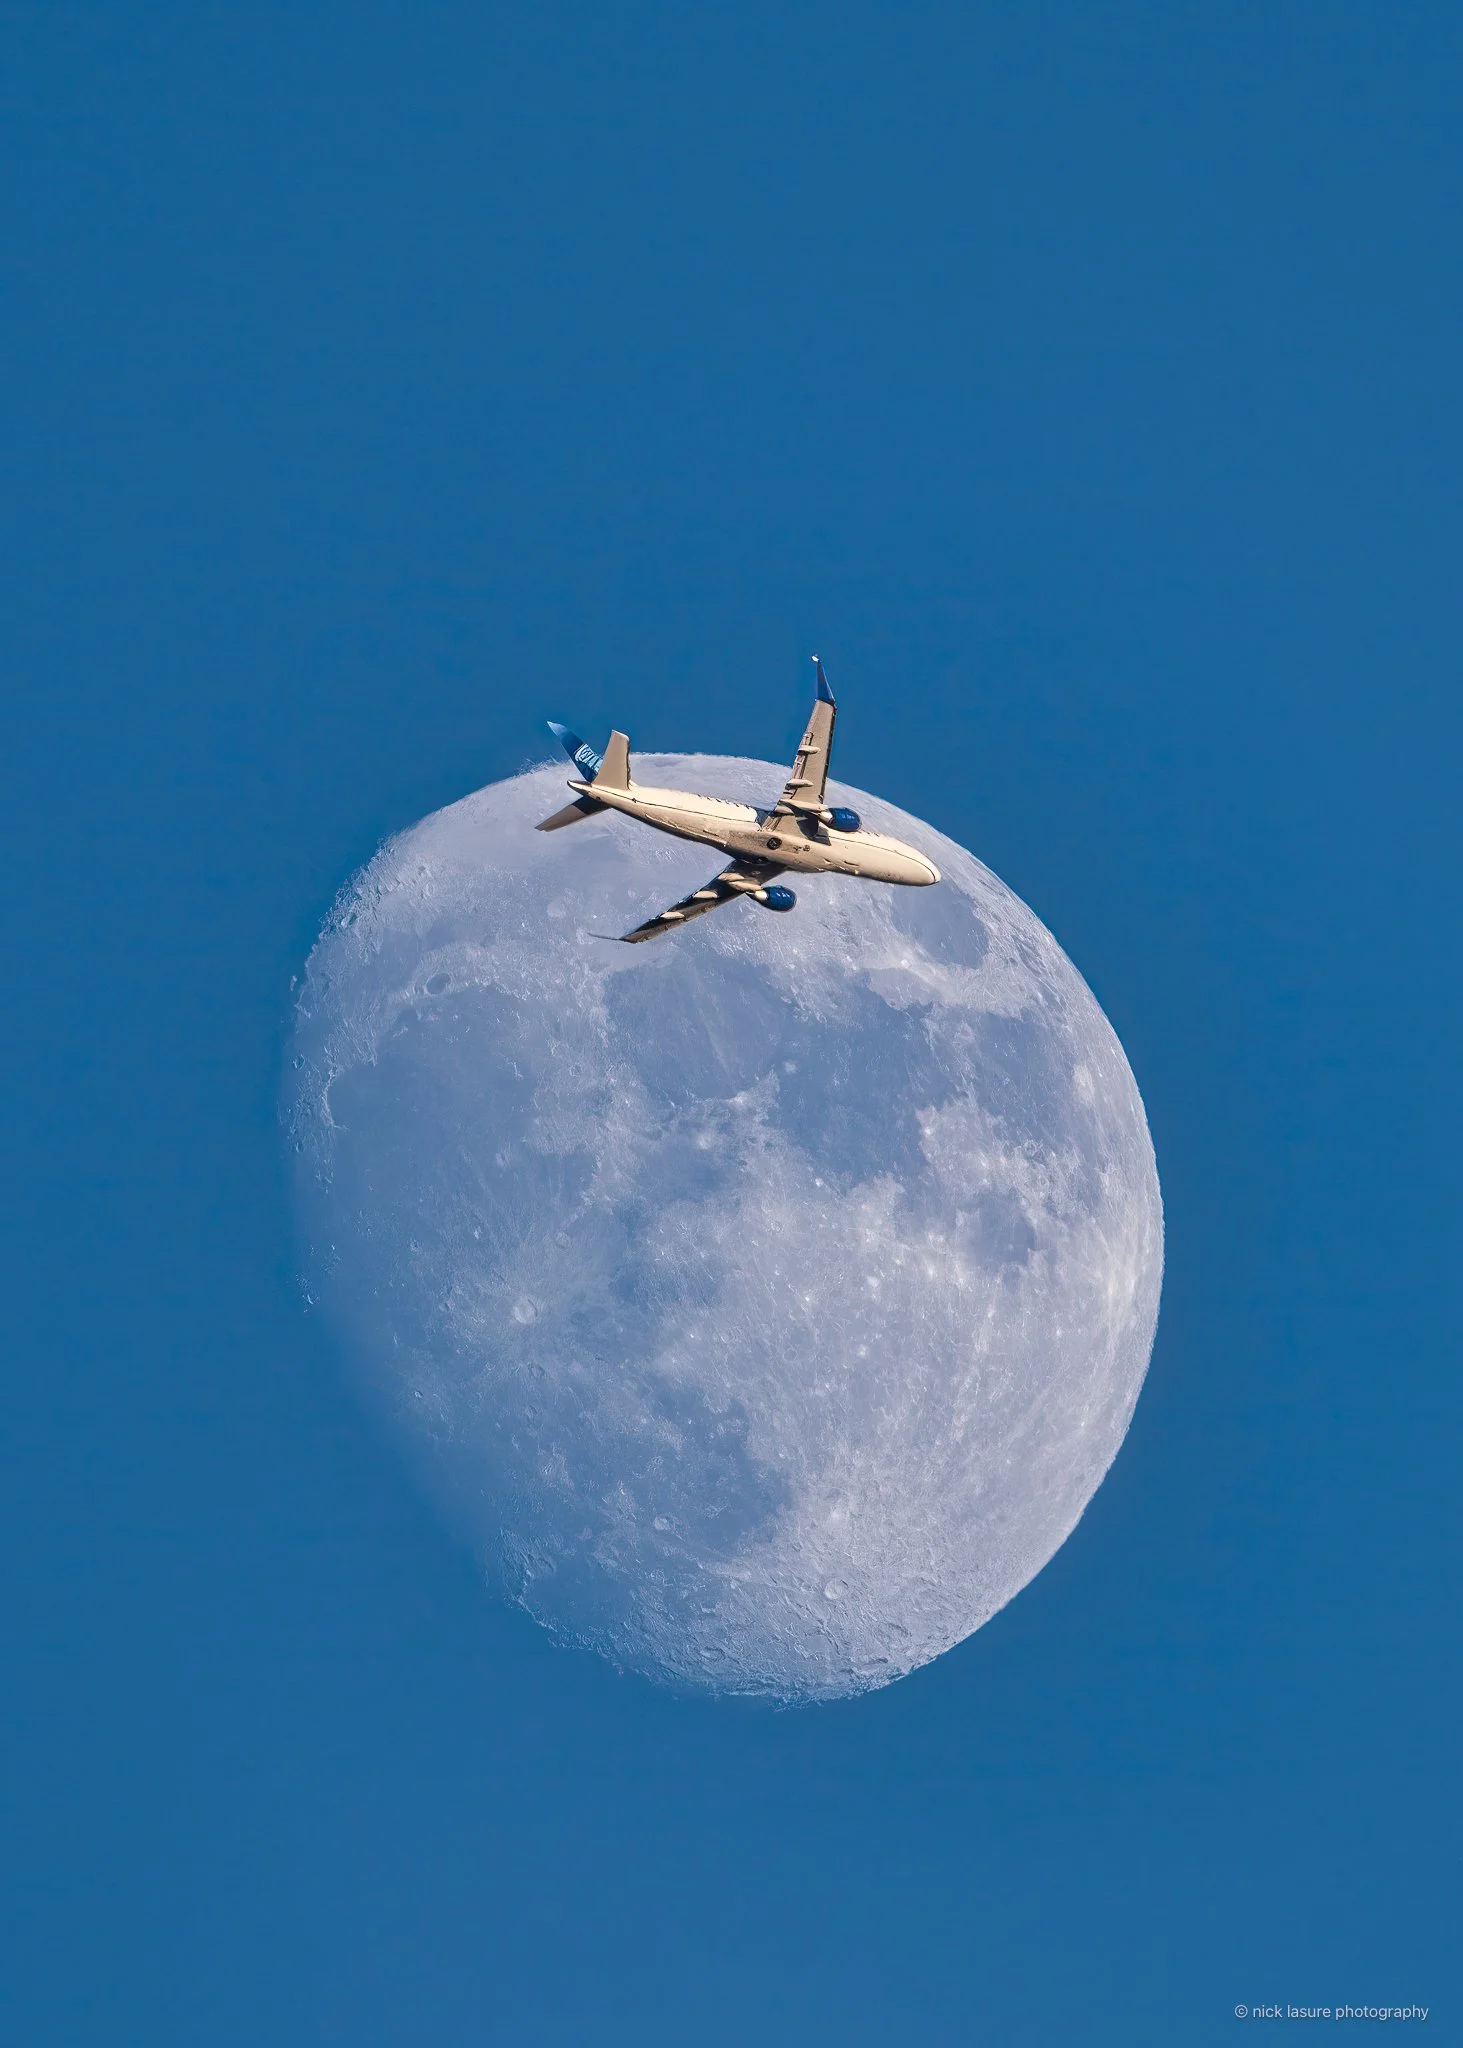
Sony RX10 IV : A Love Letter
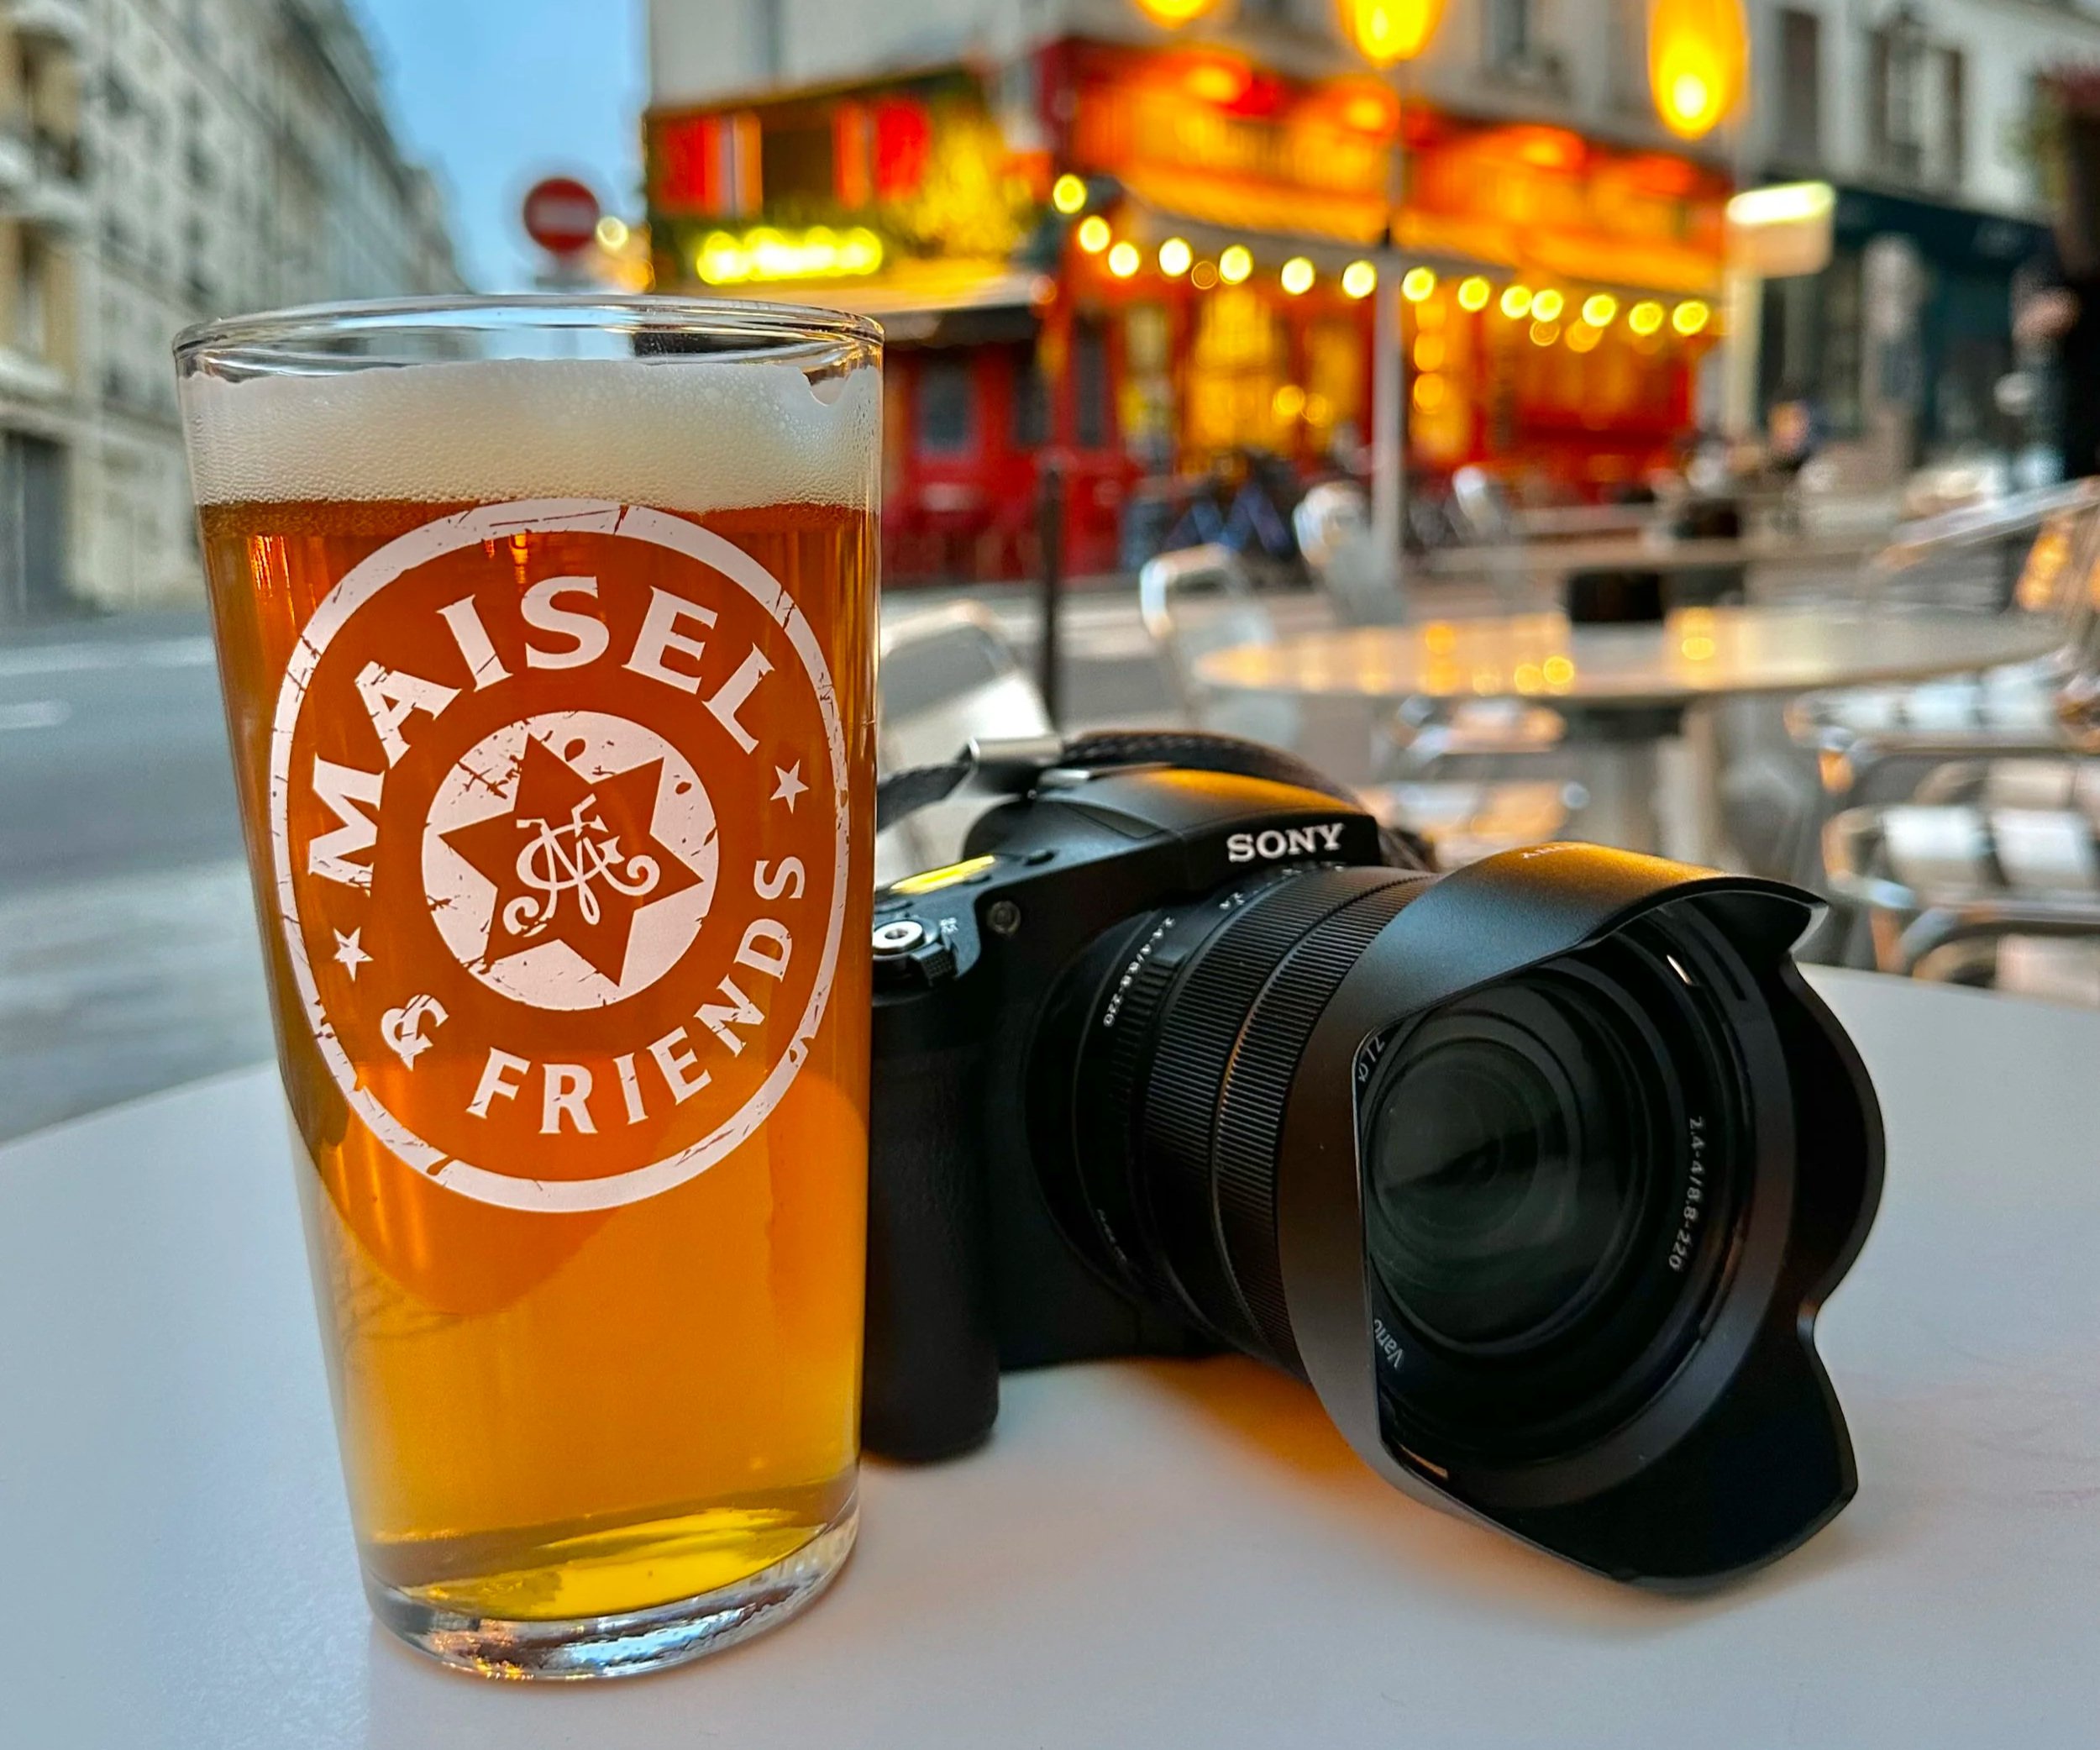
There's a camera in my bag that I didn't expect to love. I also didn't expect to occasionally want to throw it into the Seine River or an Amsterdam canal. But here we are.After years of carrying it on layovers across the world, I believe the Sony RX10 IV deserves a proper retrospective. Not a spec or pixel peeping breakdown, that's not my jam and has been done to death anyway. This is more of an honest reckoning with a camera that has surprised me, frustrated me, and produced some of my favorite images in equal measure.Taking a break in Paris with the Sony RX10IV
The Snob Problem
I'll be upfront, I sort of needed to get over myself before I could really appreciate this camera.
As someone who has long used pro level cameras as my main kit, the idea of carrying a bridge camera felt like a step backward. Bridge cameras carry a certain reputation, fairly or not, as the domain of beginners or cruise ship tourists maxed out at full zoom on a dolphin. My inner street photography snob and Fujifilm fanboy had opinions.As it turns out, those opinions were wrong.What It Actually Is
Sony, Nikon, and Panasonic have all produced bridge cameras over the years. The category is defined by a lens that's fixed in place with an extended zoom range. For instance, the Nikon P1100 stretches to a dizzying 3000mm focal length on the extreme end. A bit crazy, but shows what these cameras can cover. The RX10 IV covers 24 to 600mm optically (1200mm digital) and is paired with a Zeiss f/2.4 to 4.0 lens and a 1 inch sensor. On paper that's a compelling combination. In practice it's genuinely impressive.
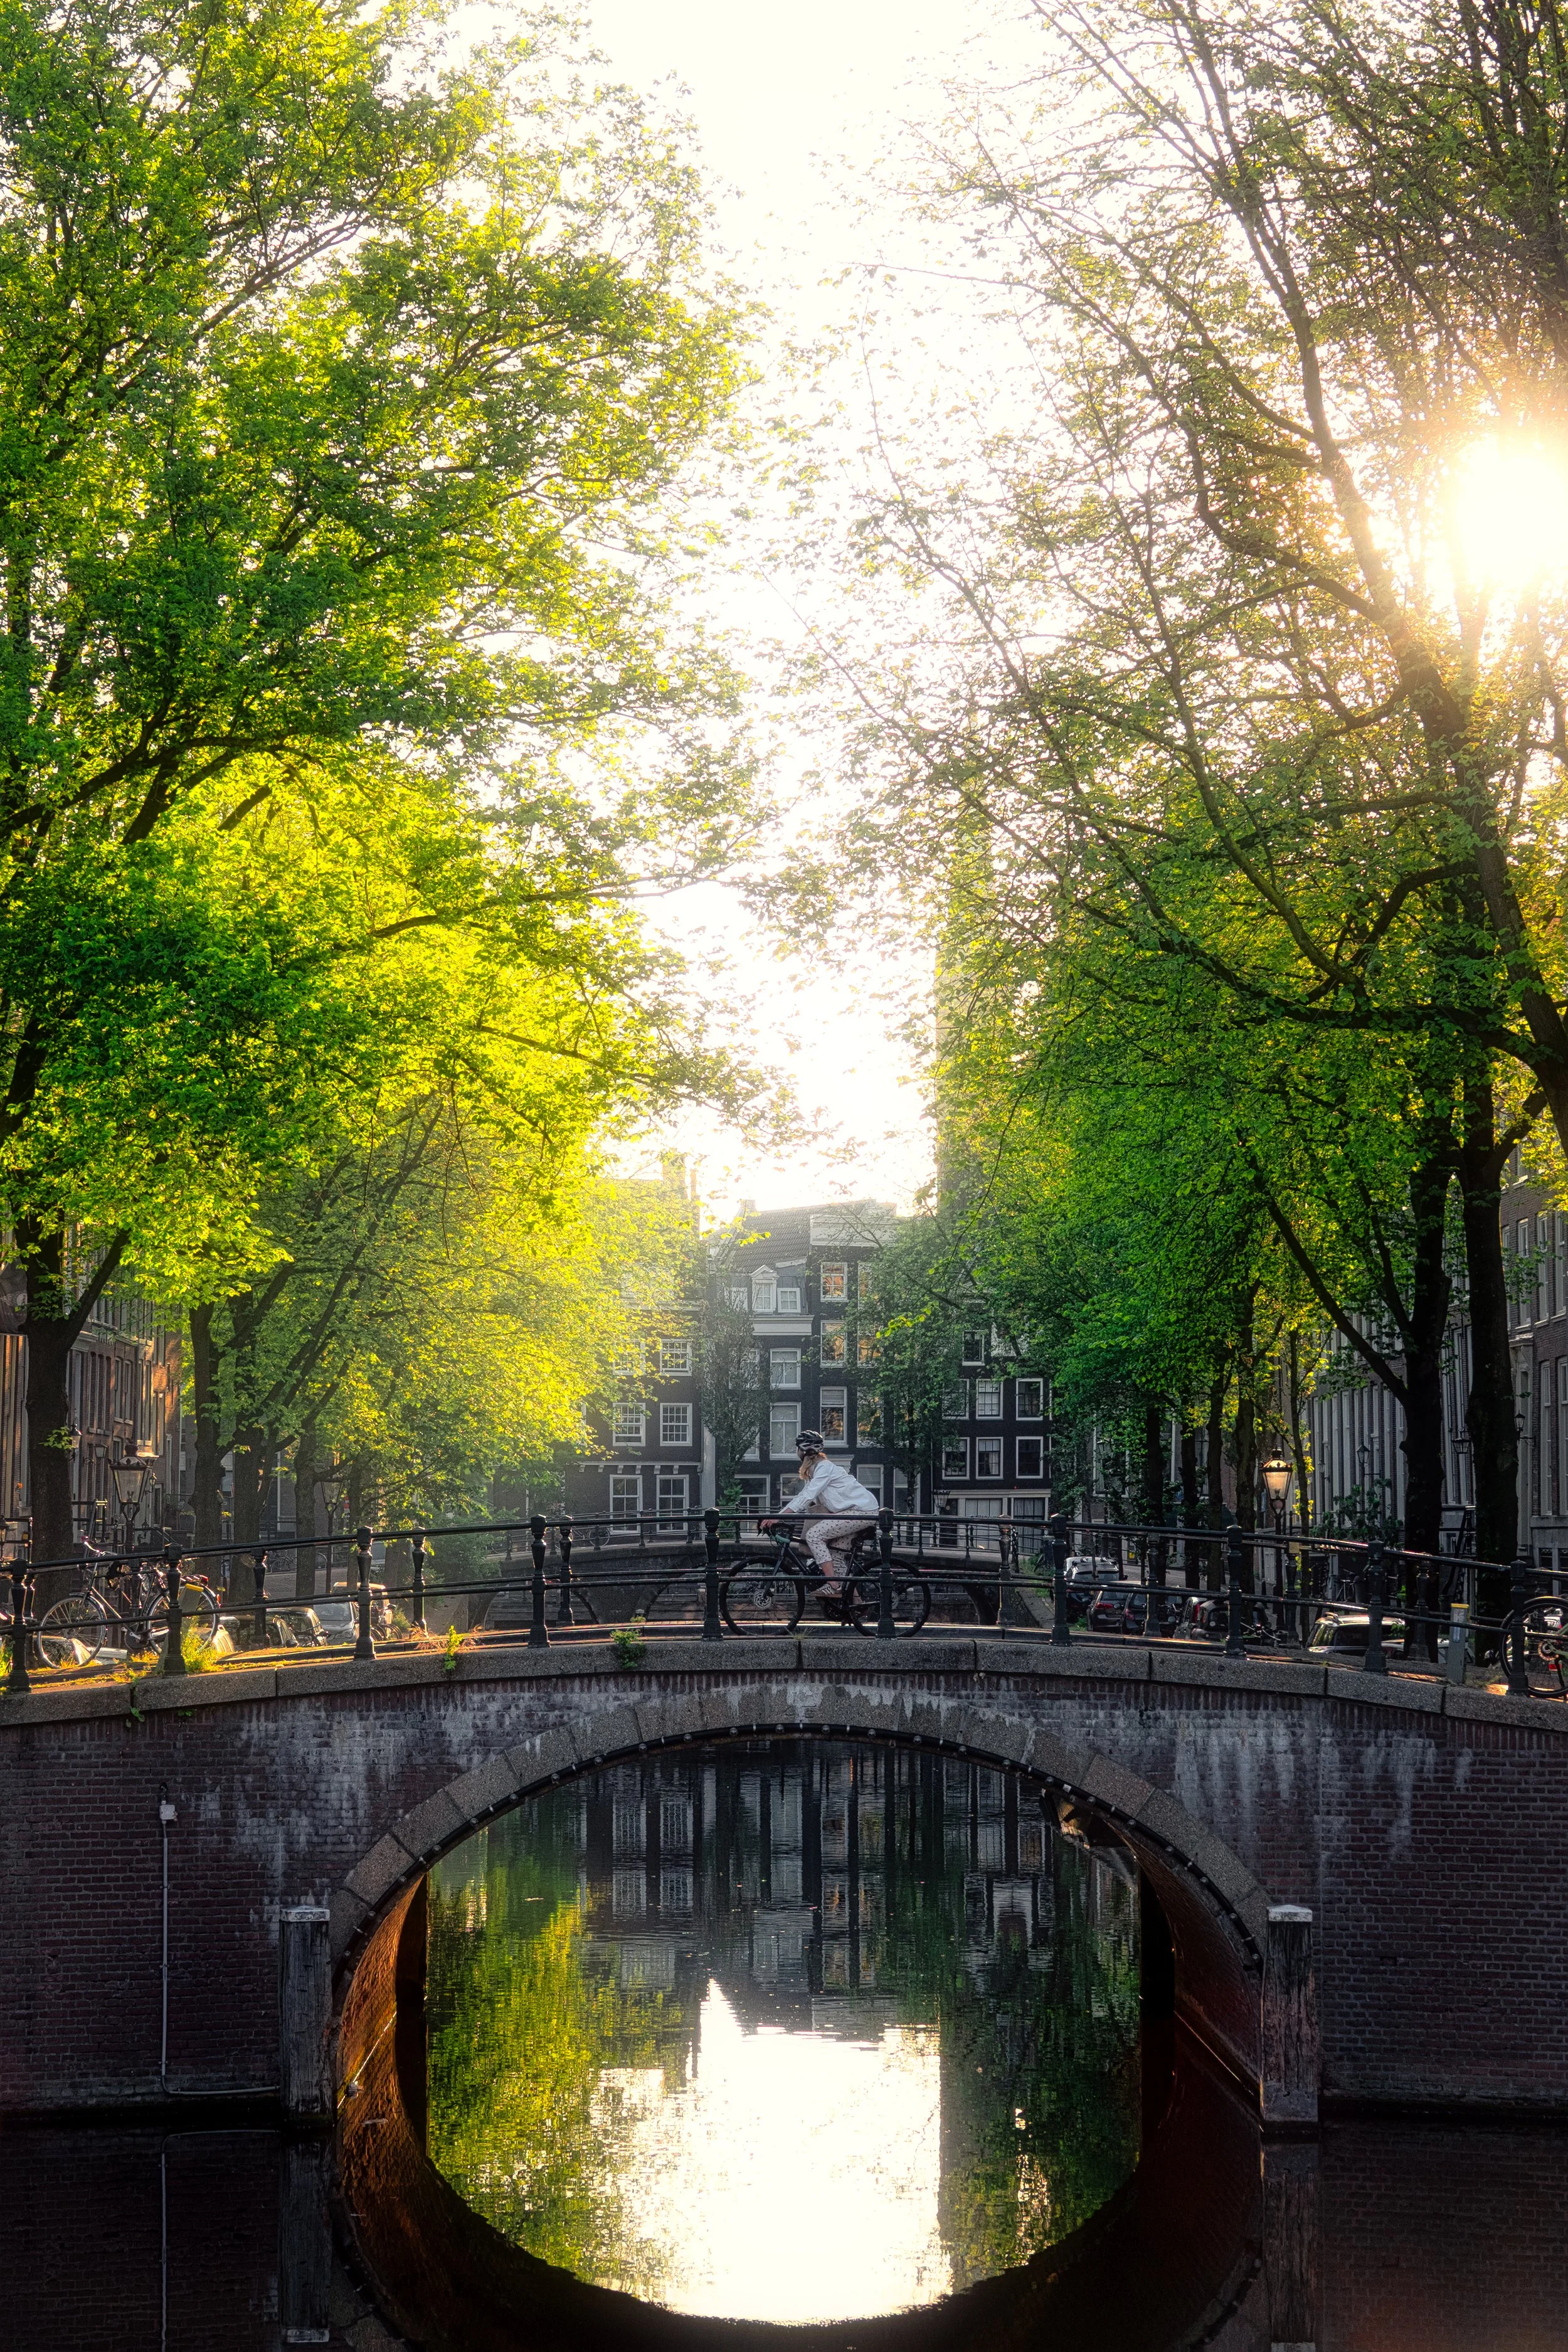
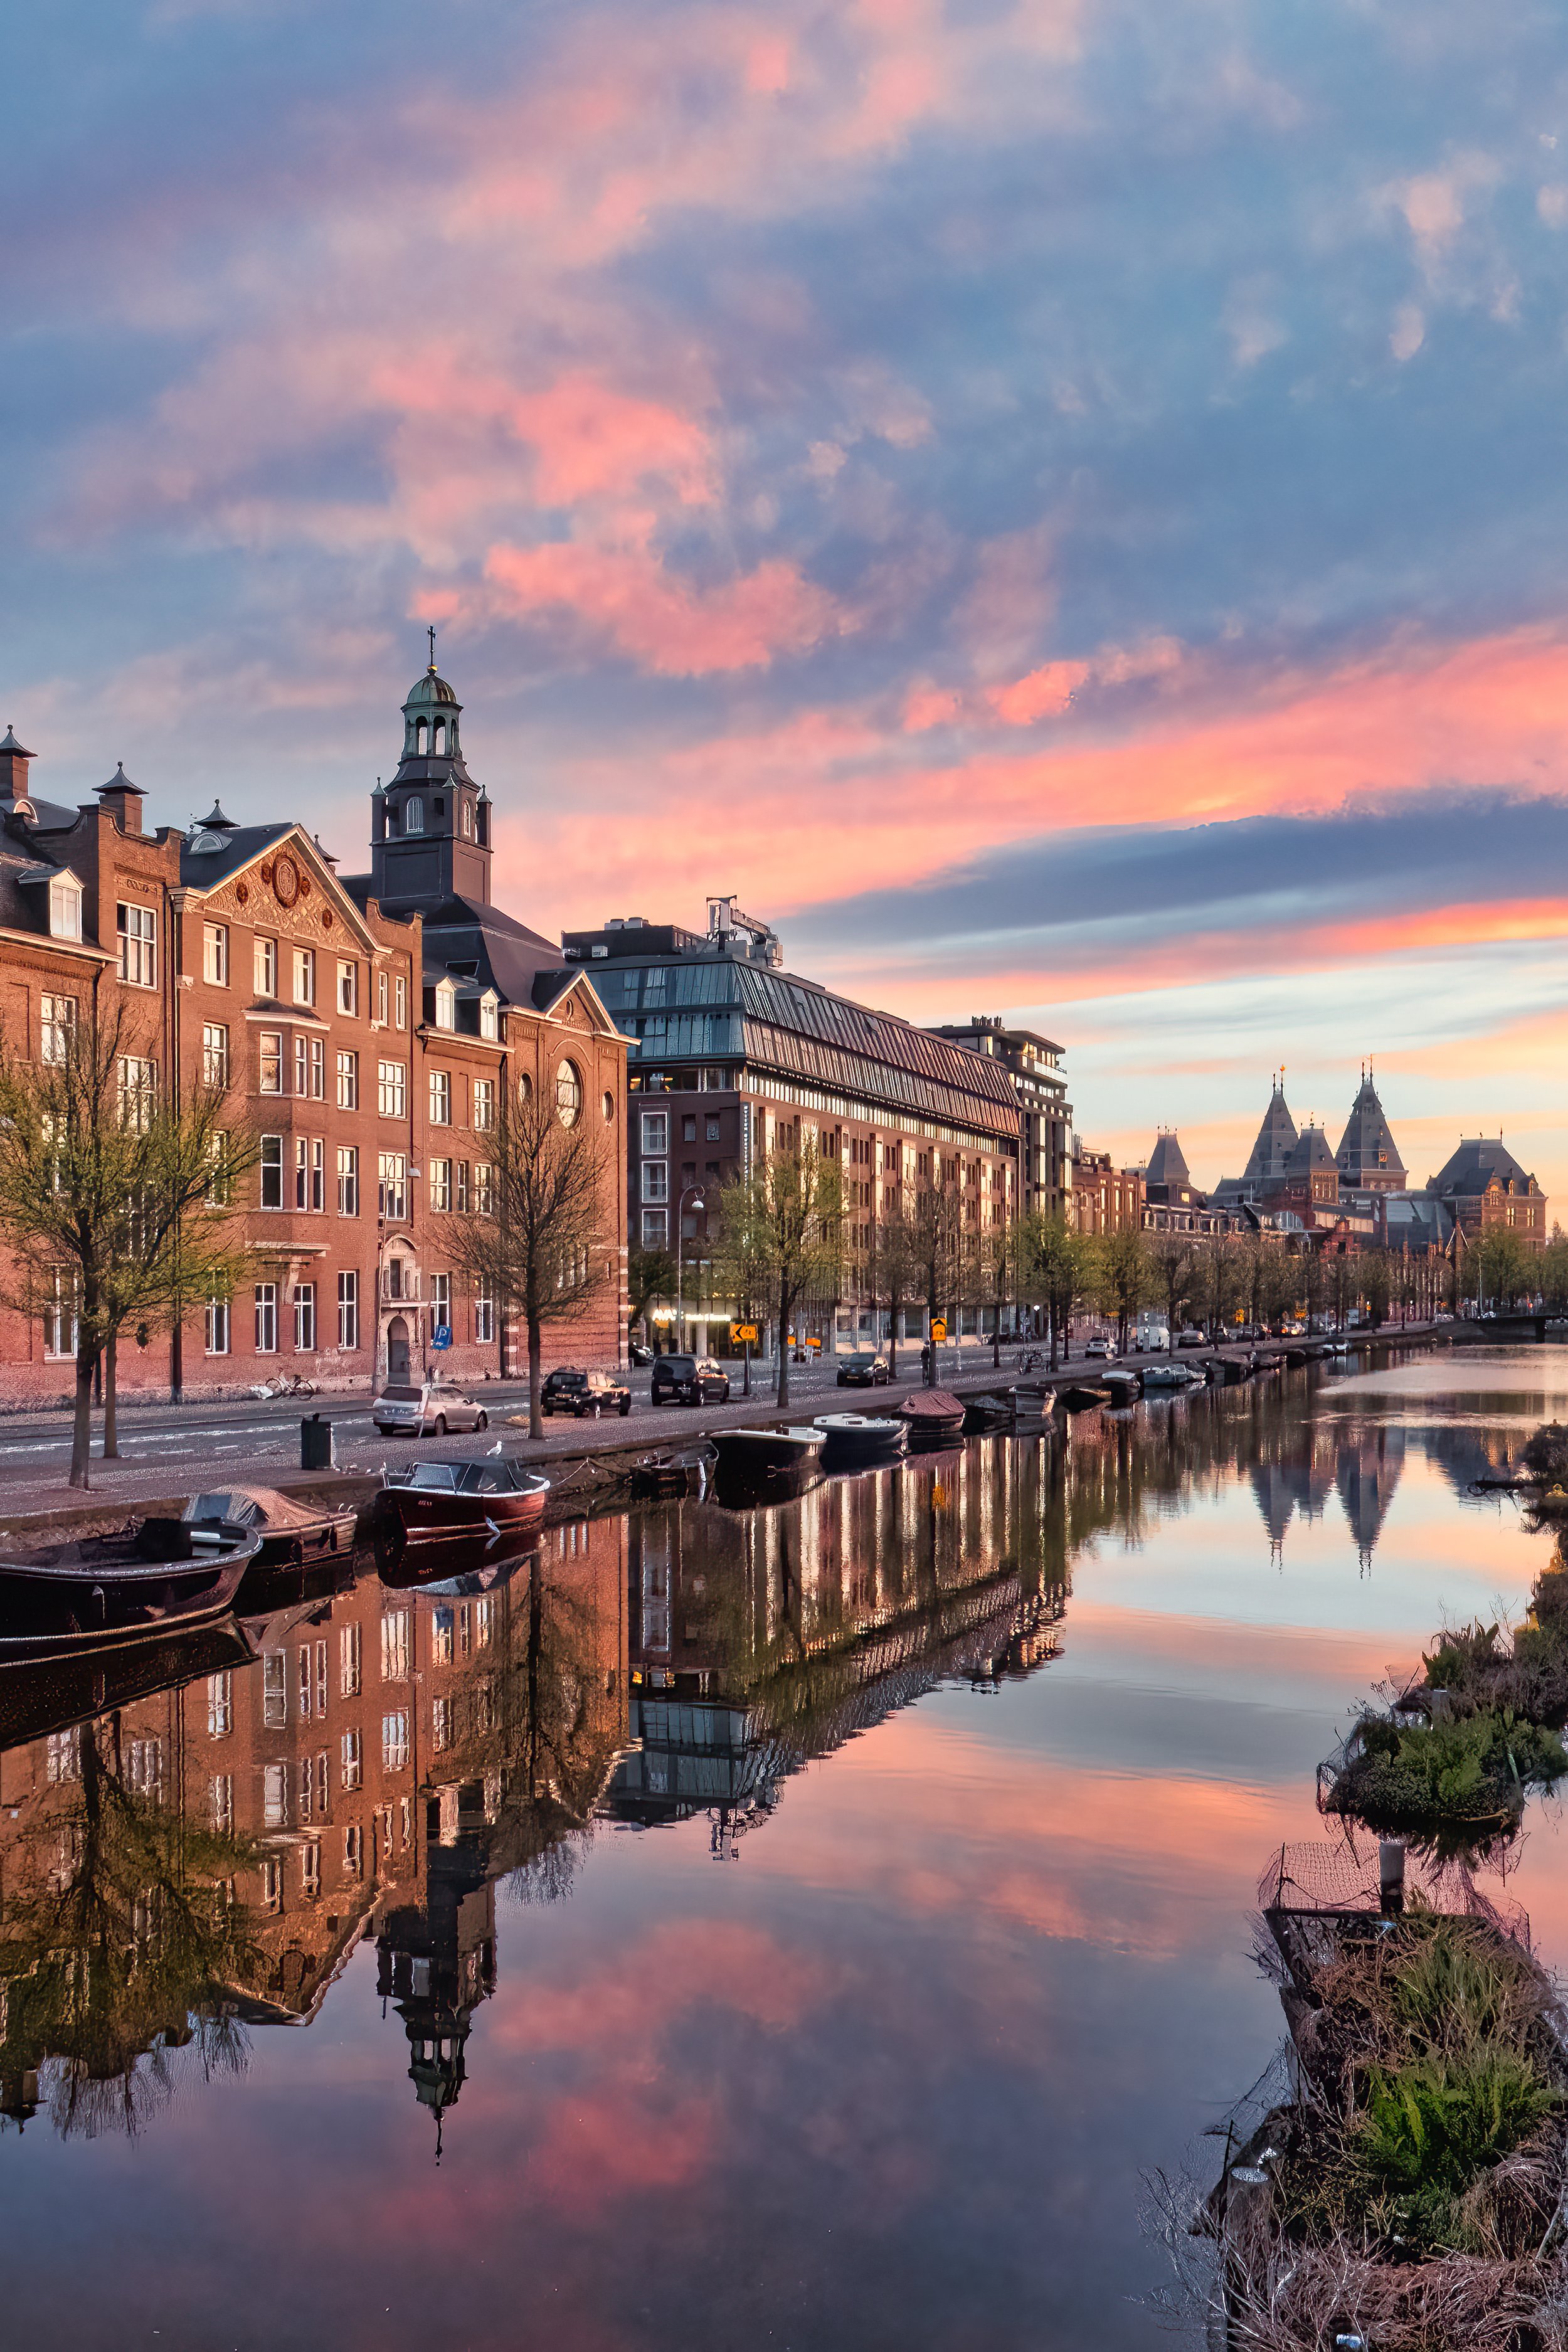
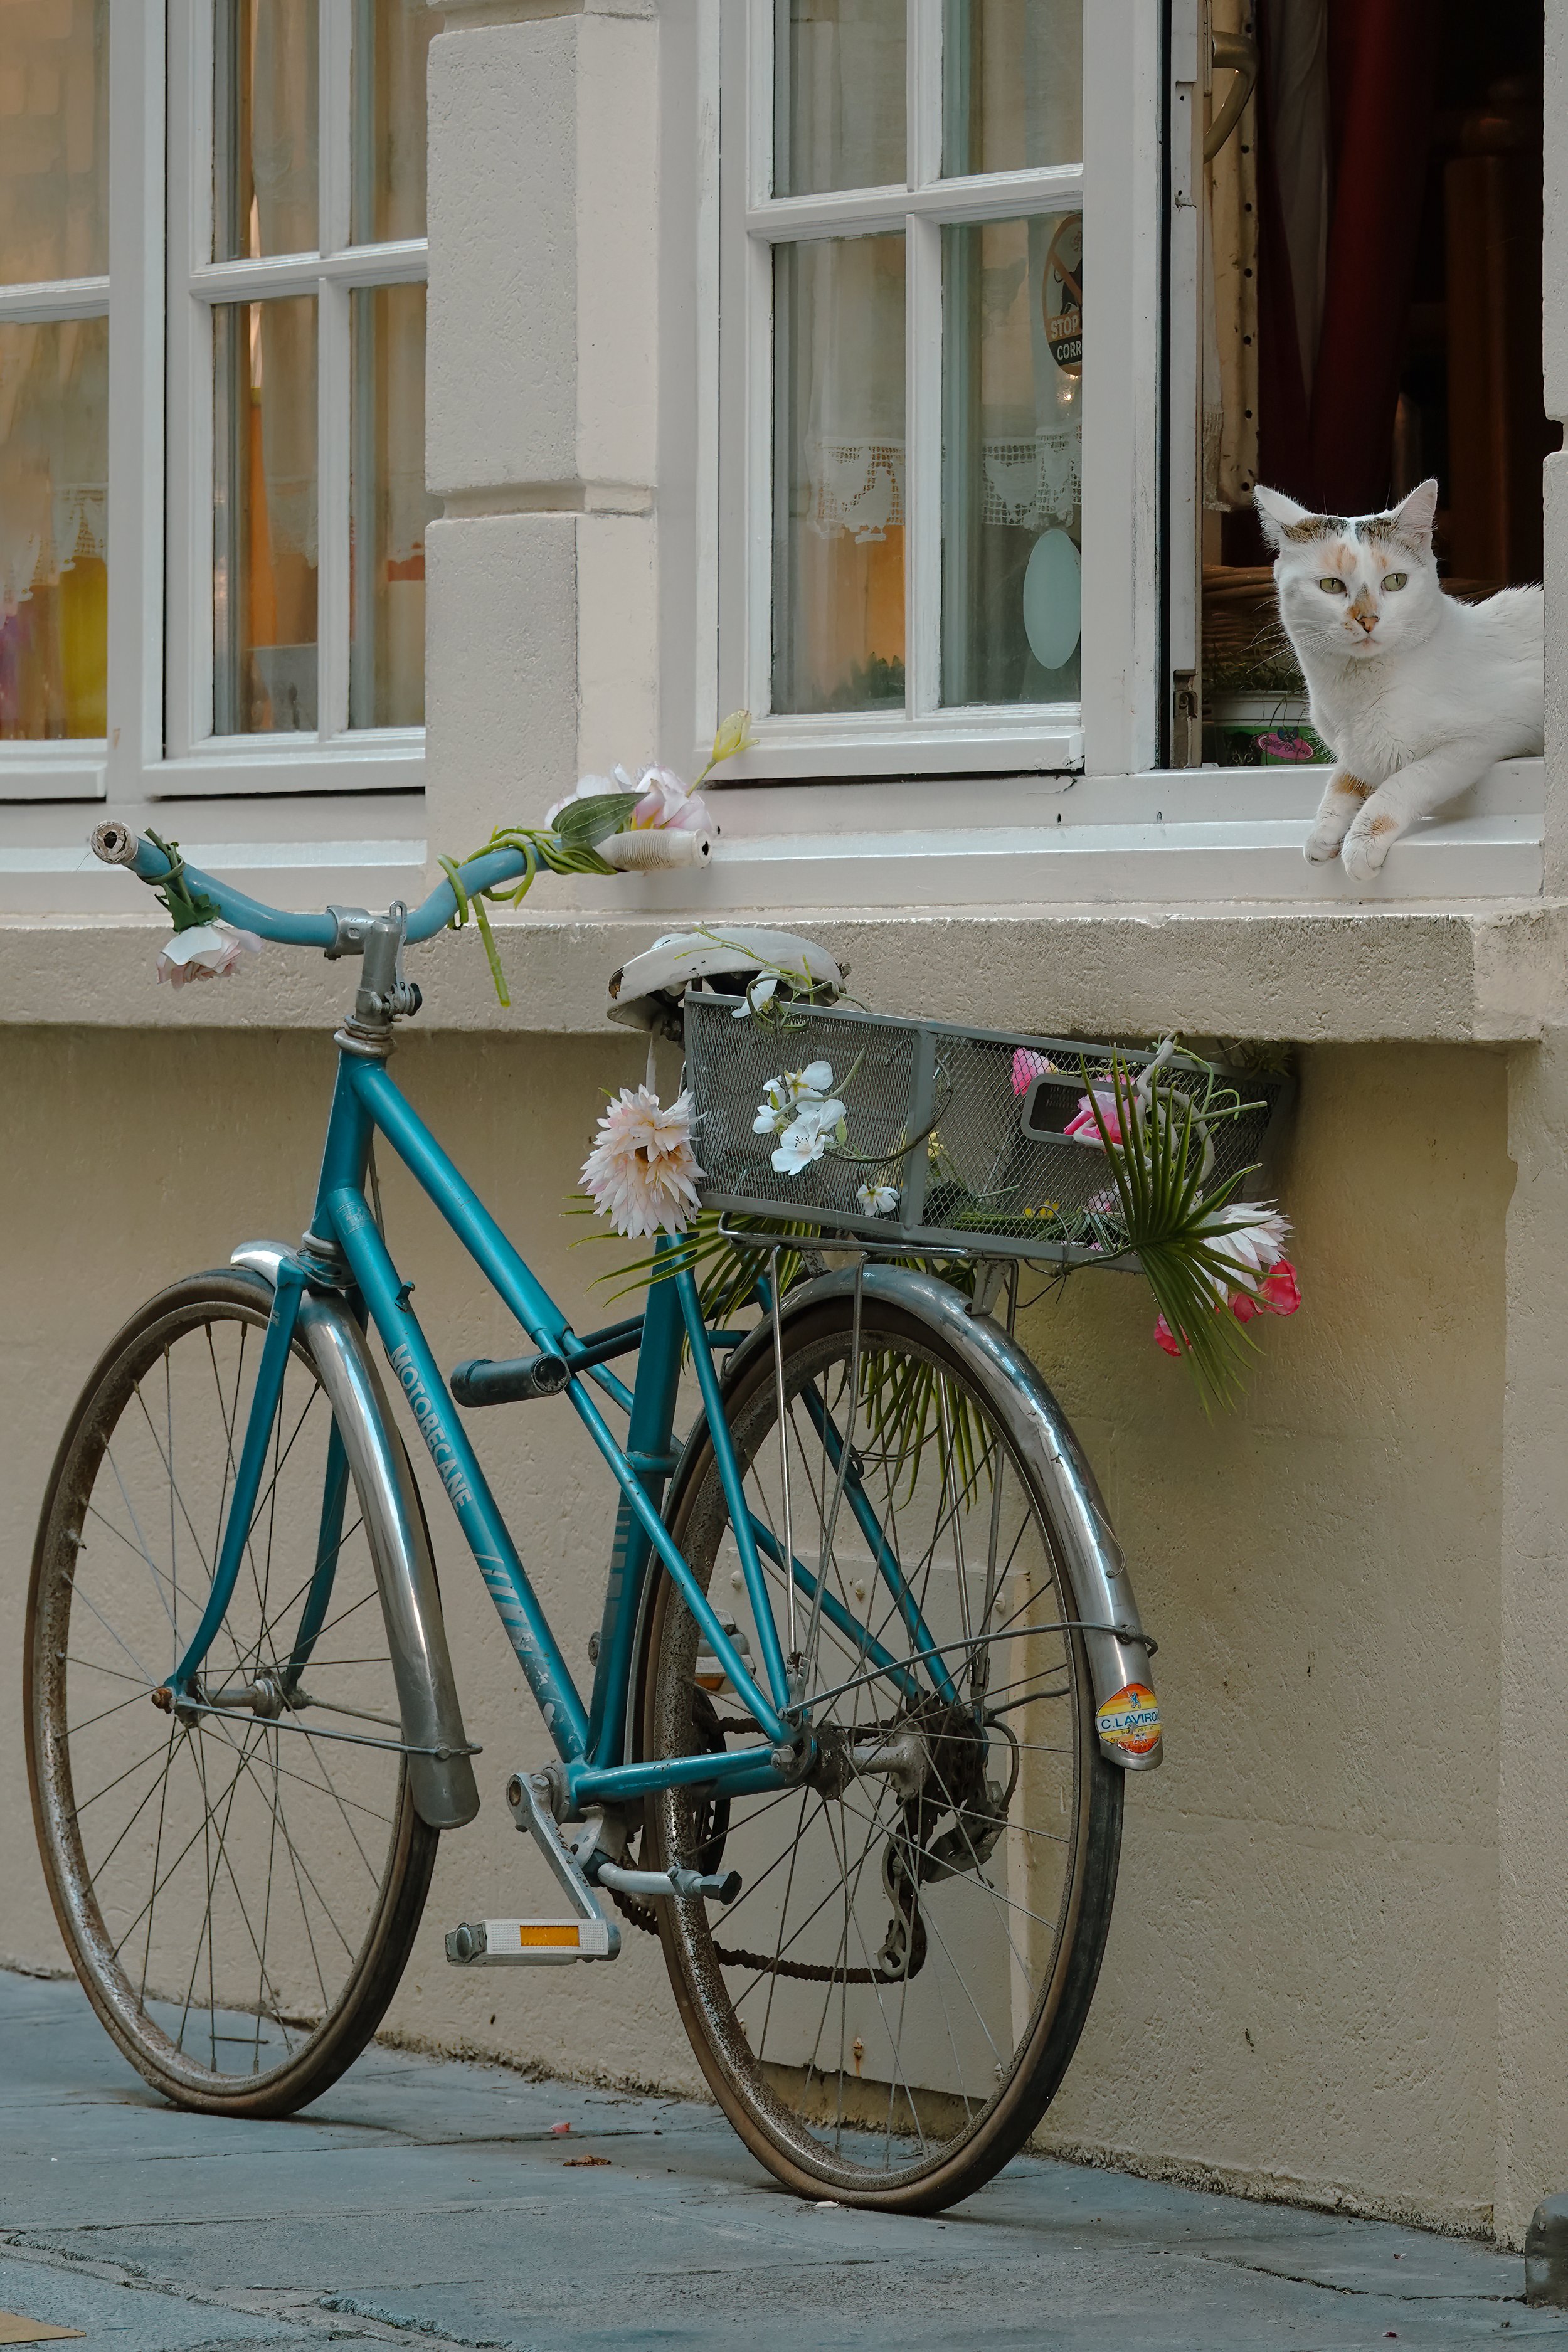
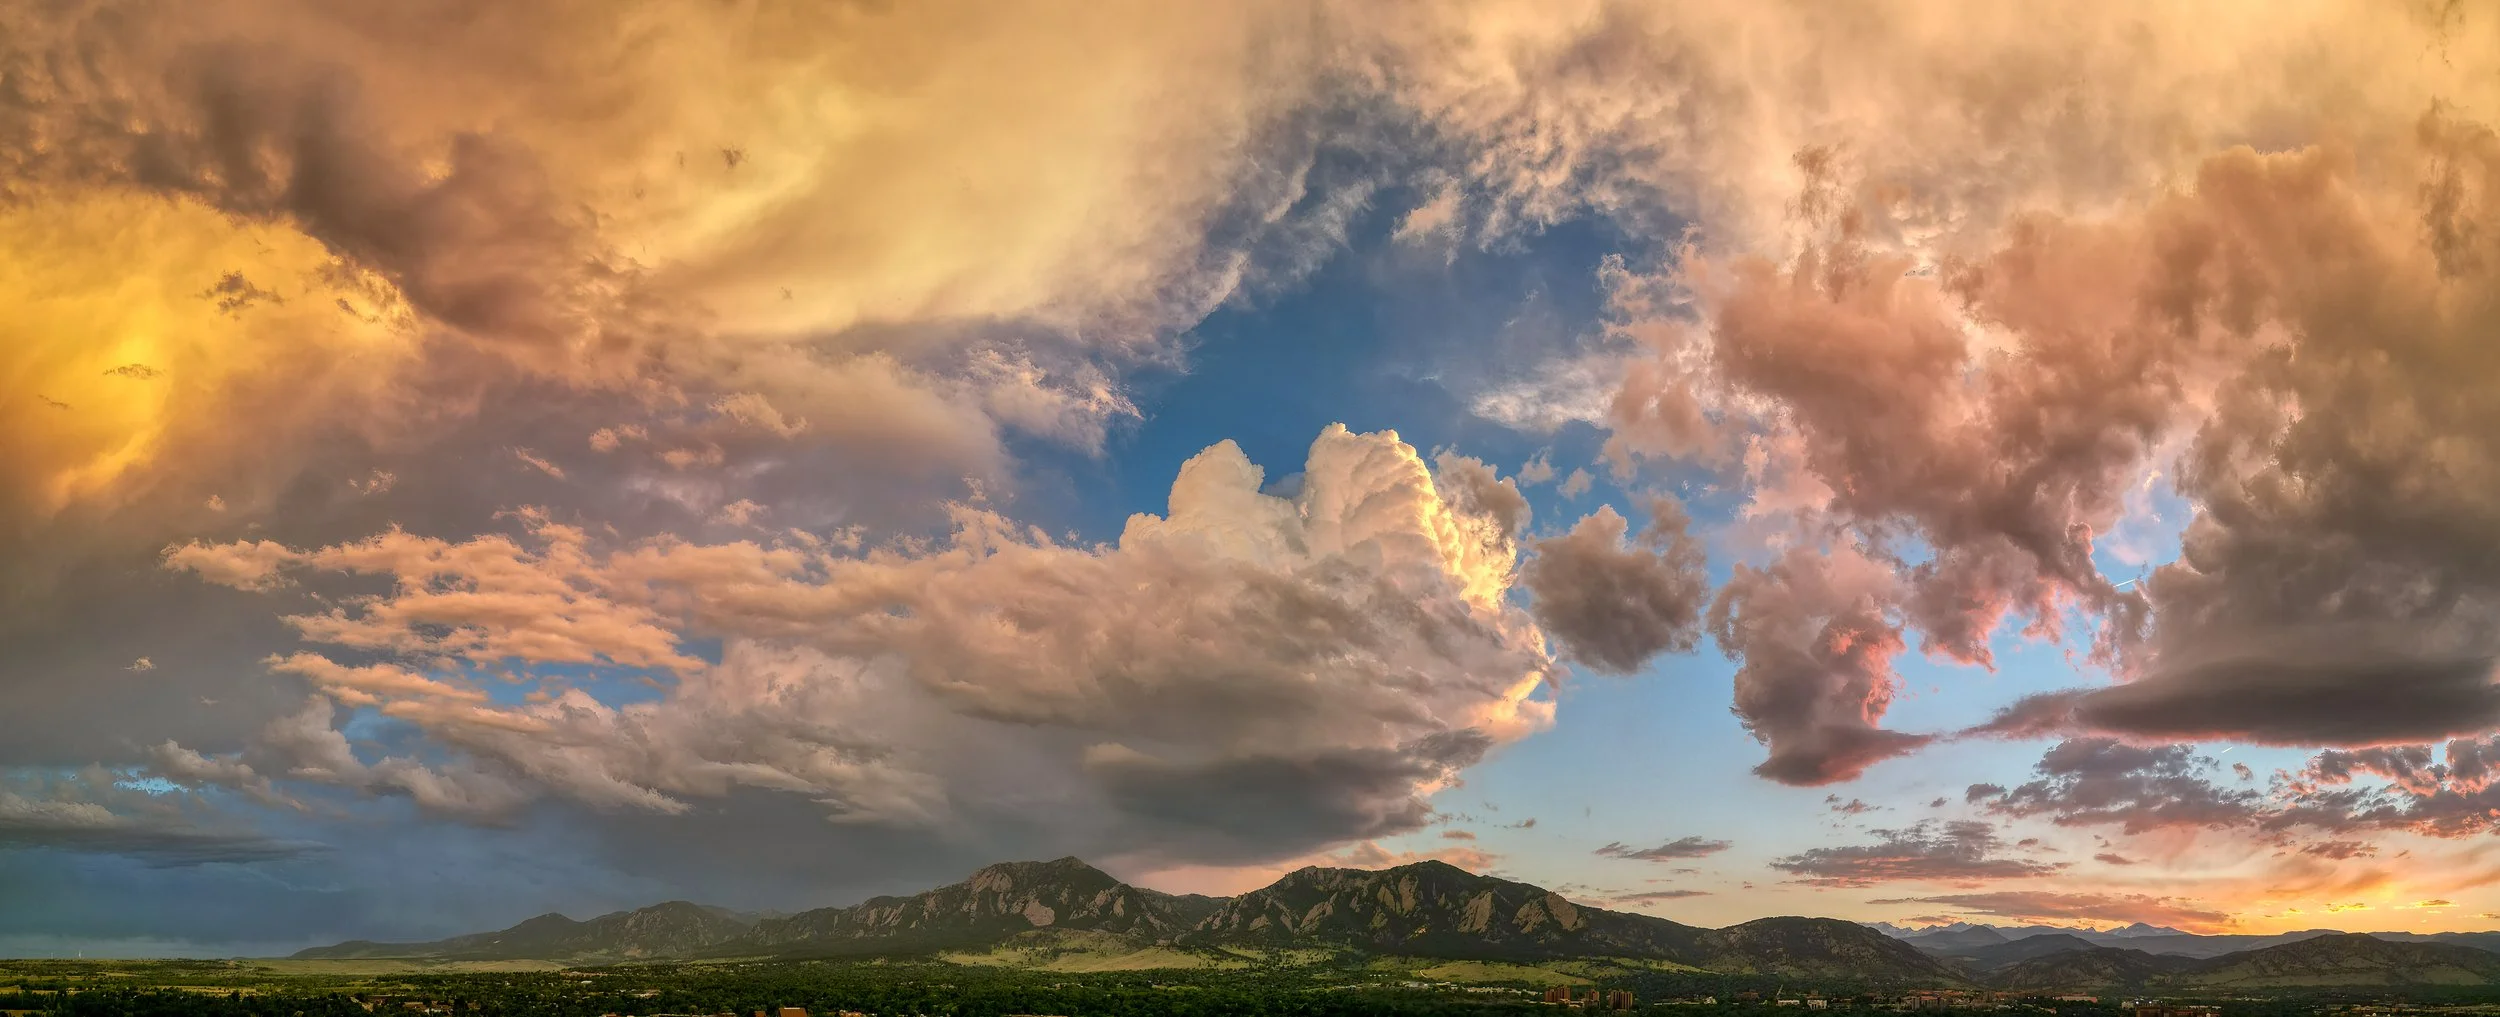
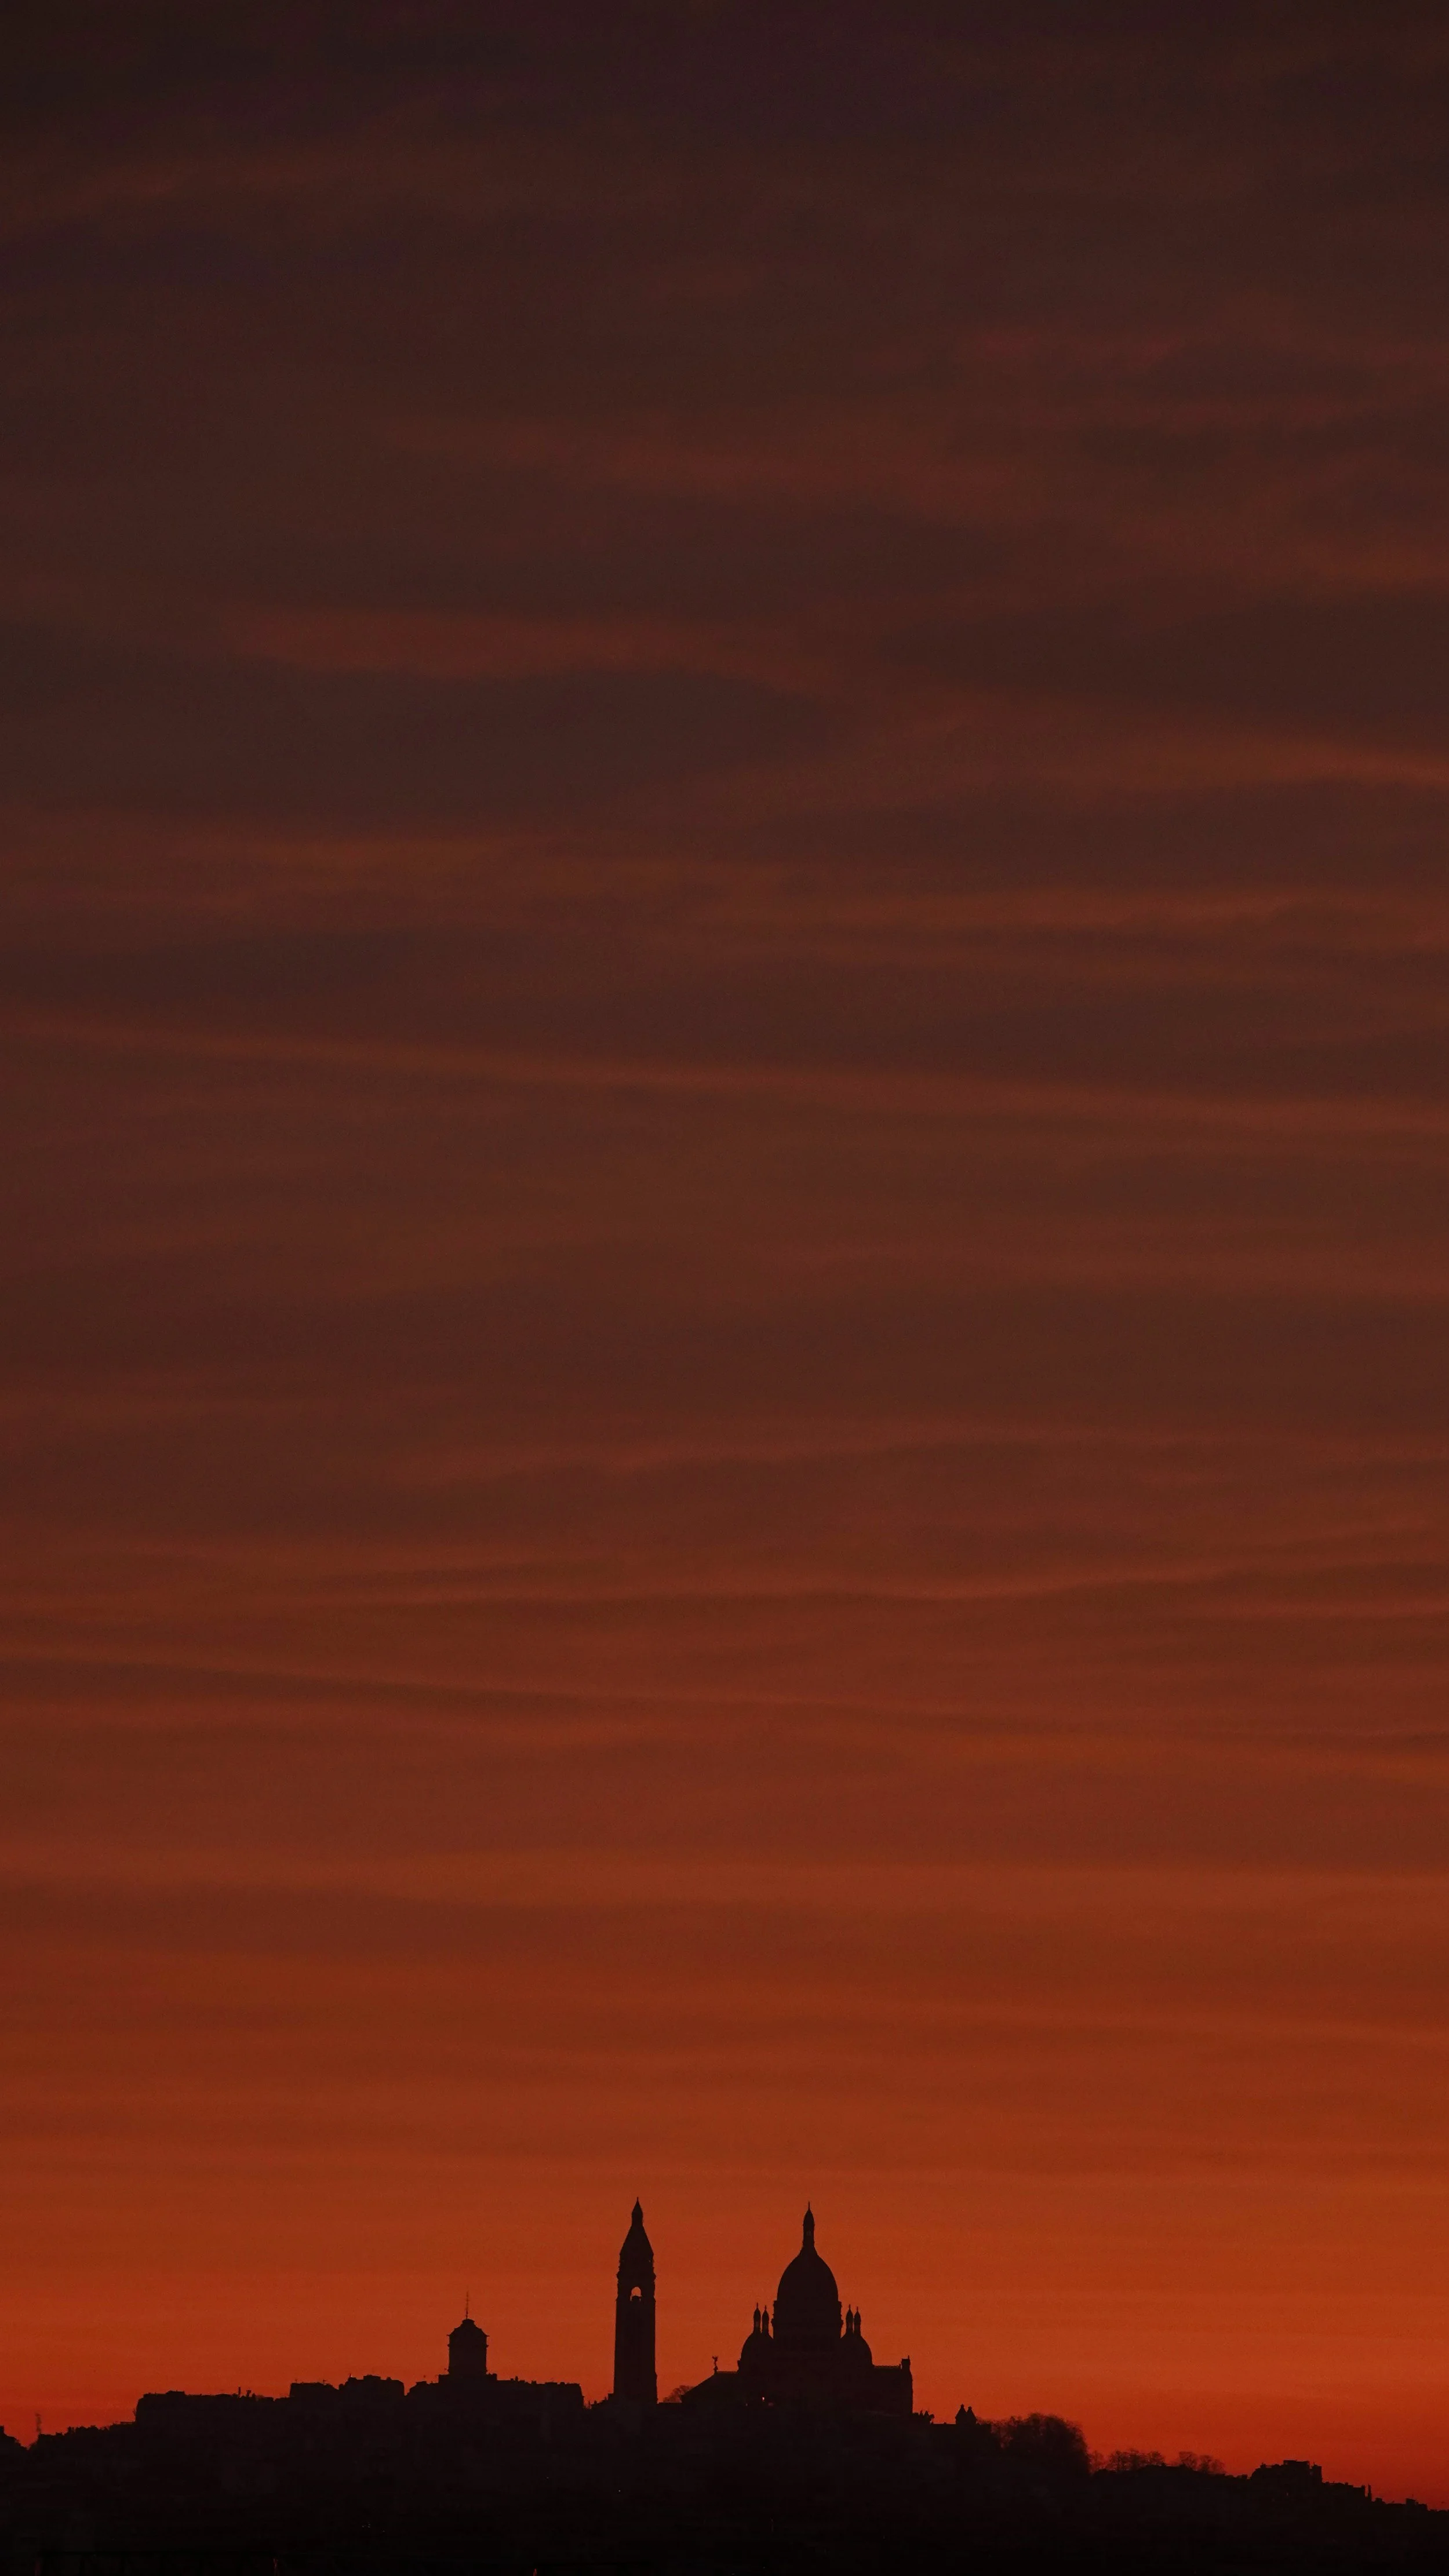
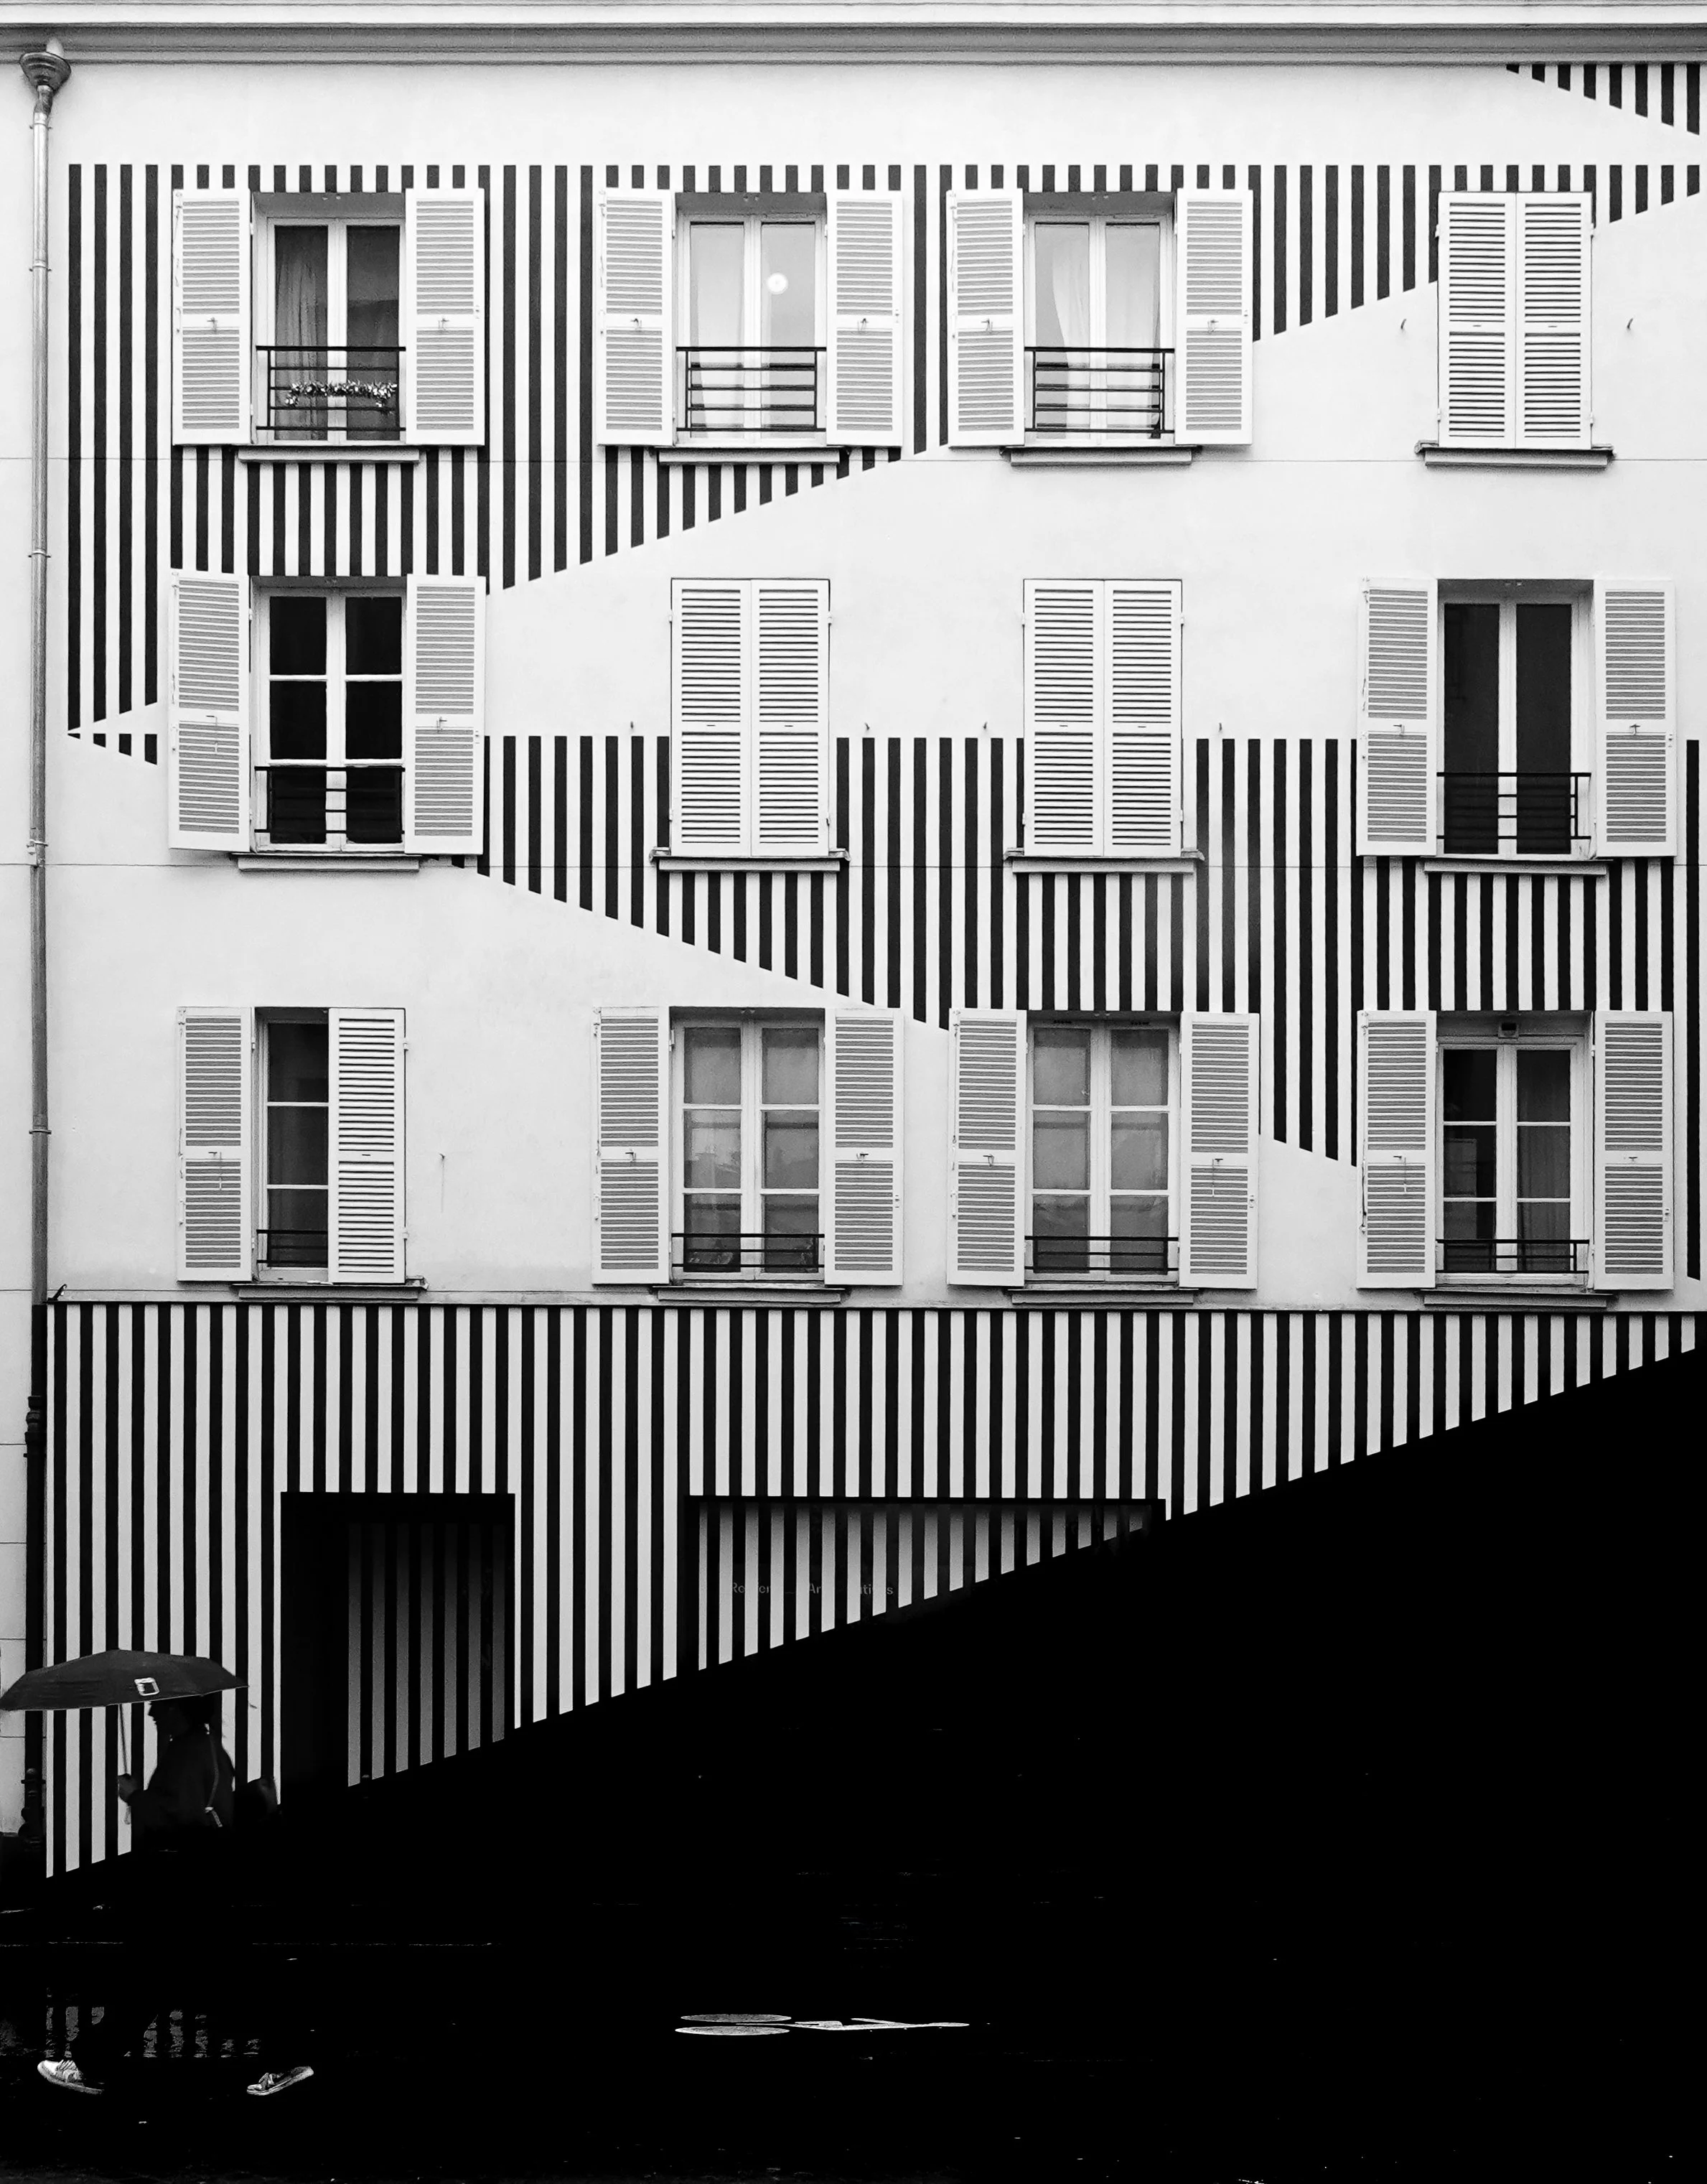
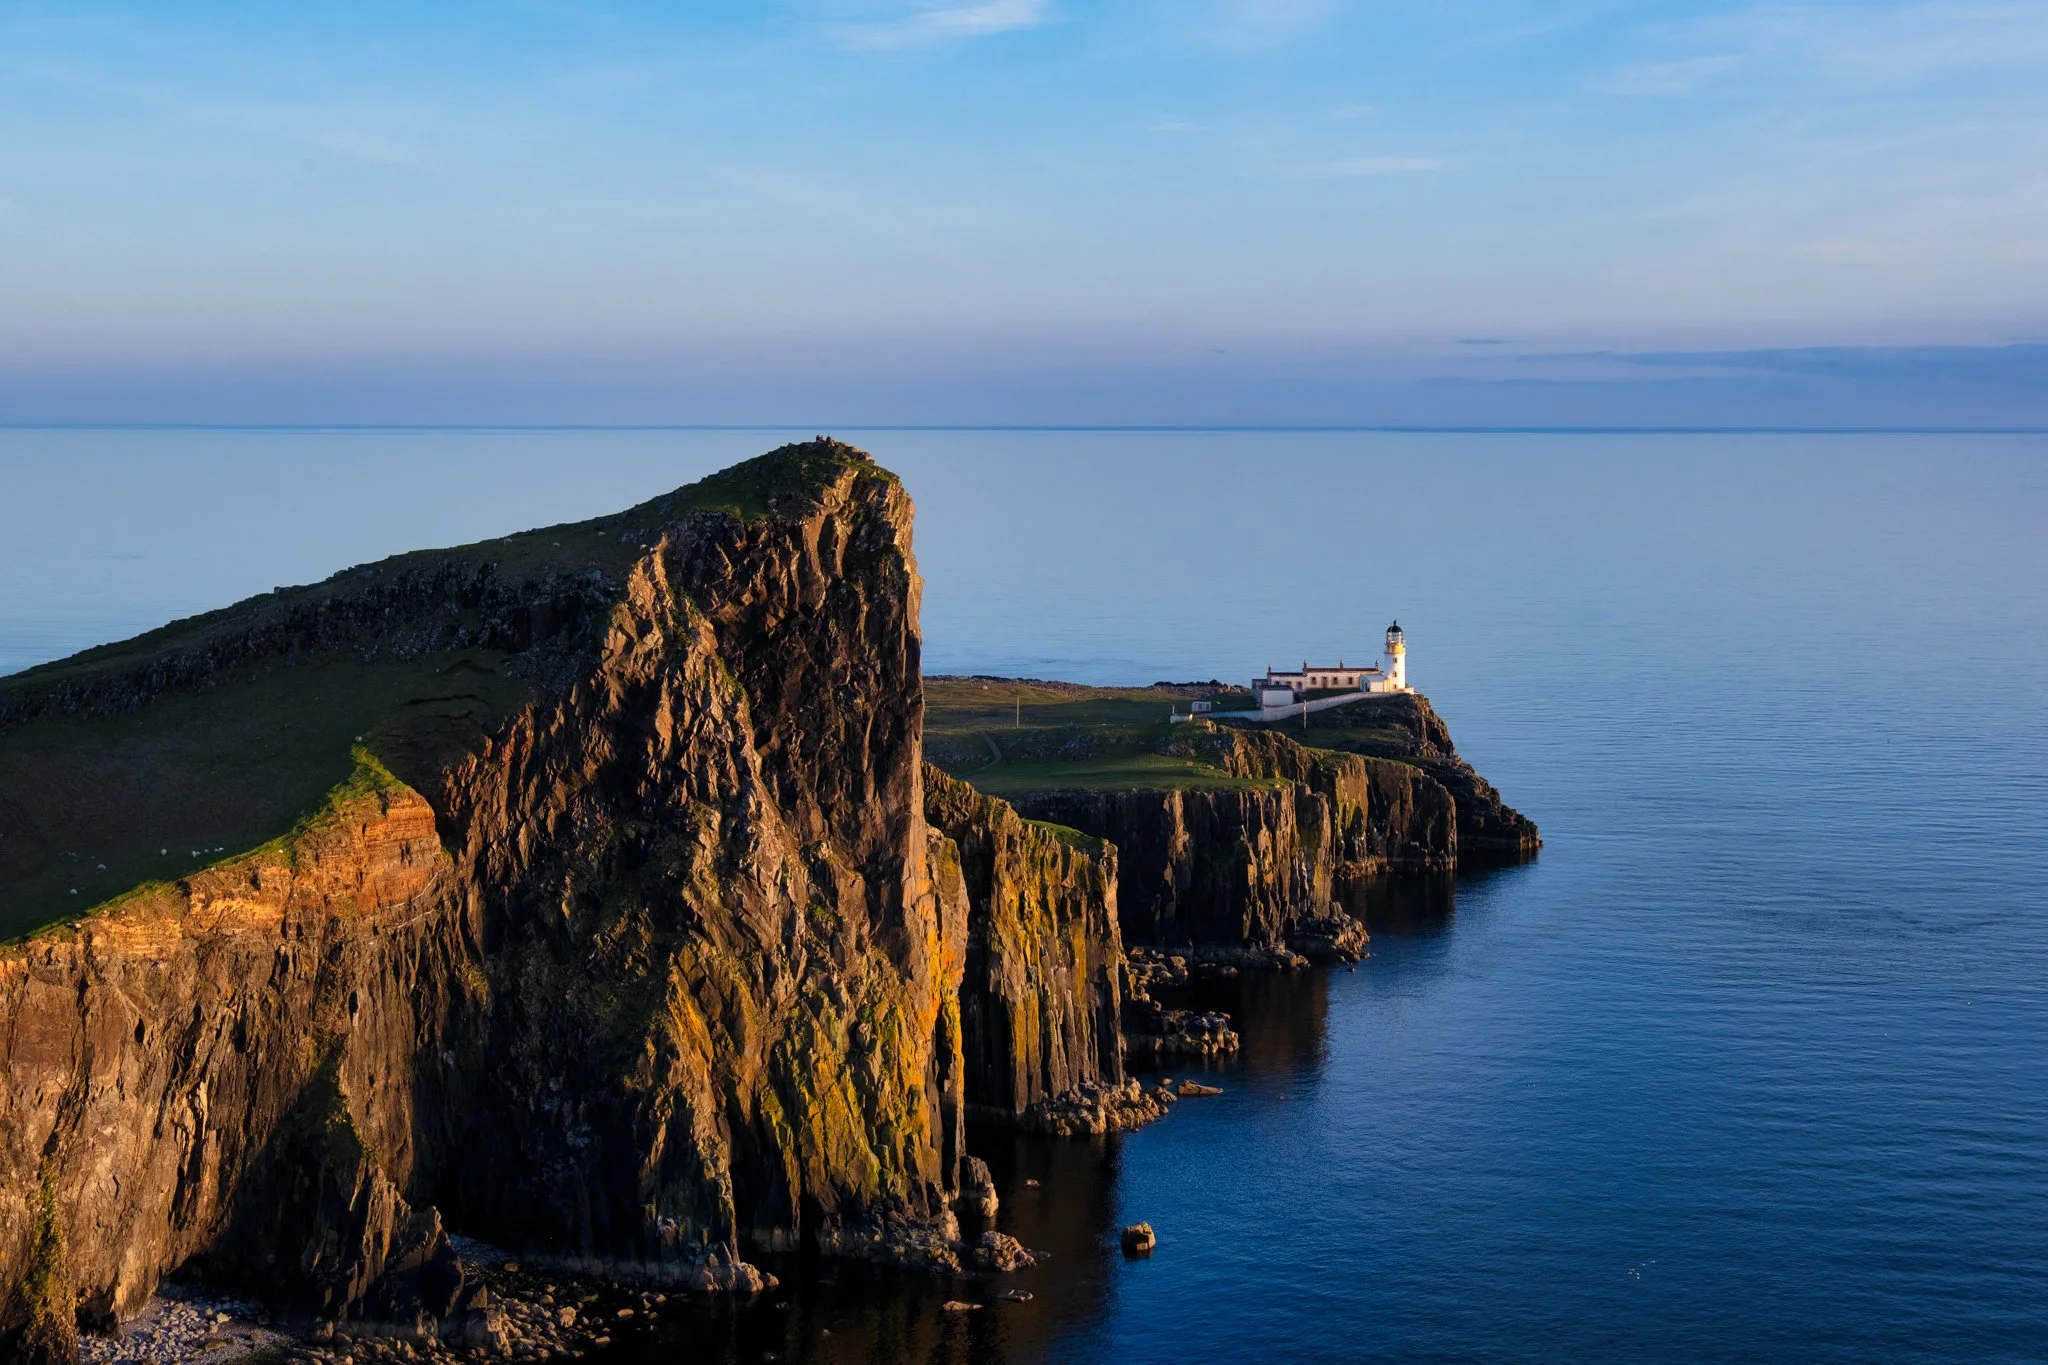
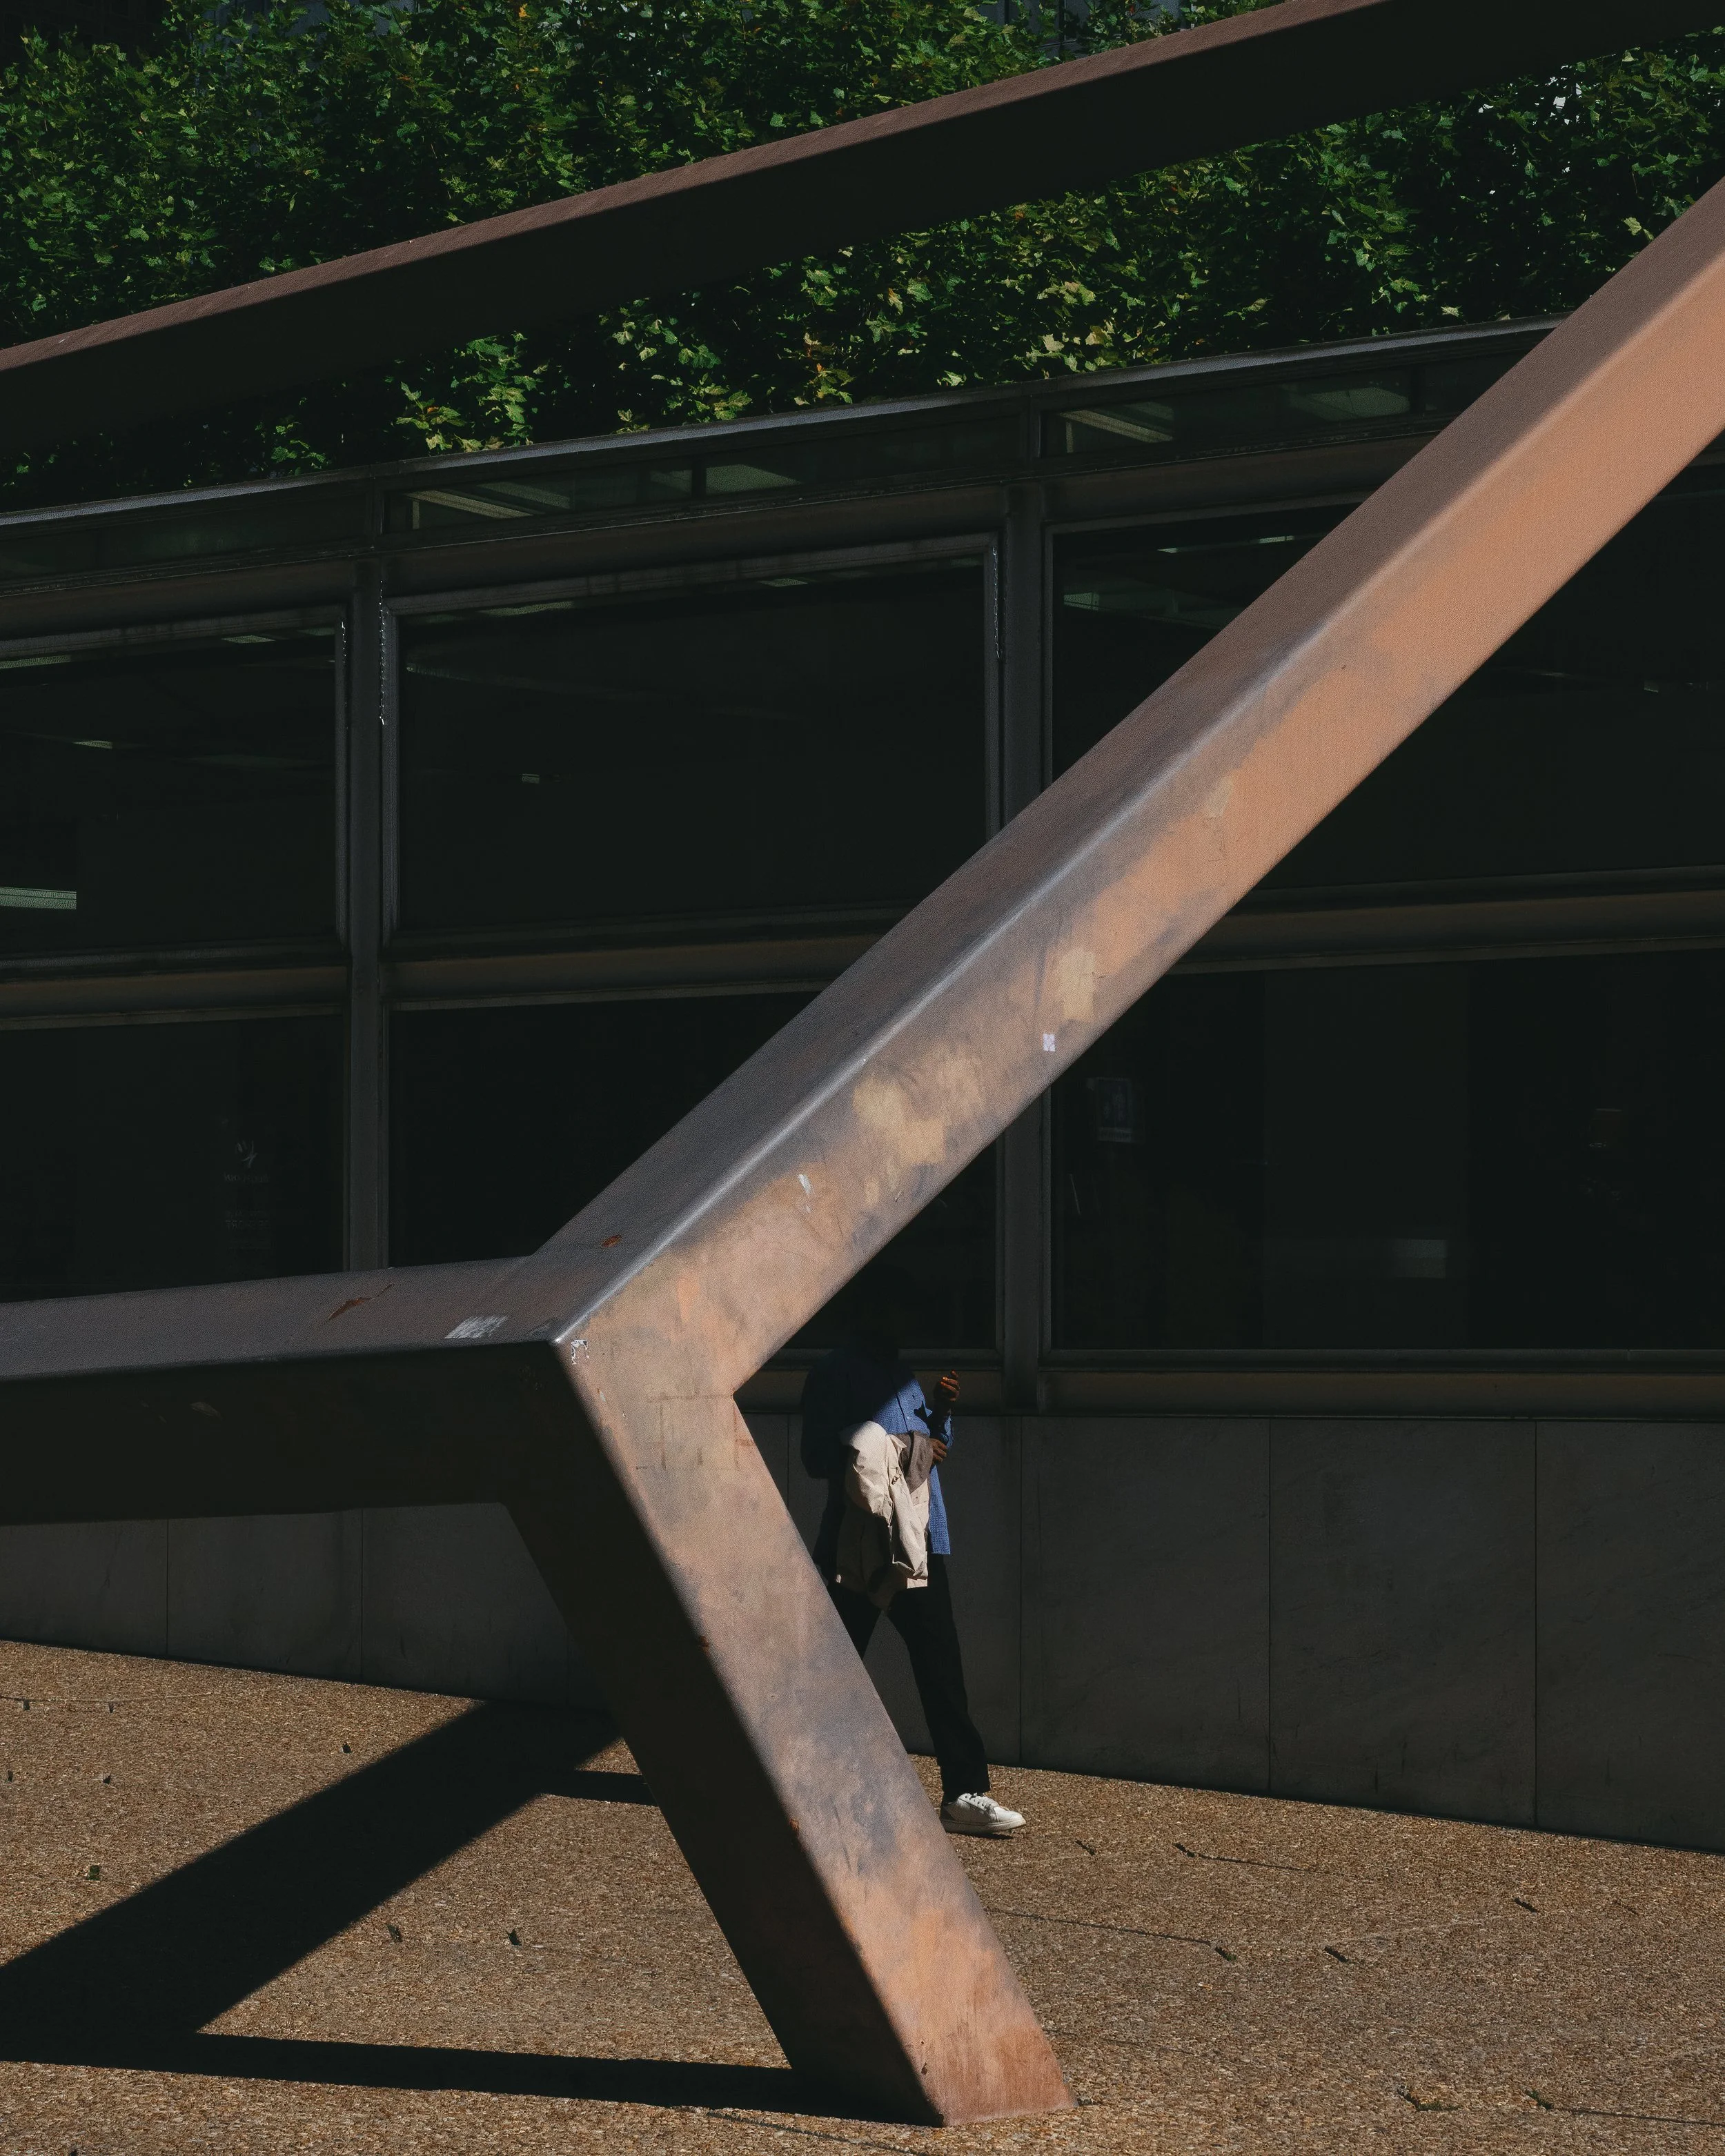
Above: some of my favorite images have been captured with RX10IVThe Cameras Before It
The RX10 IV certainly didn't arrive in a vacuum. Over the years I've cycled through a handful of compact travel cameras in search of something that could complement or occasionally replace my main kit: the Sigma DP1x with its remarkable Foveon sensor, the Nikon P7000, the Fujifilm X100T (still a go to), and the Panasonic LX10. Each had something going for it. None quite hit the mark as a genuine everyday carry for the kind of shooting I typically do on layovers.
The RX10 certainly isn't pocketable, which immediately disqualifies it from one version of the travel camera dream. But its form factor is reasonable when the camera is off, and what it gives you in return for that size is substantial.Real World: One Lens to Rule Them All
The single biggest practical advantage of the RX10 IV is also the most obvious one, you leave the house with one camera and one lens and you're genuinely covered. No swapping glass on a cobblestone street in the rain. No deciding between the wide angle and the telephoto for a day that might go either way. No missed moment because the right lens was in the bag instead of on the body. For a pilot on a layover in a city I may not return to for months, that simplicity matters. I'm not setting up a studio. Rather, I'm on the move and the RX10 keeps up without demanding much in return.
The reach at the long end is genuinely impressive and occasionally outright fun. Street scenes compressed from a distance, cats lounging on balconies, a moment happening across a plaza that you'd never get to in time on foot. The 600mm end certainly is not optically perfect and I'll get to that, but it opens up creative possibilities that simply don't exist with a prime or a standard zoom.Battery life is typically a pleasant non issue. I rarely find myself rationing shots on a full day out, which is not something I can say about every camera I've owned. Though I do keep a spare battery with me at all times and have occasionally needed it, mainly when I have failed to top off charge.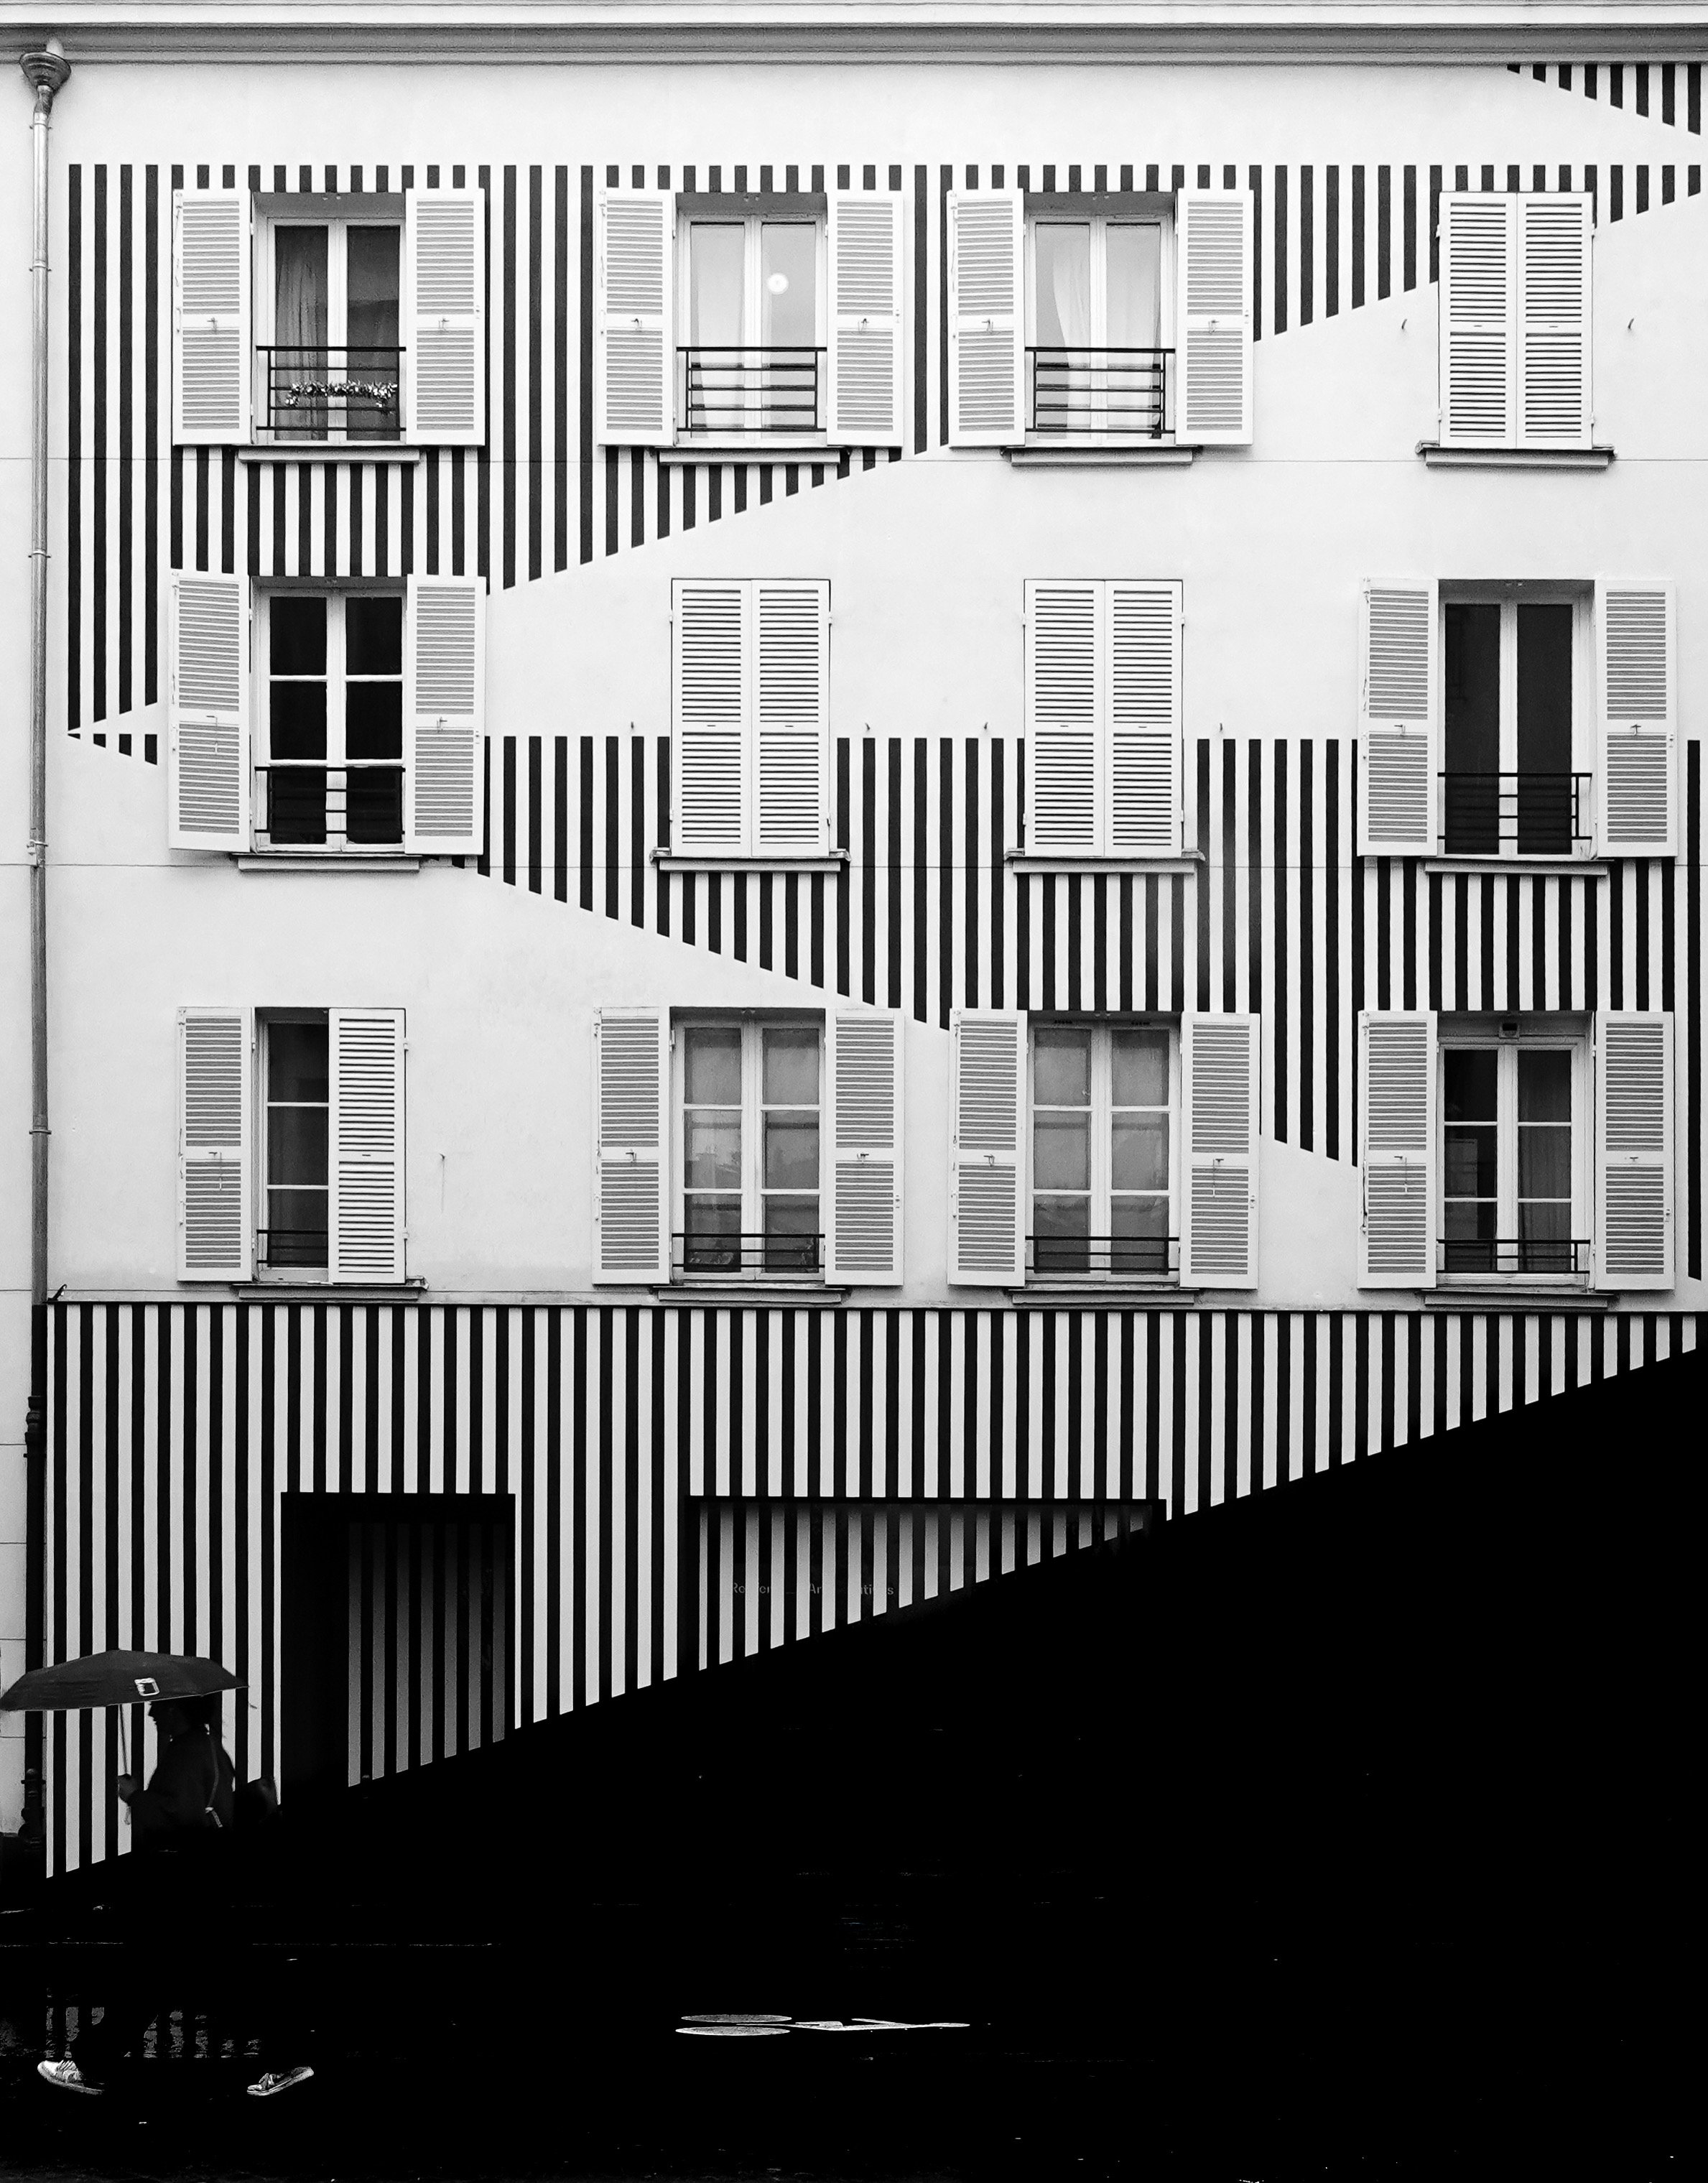
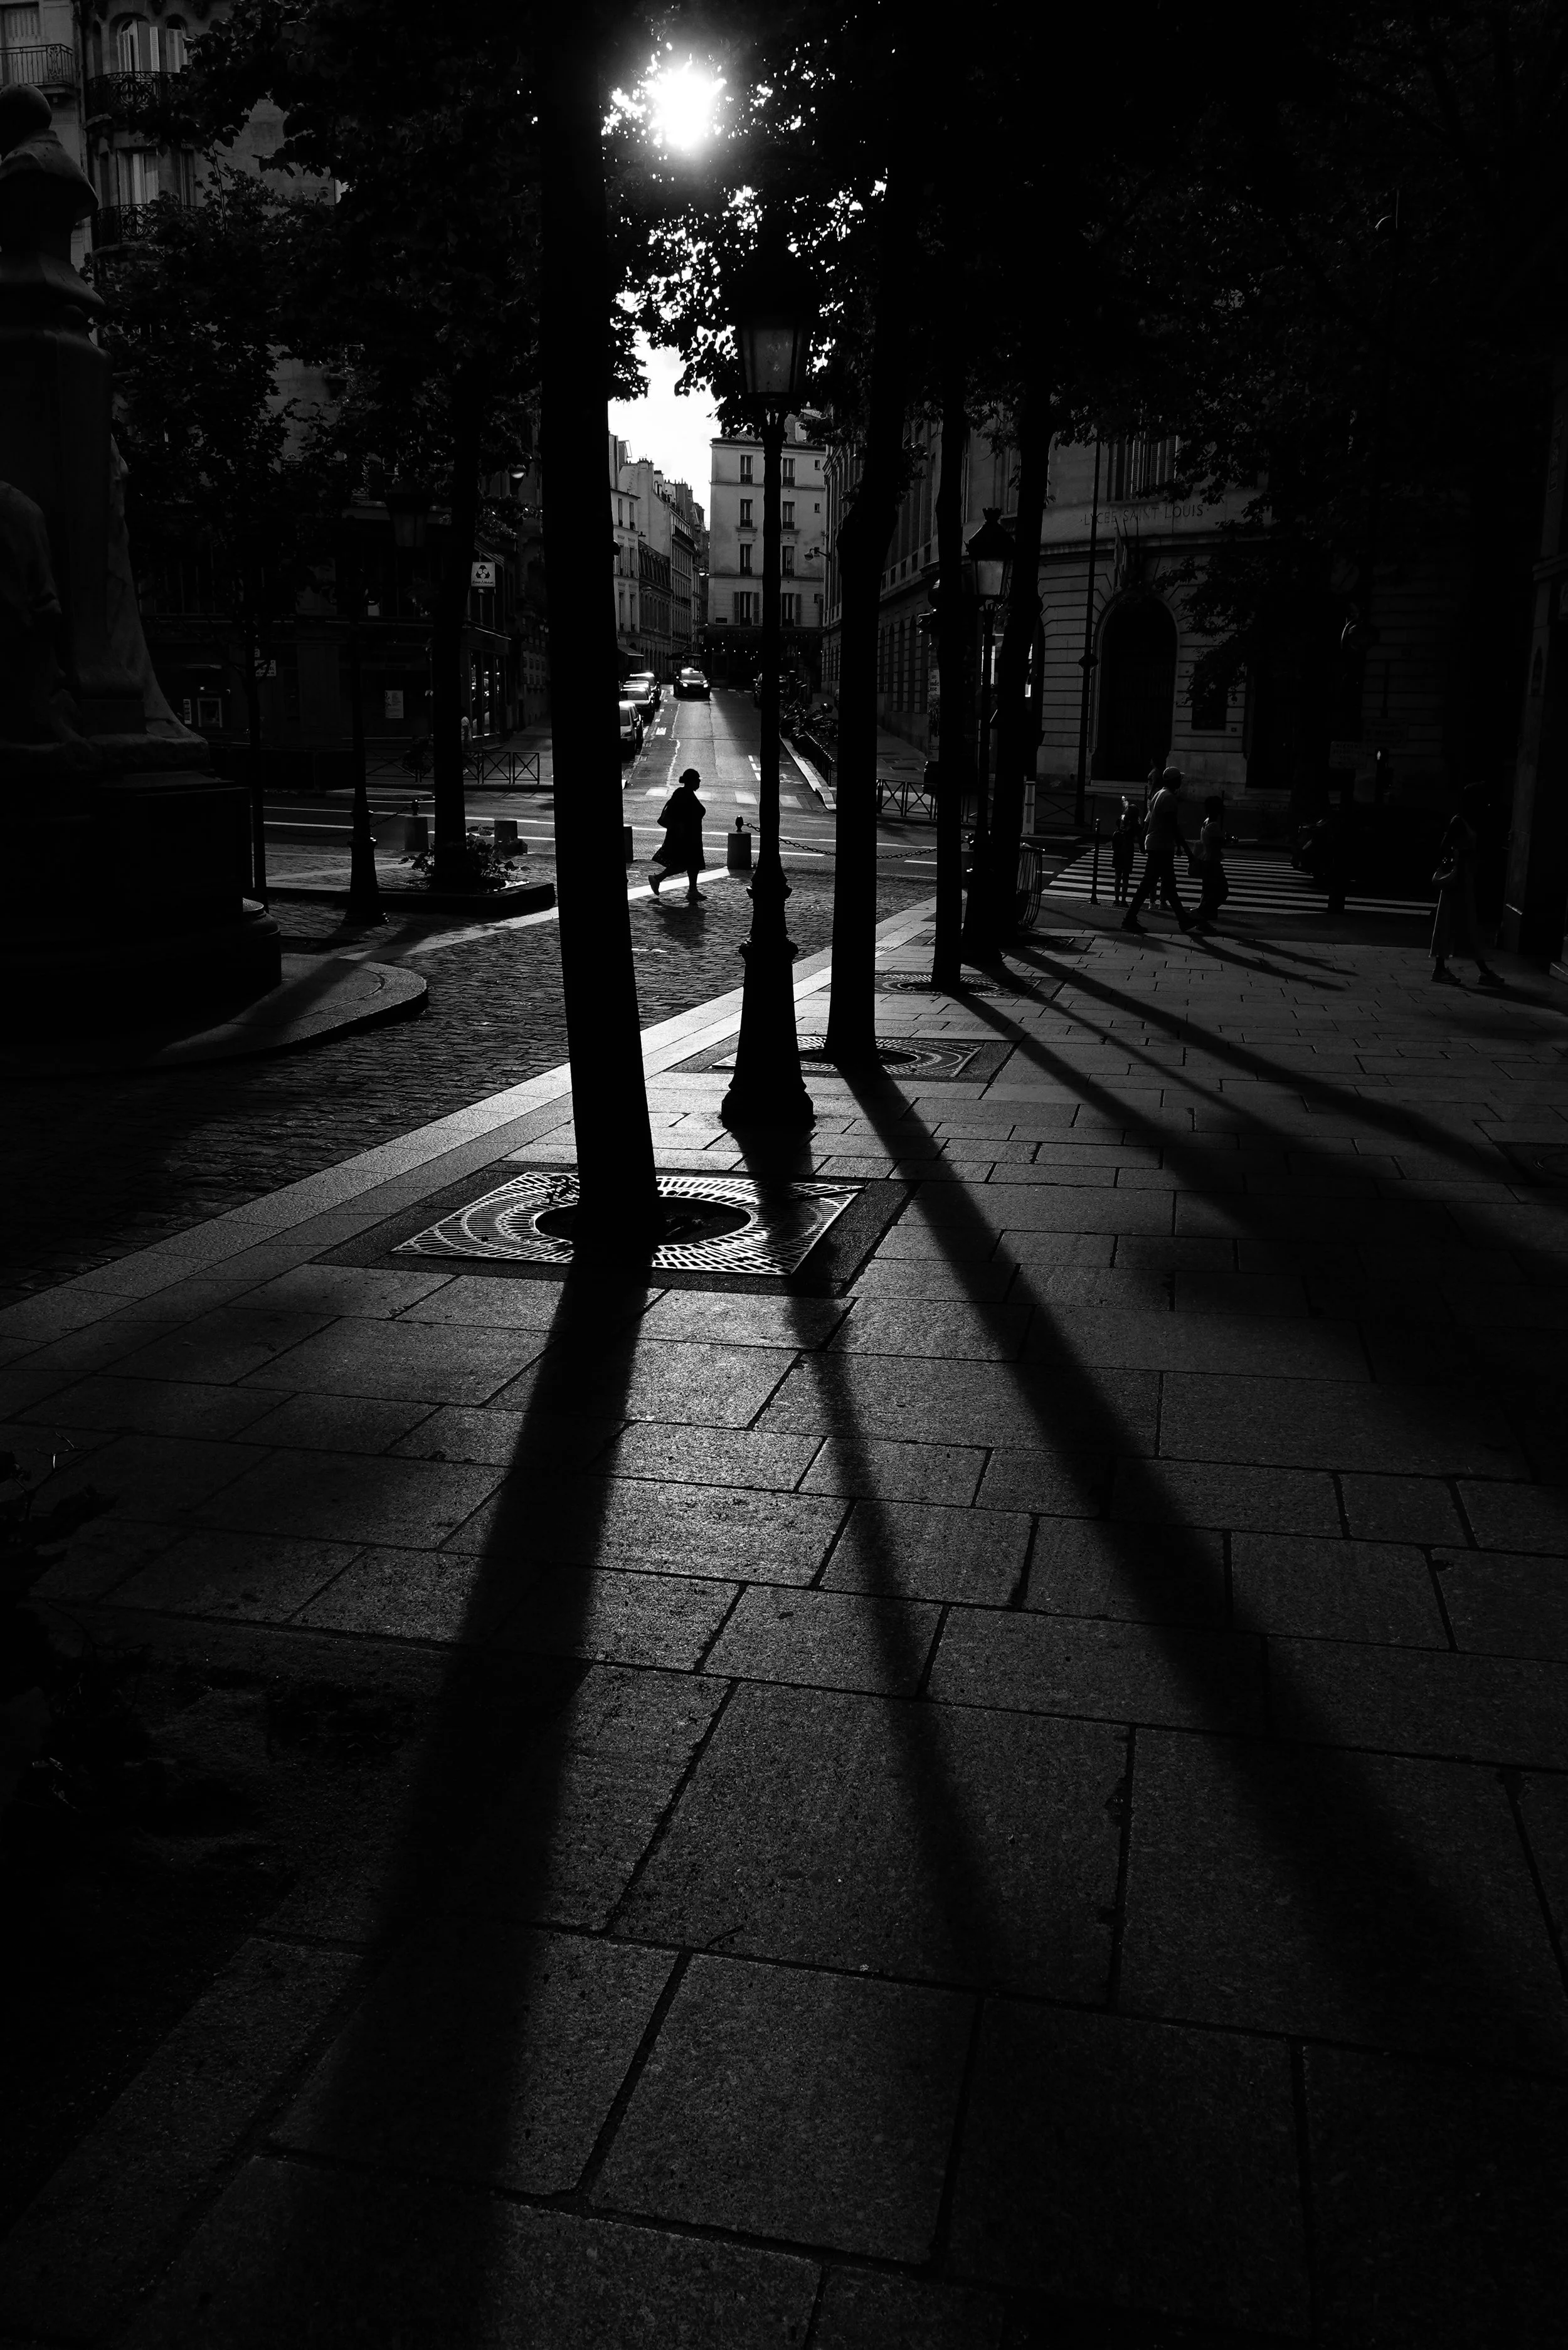
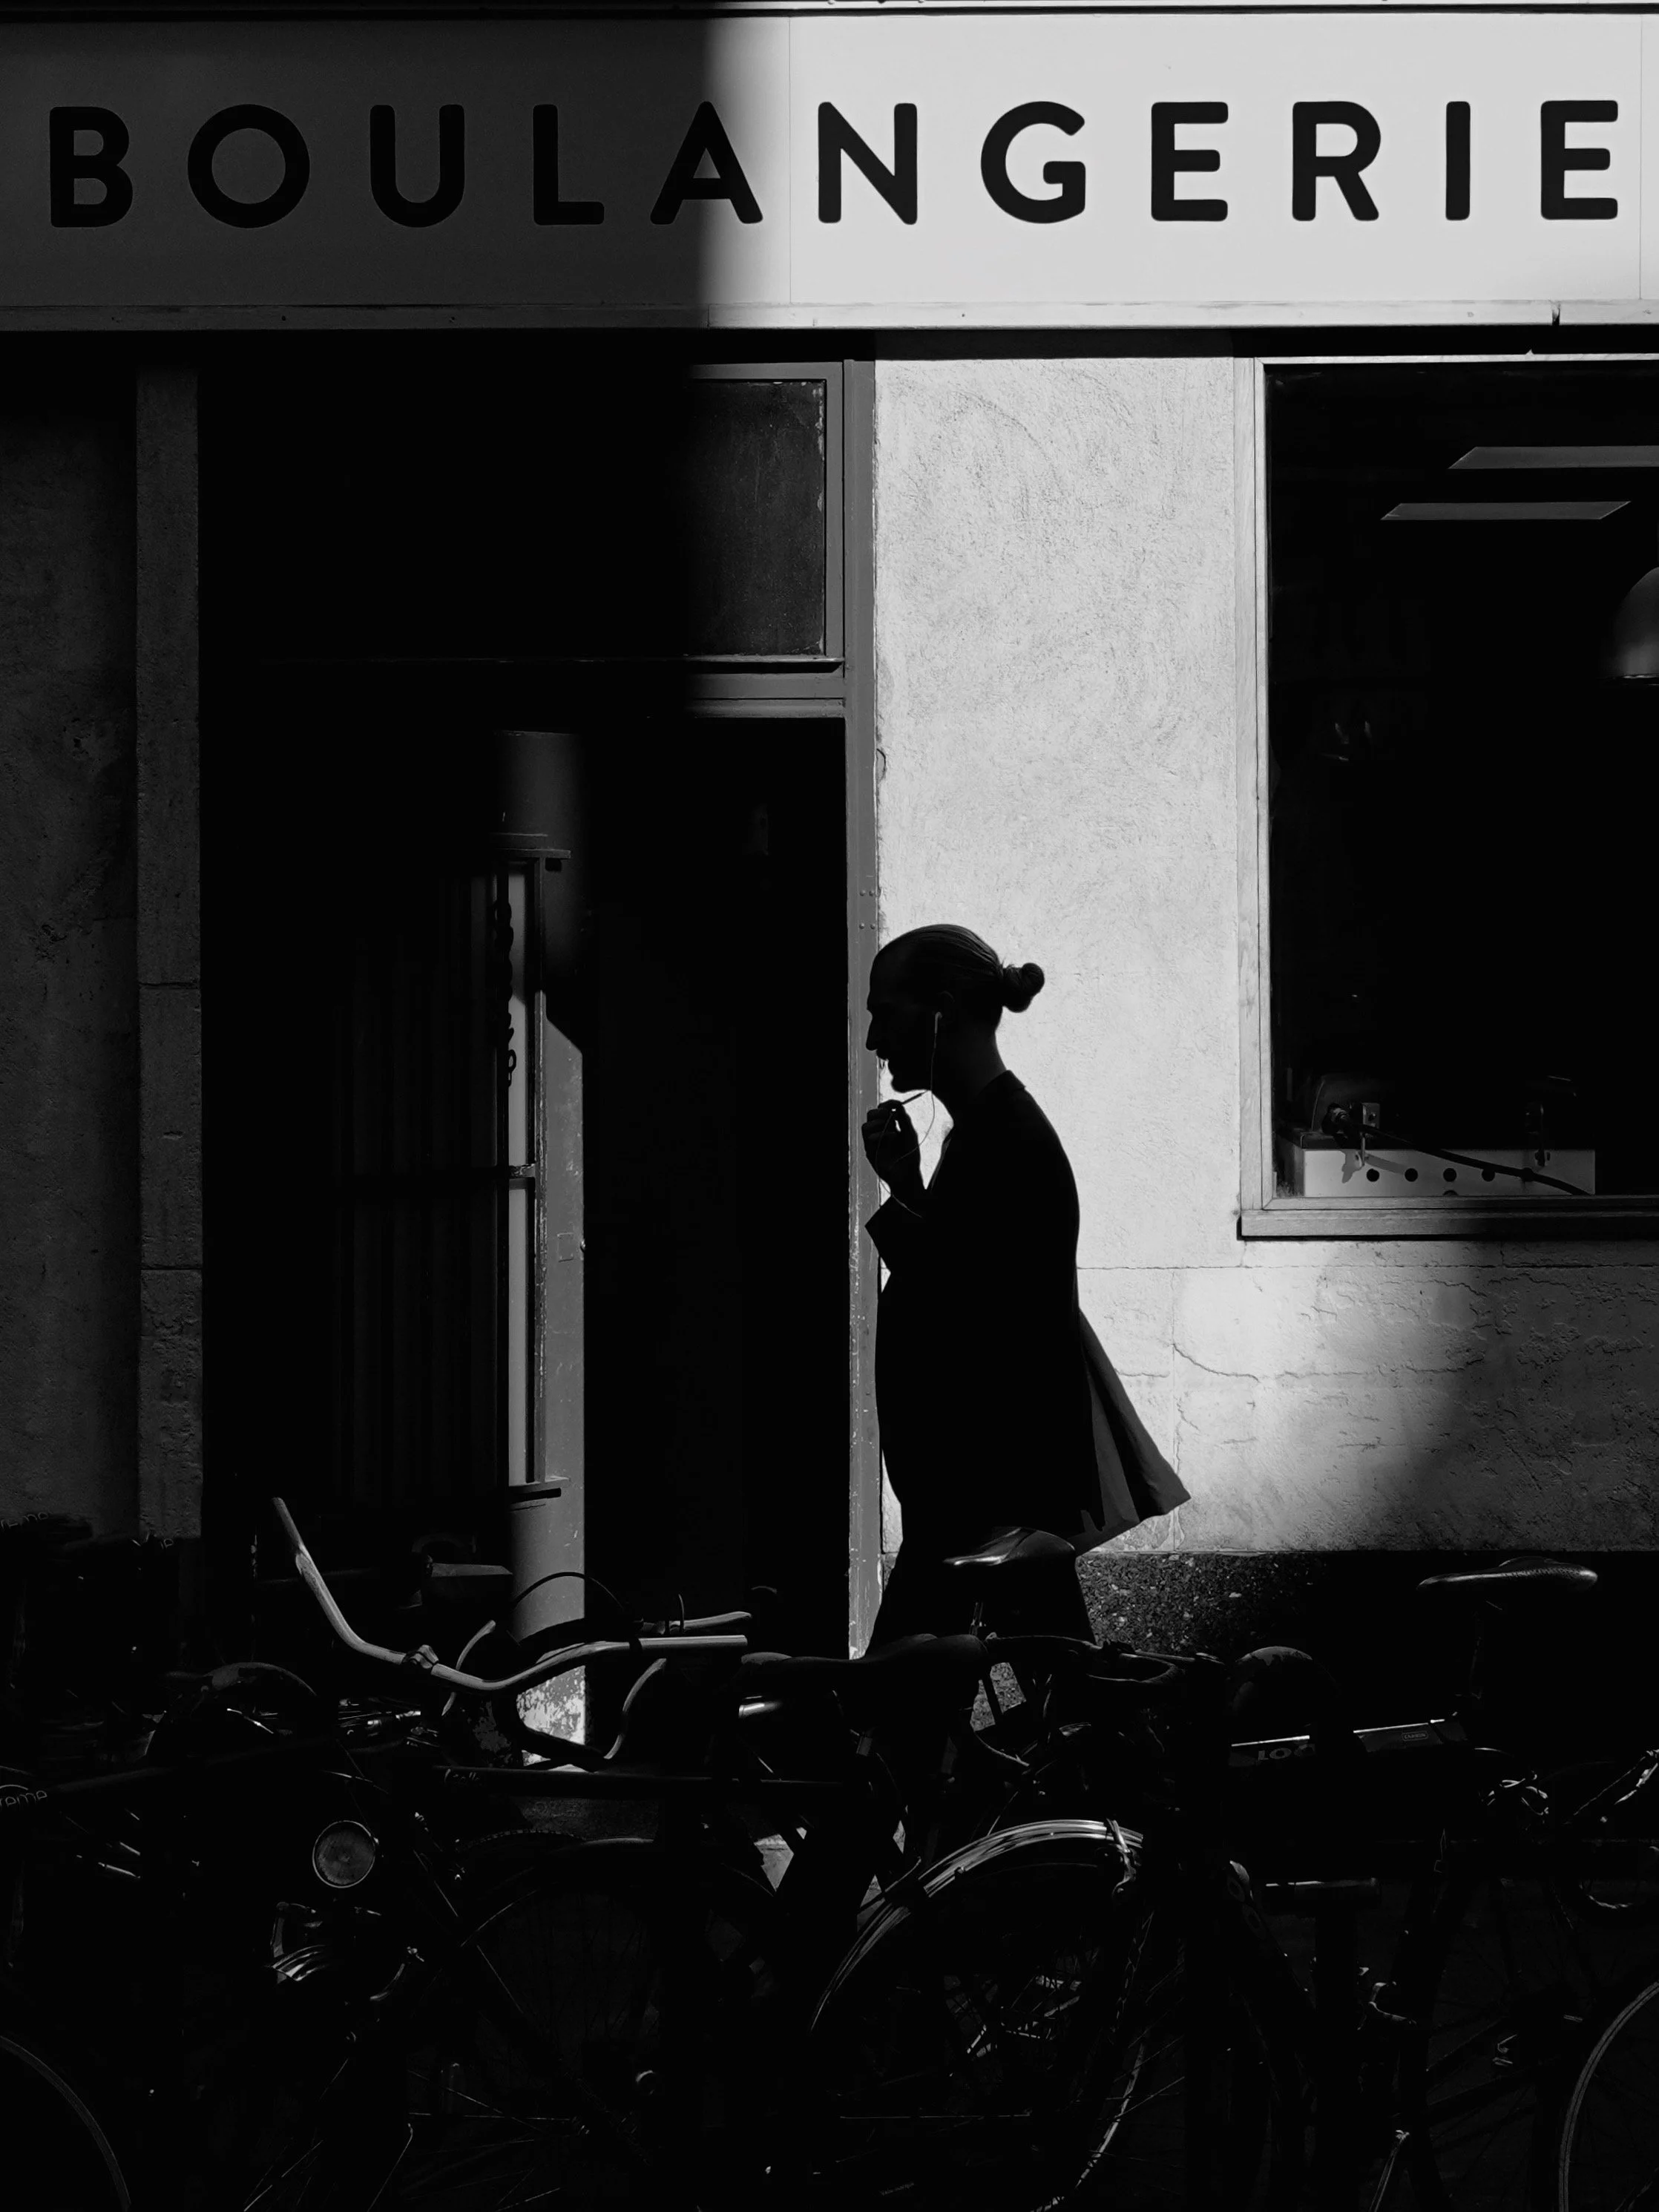
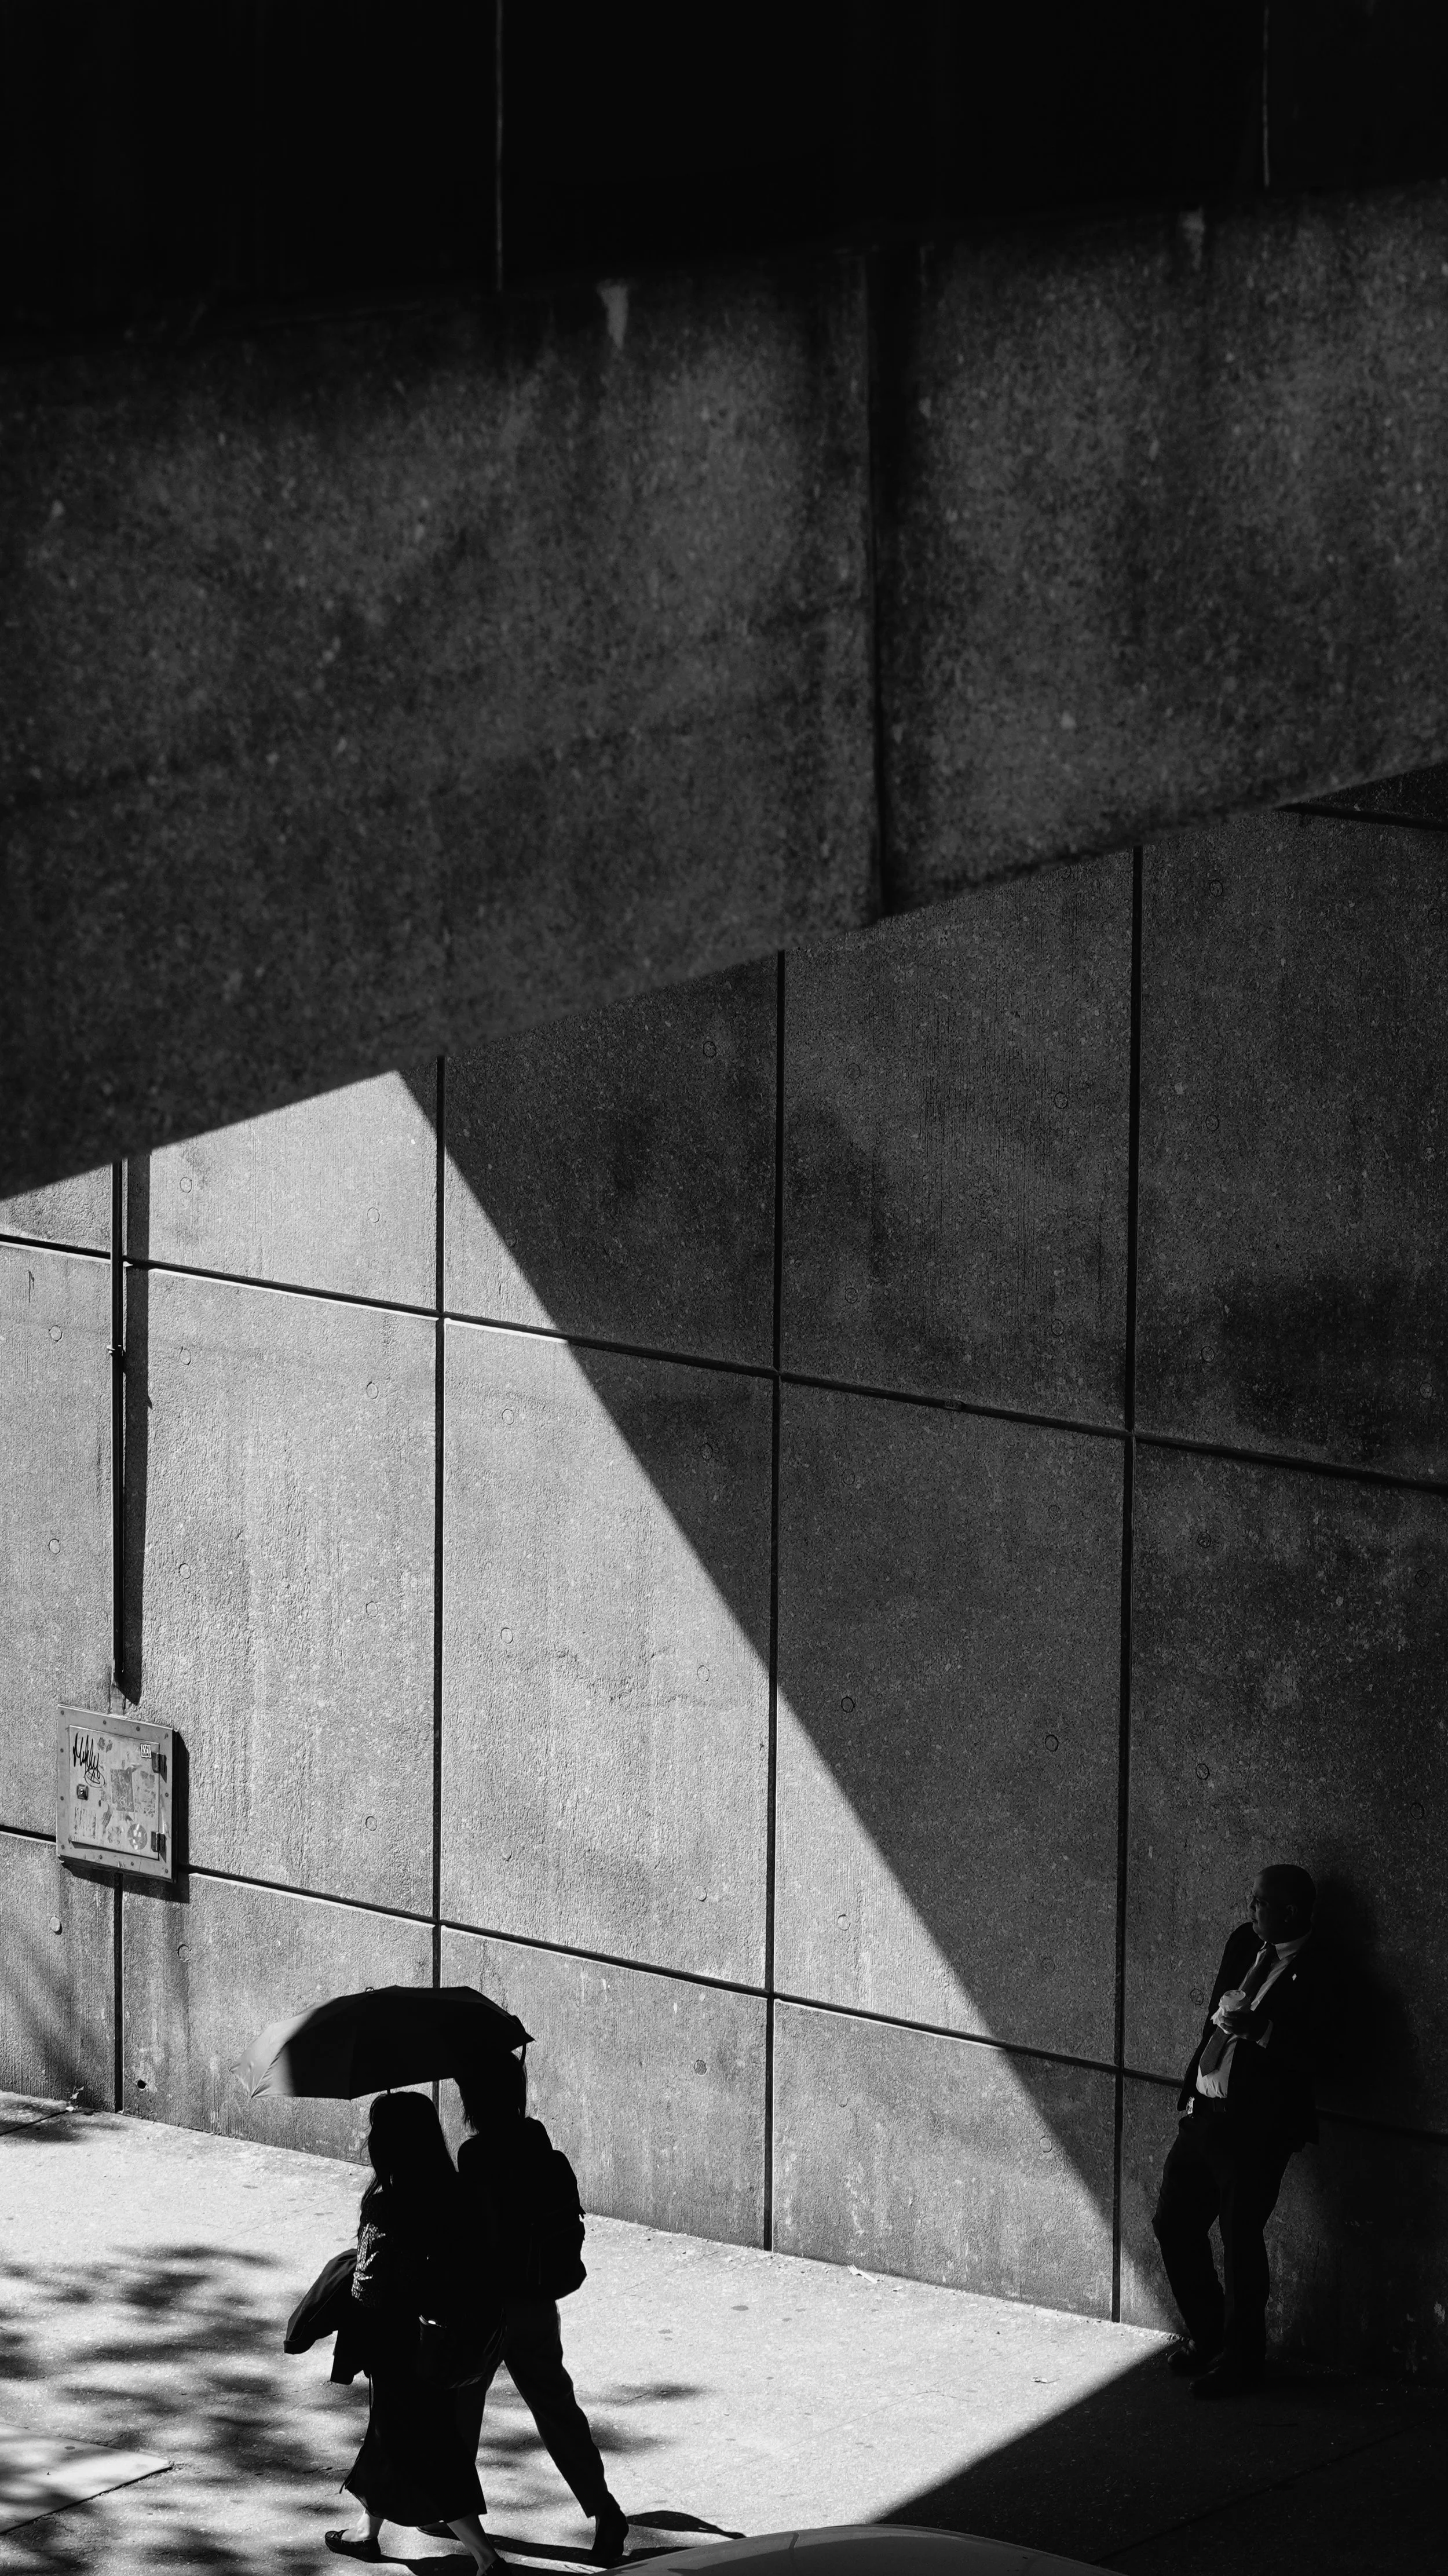
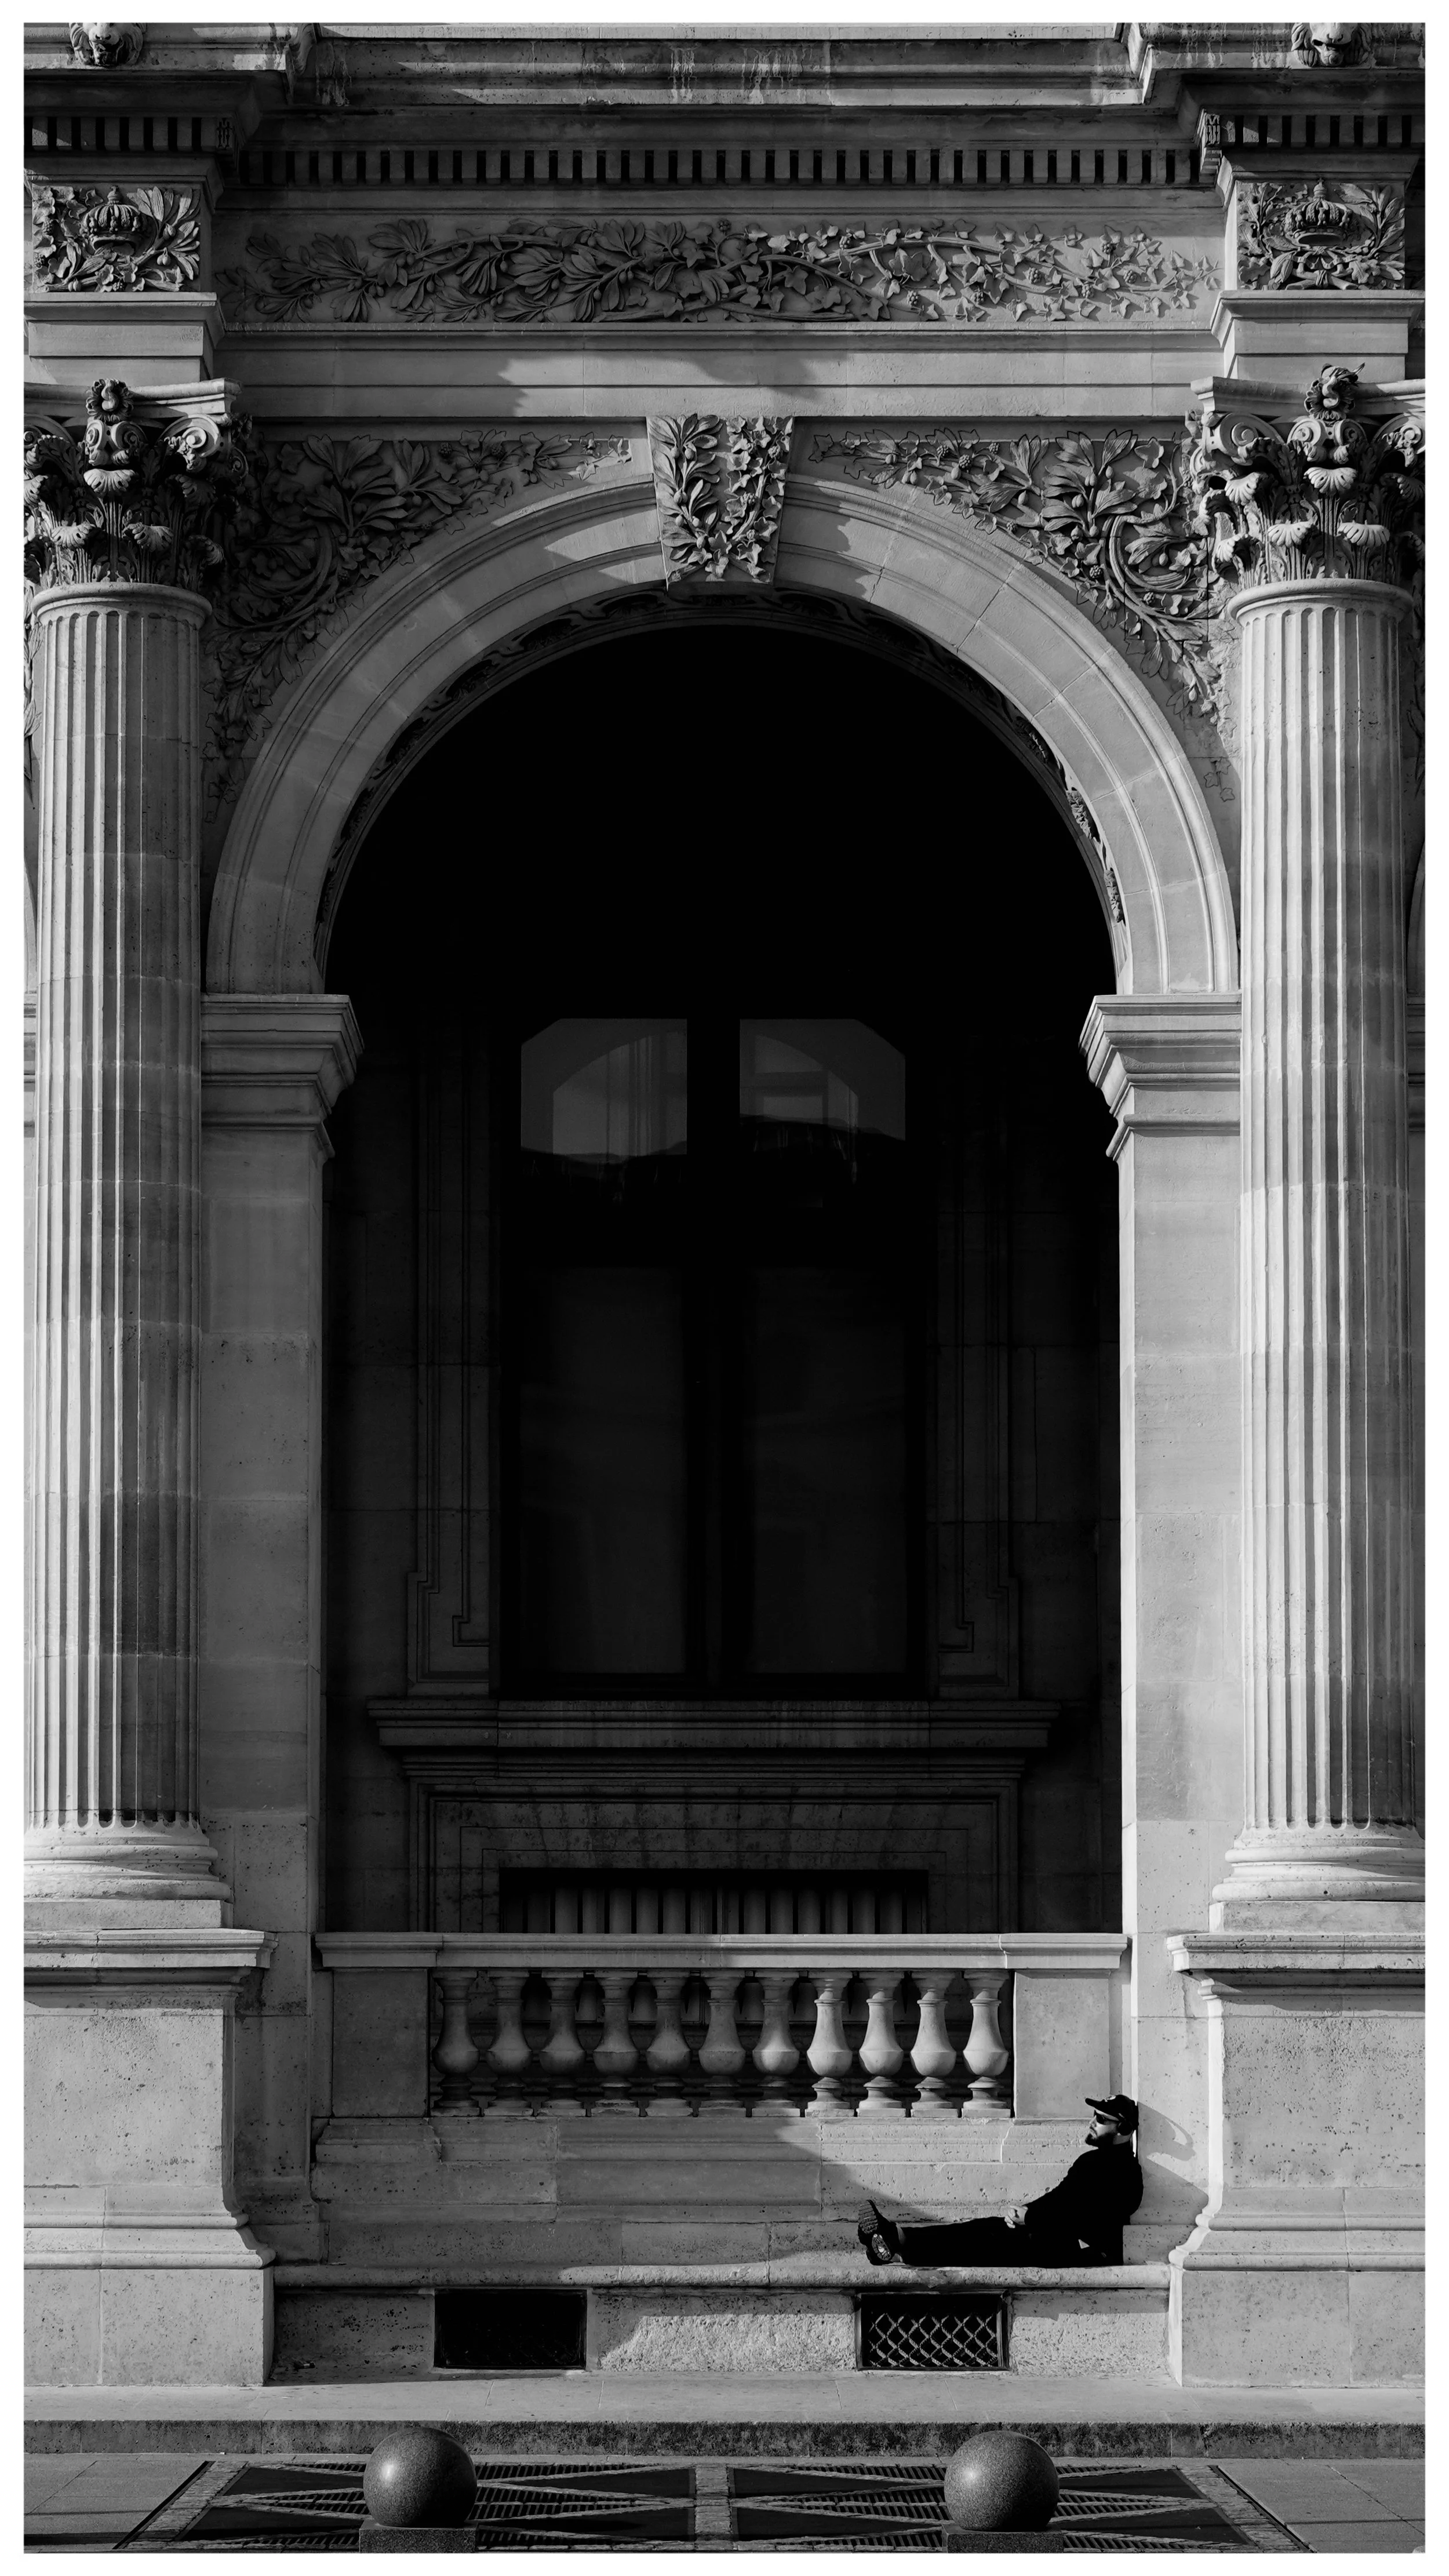
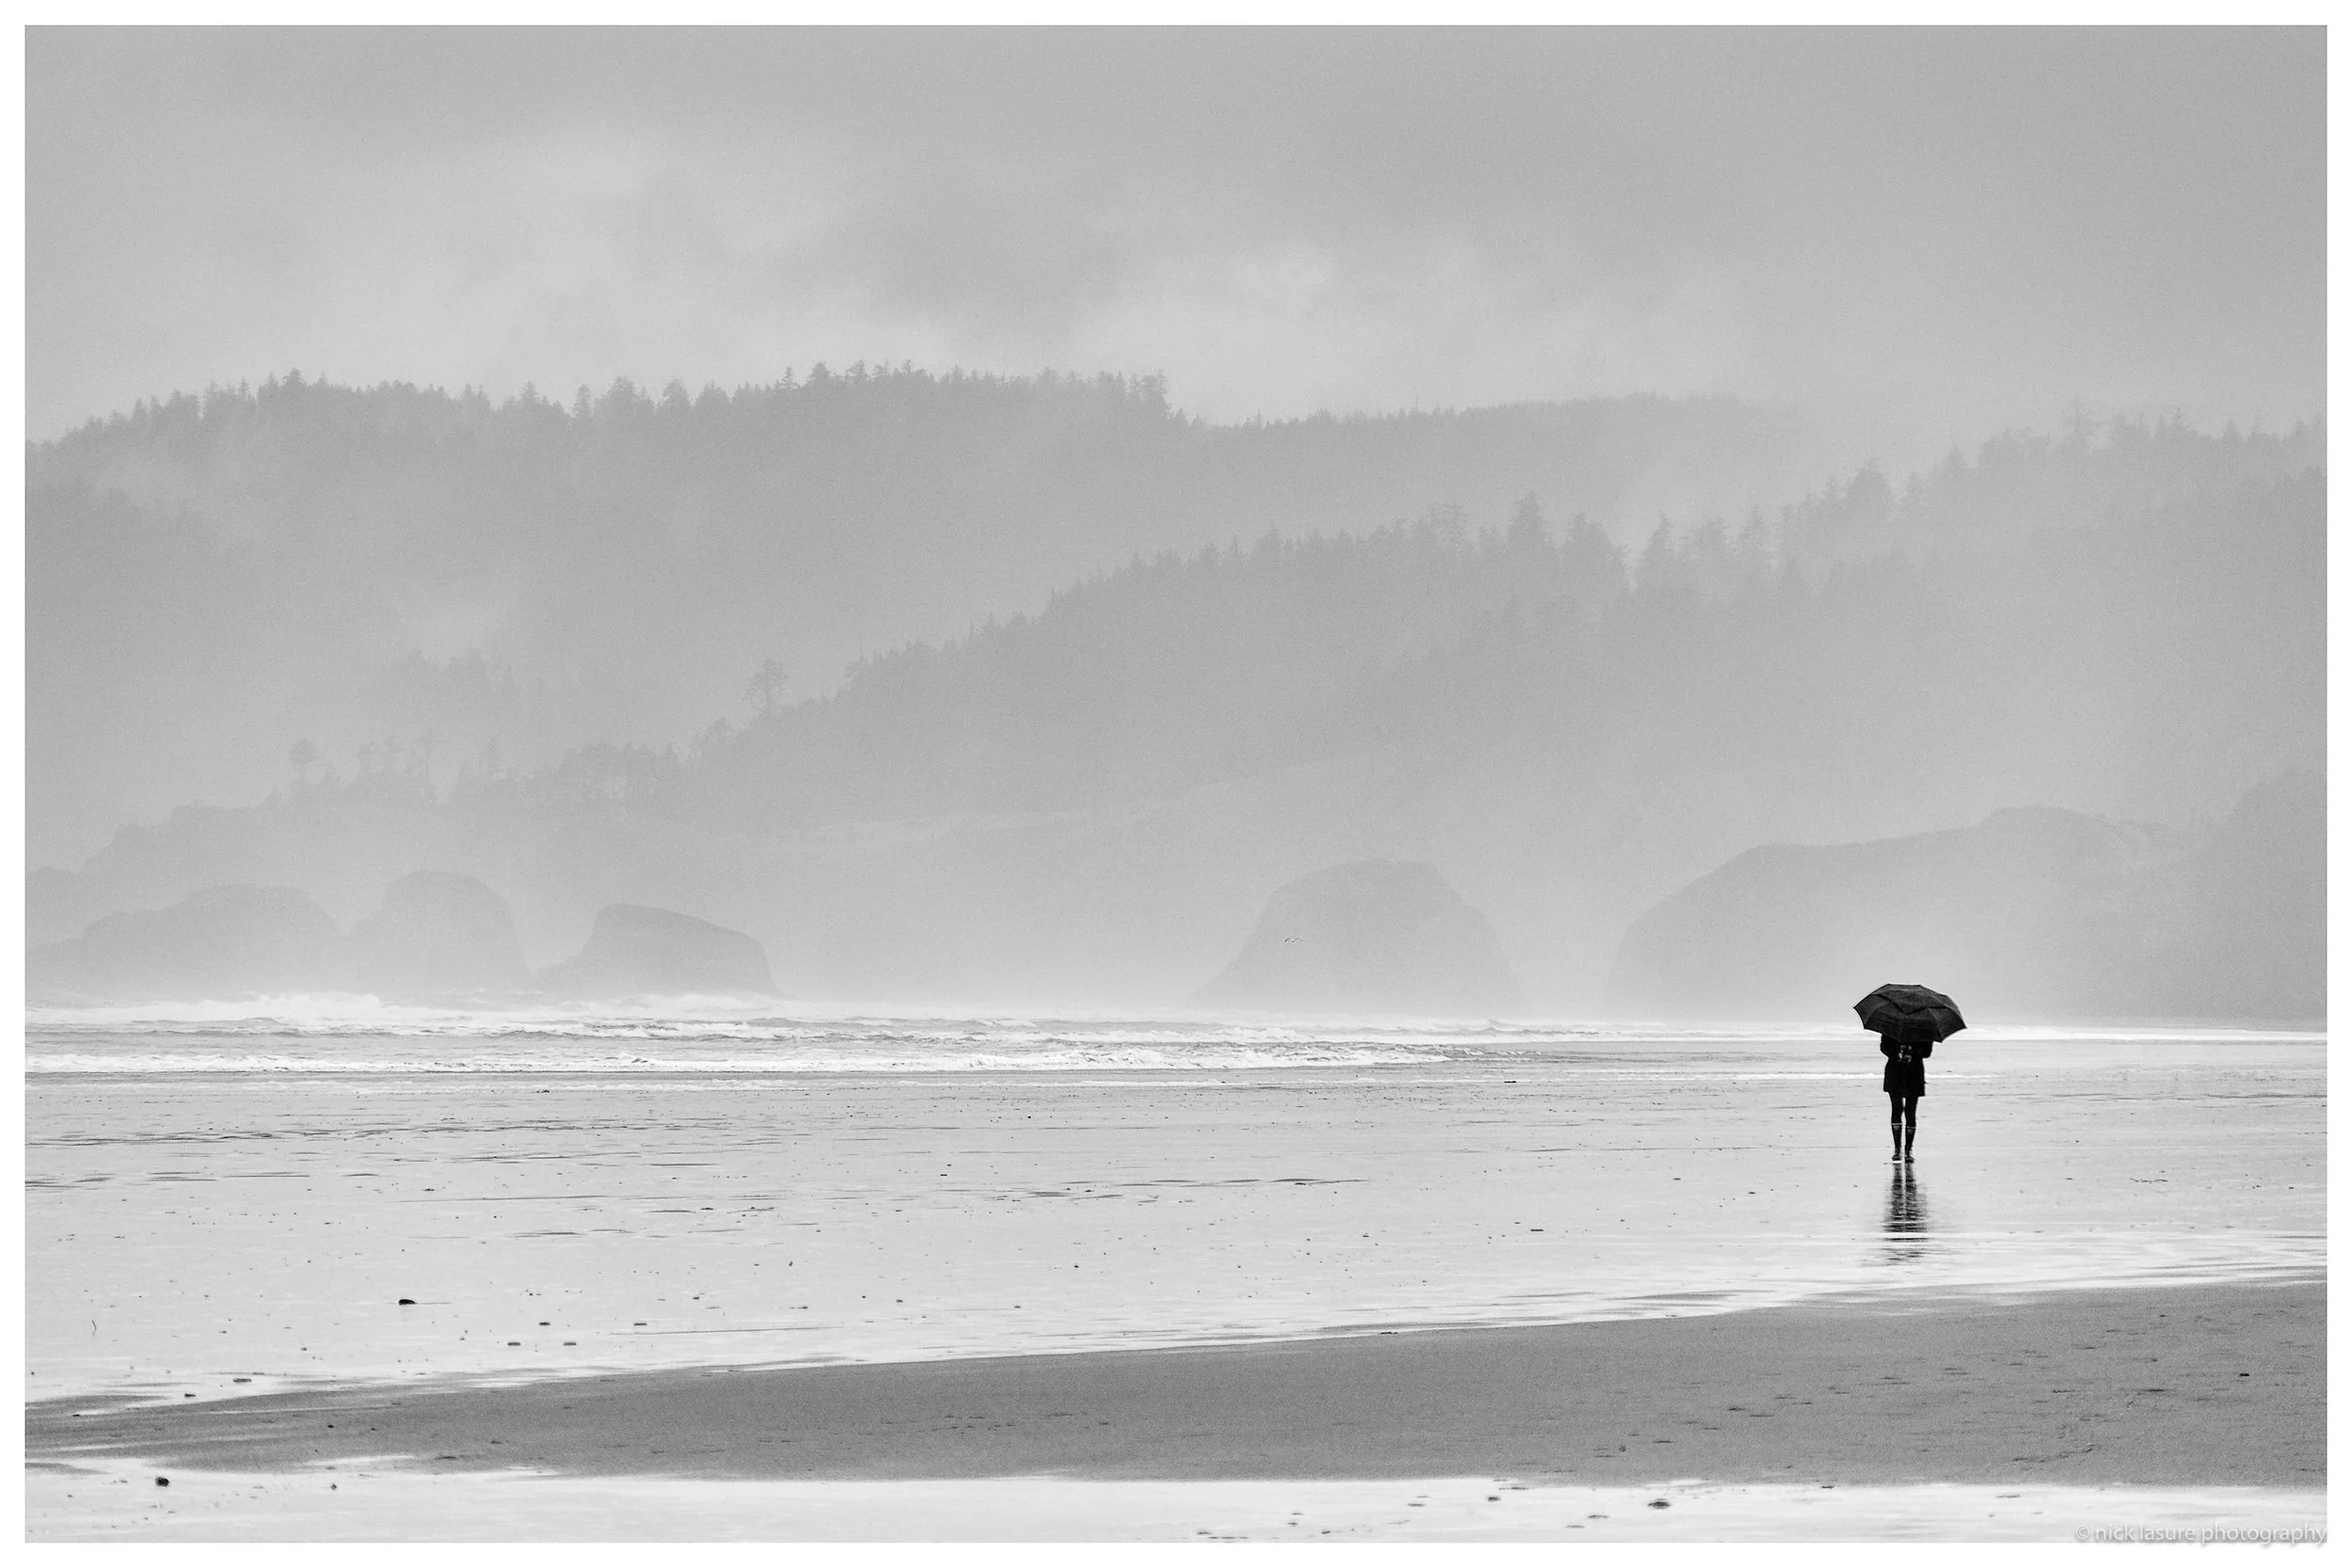
Above: one of my favorite styles is shooting in monochrome and the RX10 excels here.Image Quality
In good light the RX10 produces images that have genuinely impressed me. In fact some of those images are my favorite from any camera I've used. The 1 inch sensor and Zeiss glass are a solid combination and at sensible focal lengths in decent conditions the results are sharp, nicely rendered, and truly satisfying to look at.
The caveats are real though. Low light is where the relationship goes south. I've missed shots that mattered because the RX10 simply couldn't hold it together. When you're somewhere maybe once and the light is doing something interesting in a dark alley or rainy street and the camera is fighting you, it stings. It's not a camera I'd choose for that kind of shooting if I had options. That's the price of the 1 inch sensor and the zoom range, and it's worth knowing before you commit.At about 400mm and beyond, the image quality drops noticeably. It's usable but you're asking a lot of the optics at that extreme, and the results reflect it. Think of the long end as a creative tool rather than a precision instrument and you'll be fine. There are gimmicks onboard such as Clear Image Zoom (digital) which goes beyond the 600mm mark, but if I need that much zoom it isn't a worthwhile shot to me.The RX10 IV also lacks image stabilization, so one does need to shoot with a steady hand in low light or keep a tripod handy. I carry a small Manfrotto travel tripod that's come in handy many times and especially for use with my 10 stop Urth ND filter that's always on hand as well. Long exposures are one of my favorite styles to work with so a necessity to have a steady base.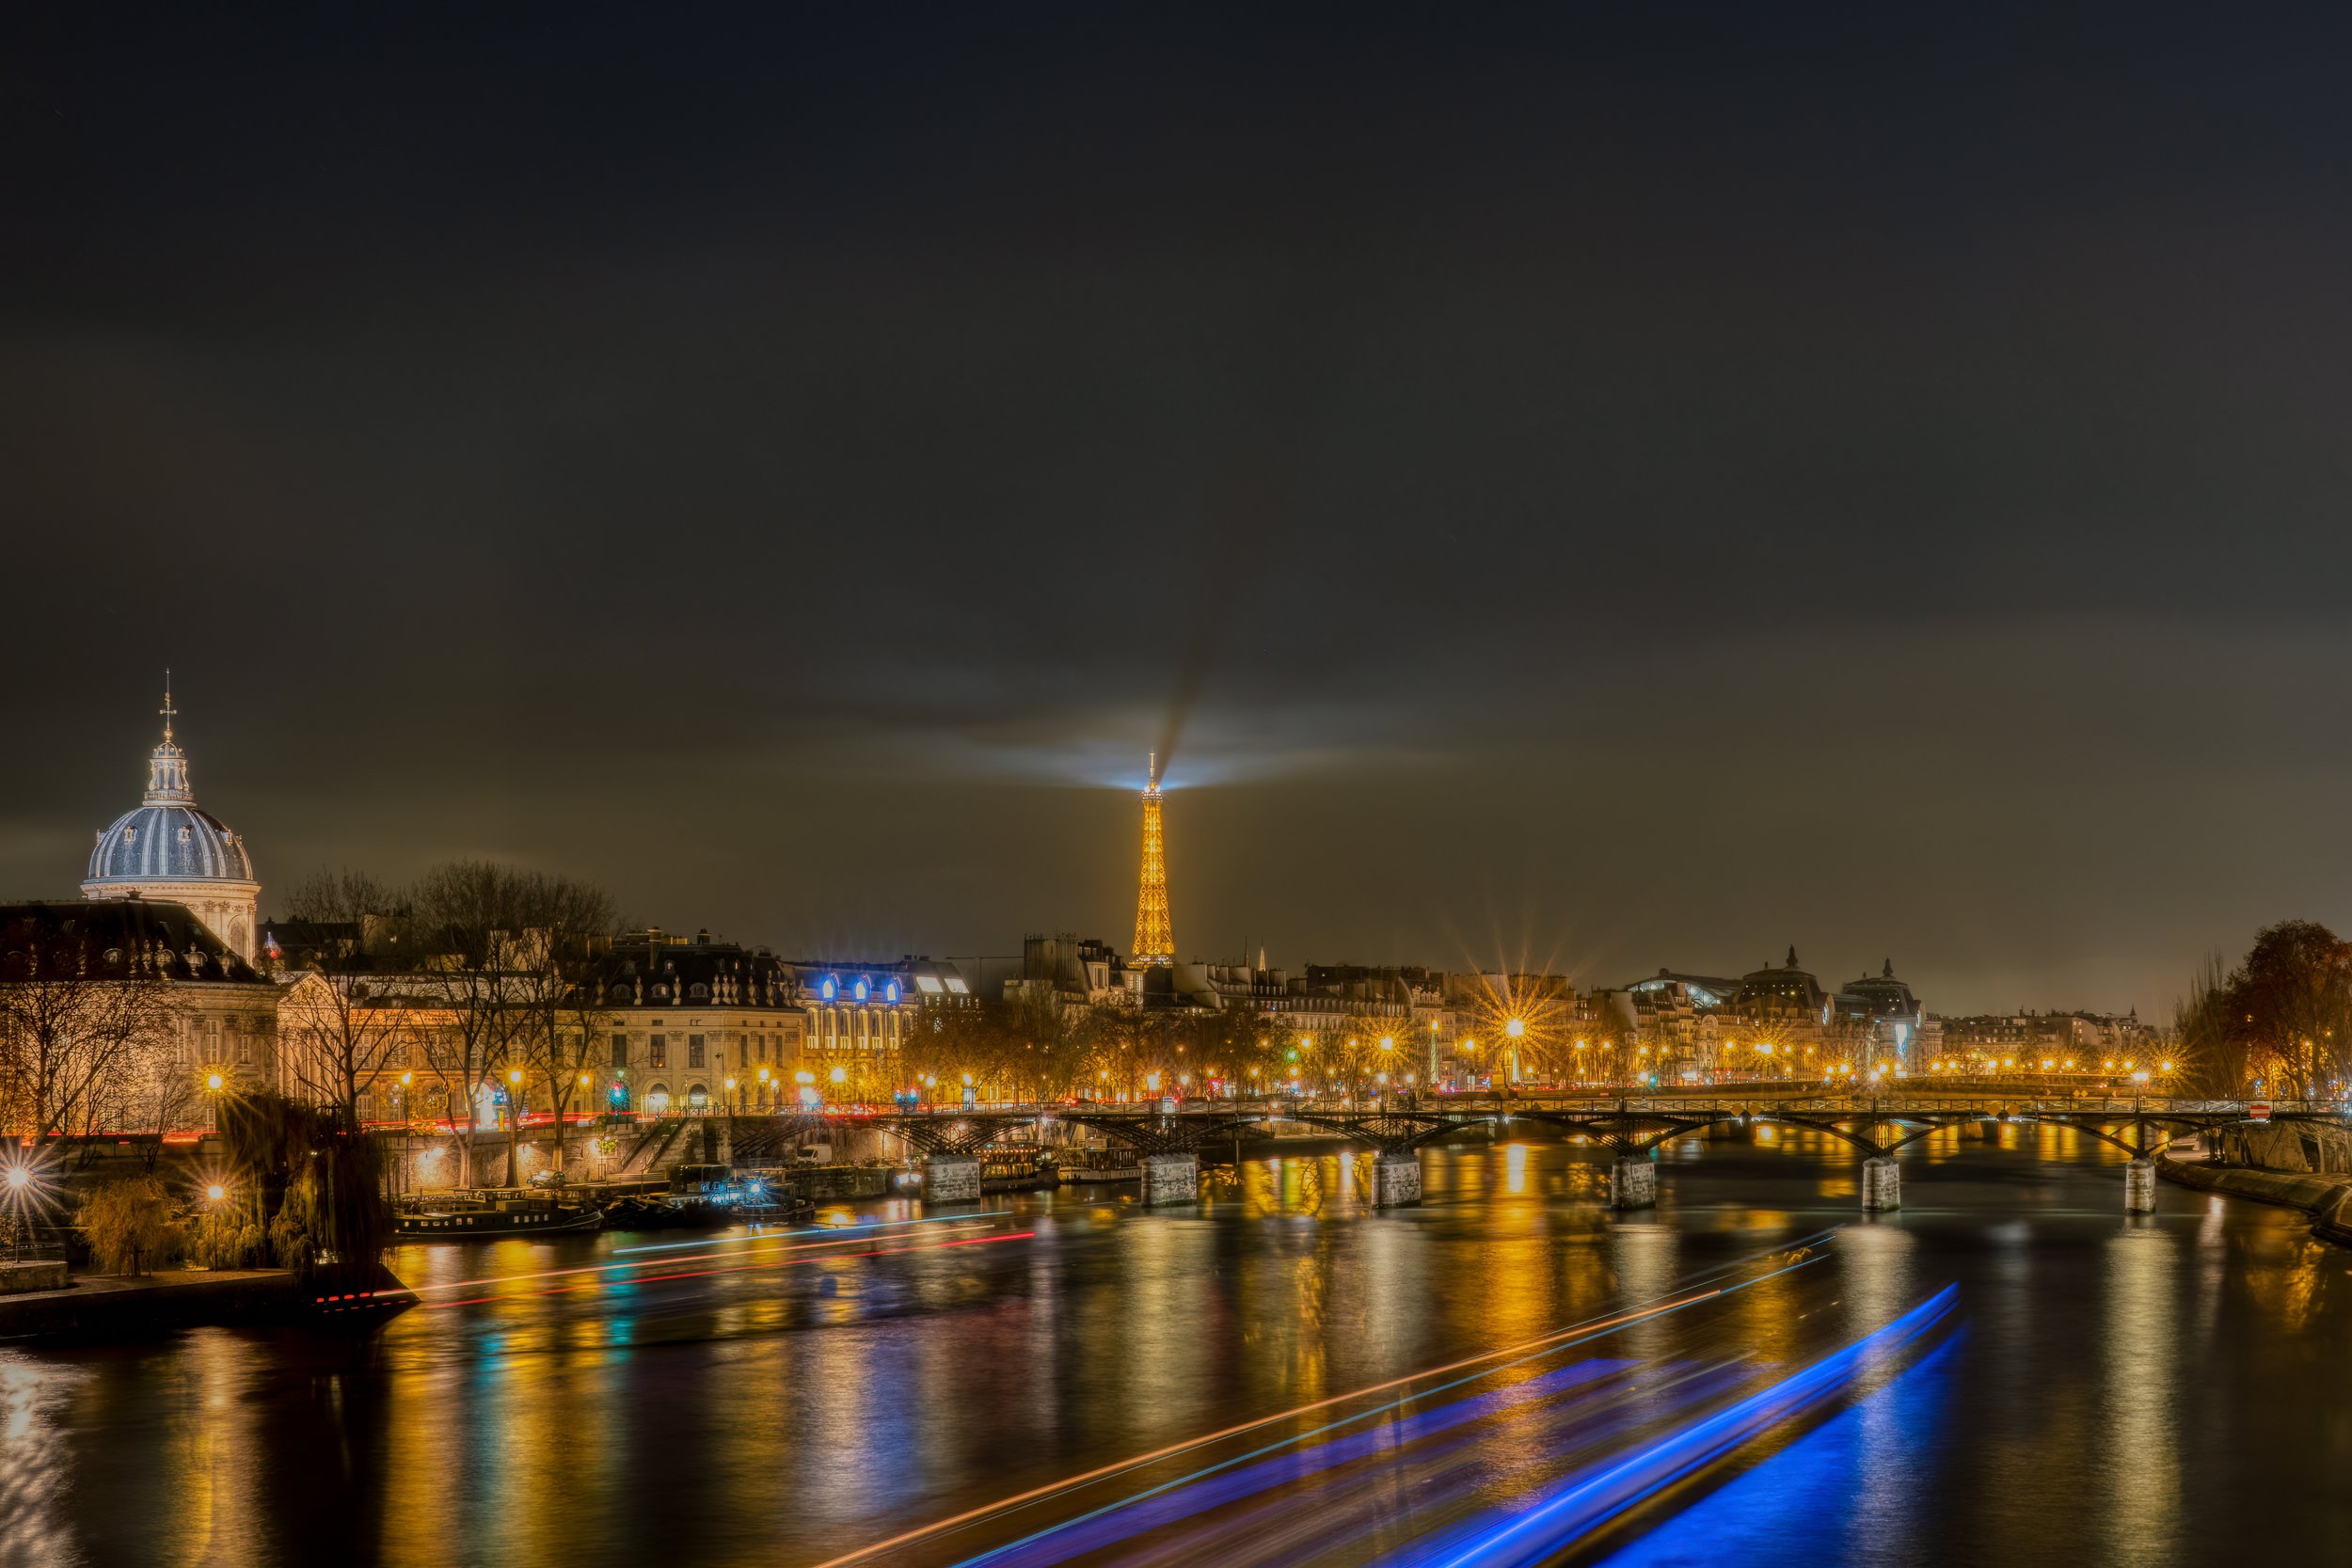
A chilly Paris evening | Sony RX10IV
Build Quality
For a camera that is not technically weather sealed, it has held up to years of genuine abuse. I don't let rain or snow keep me indoors and I've pushed the RX10 through some serious weather slogs. Along with the inevitable drops and knocks of life on the road, it has remained functional and solid. I also keep it on a Peak Design Cuff which has saved it from worse fates on more than one occasion.
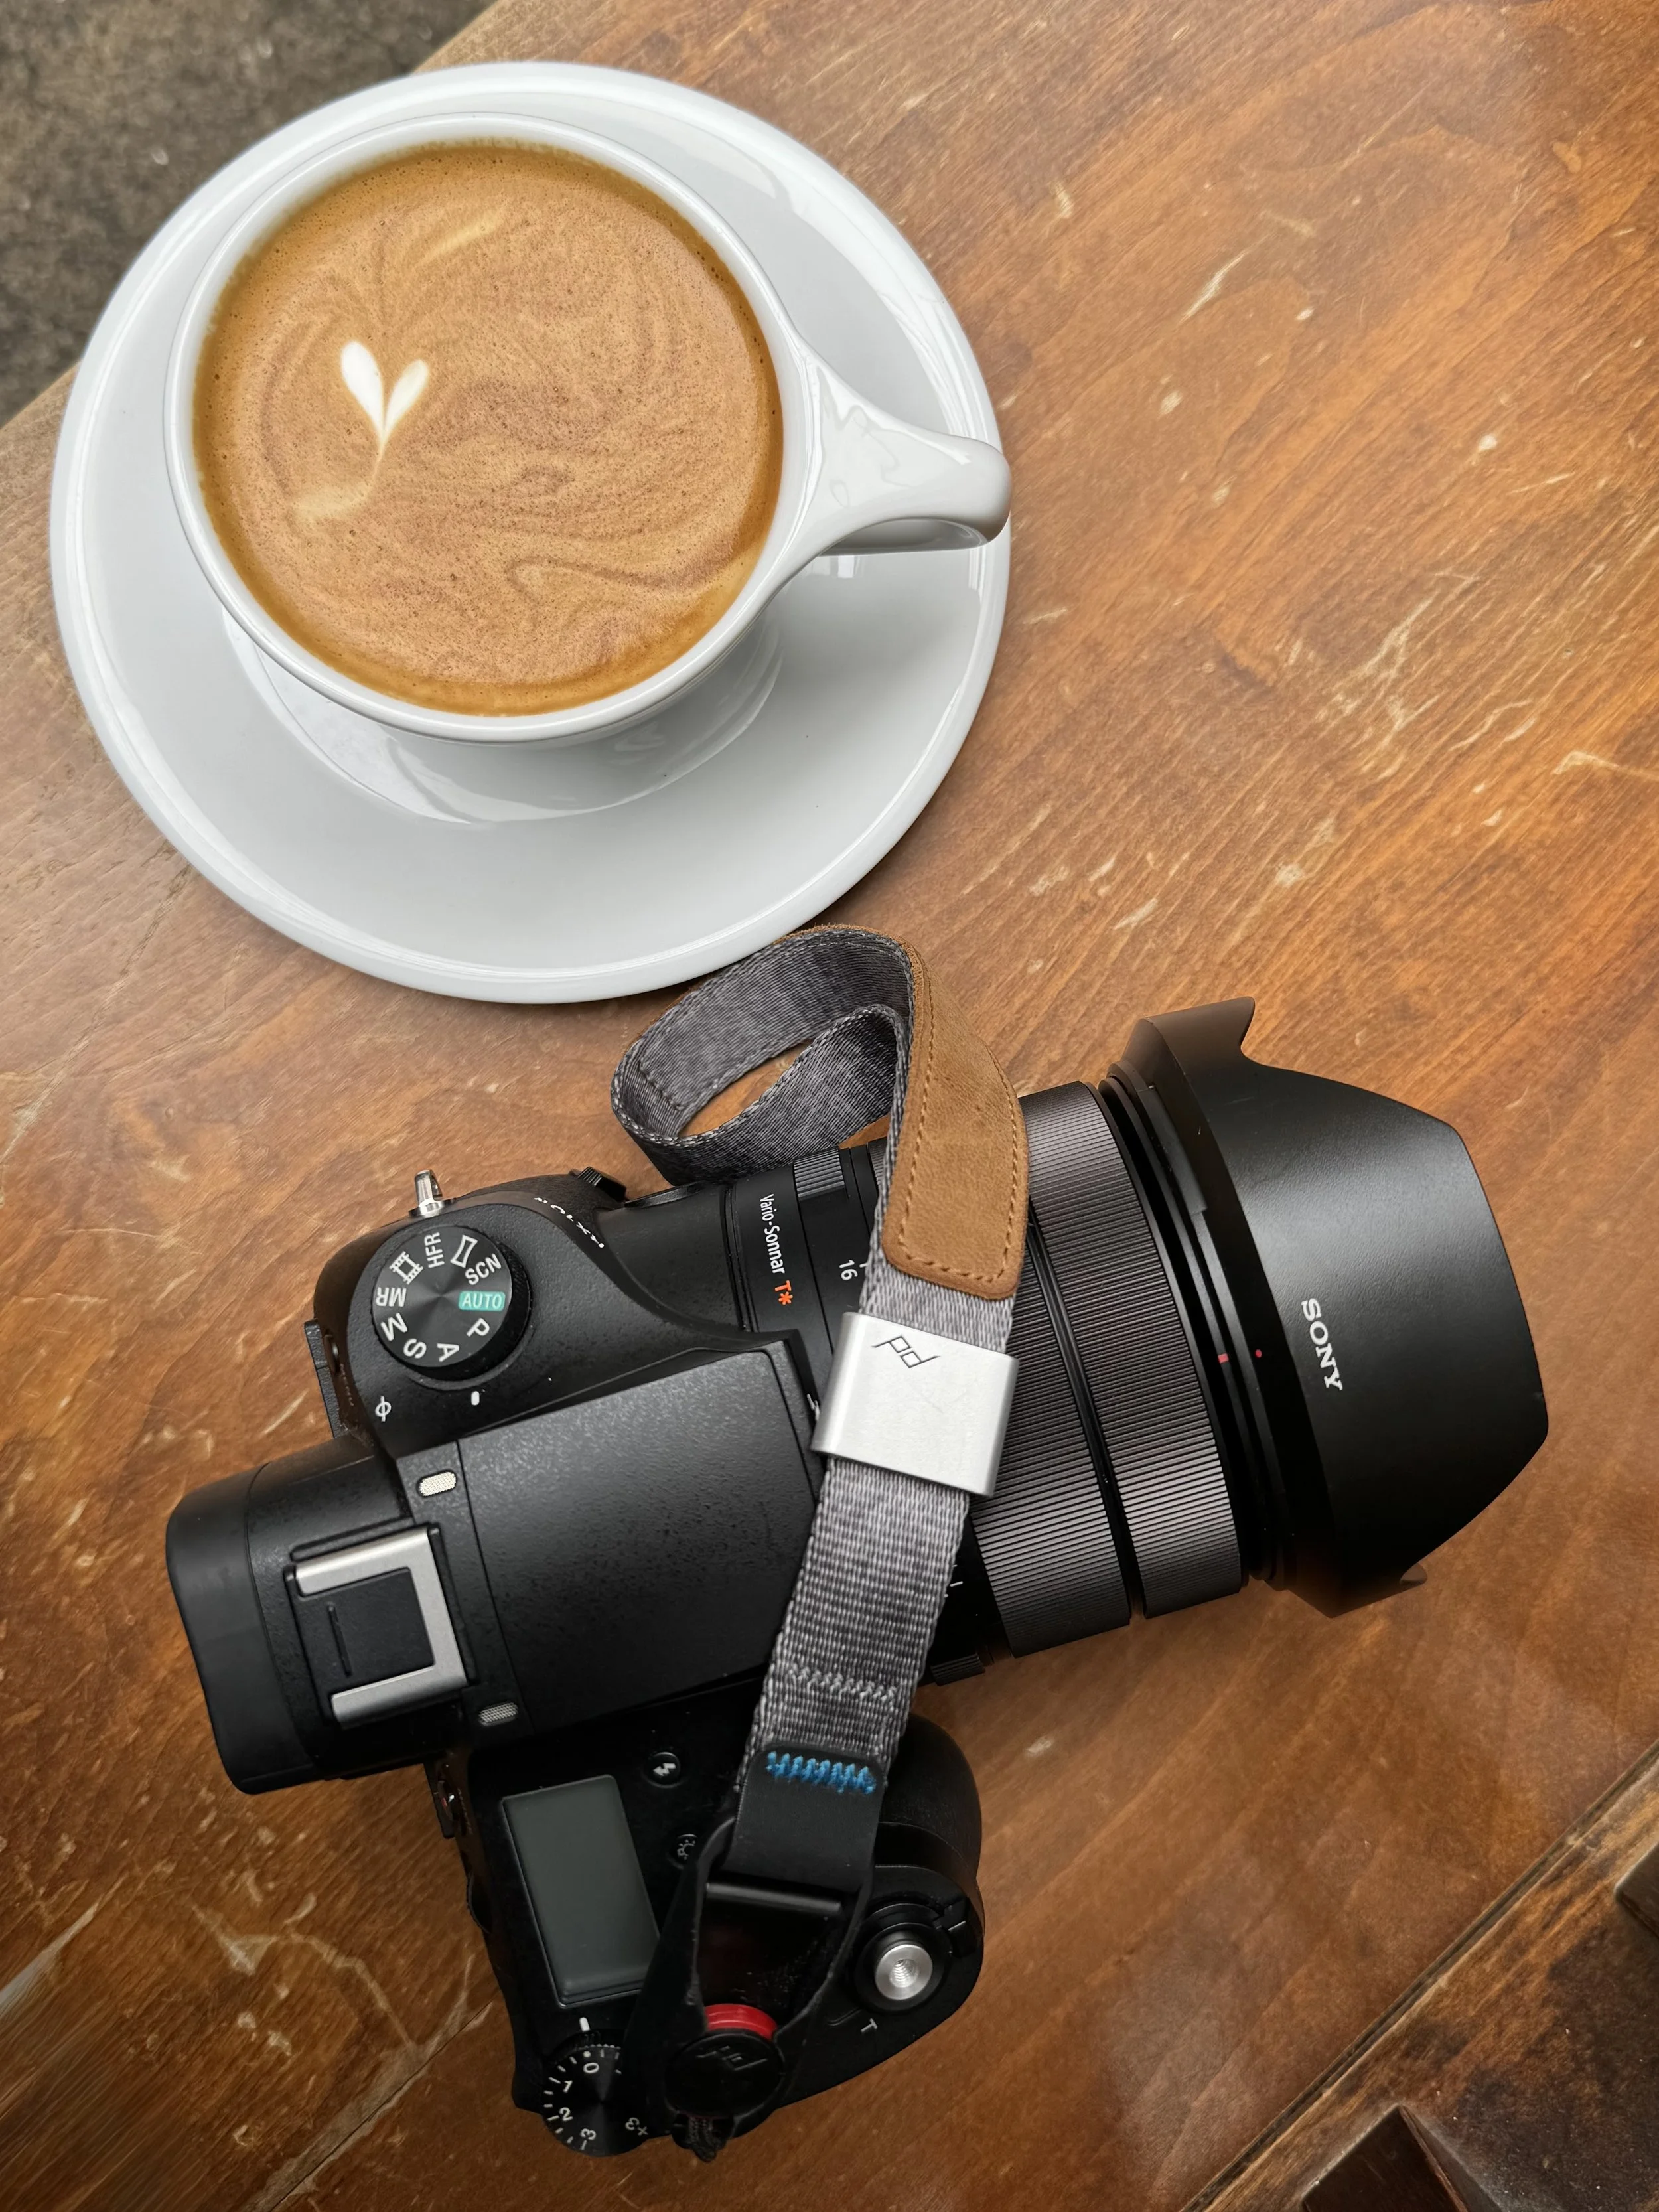
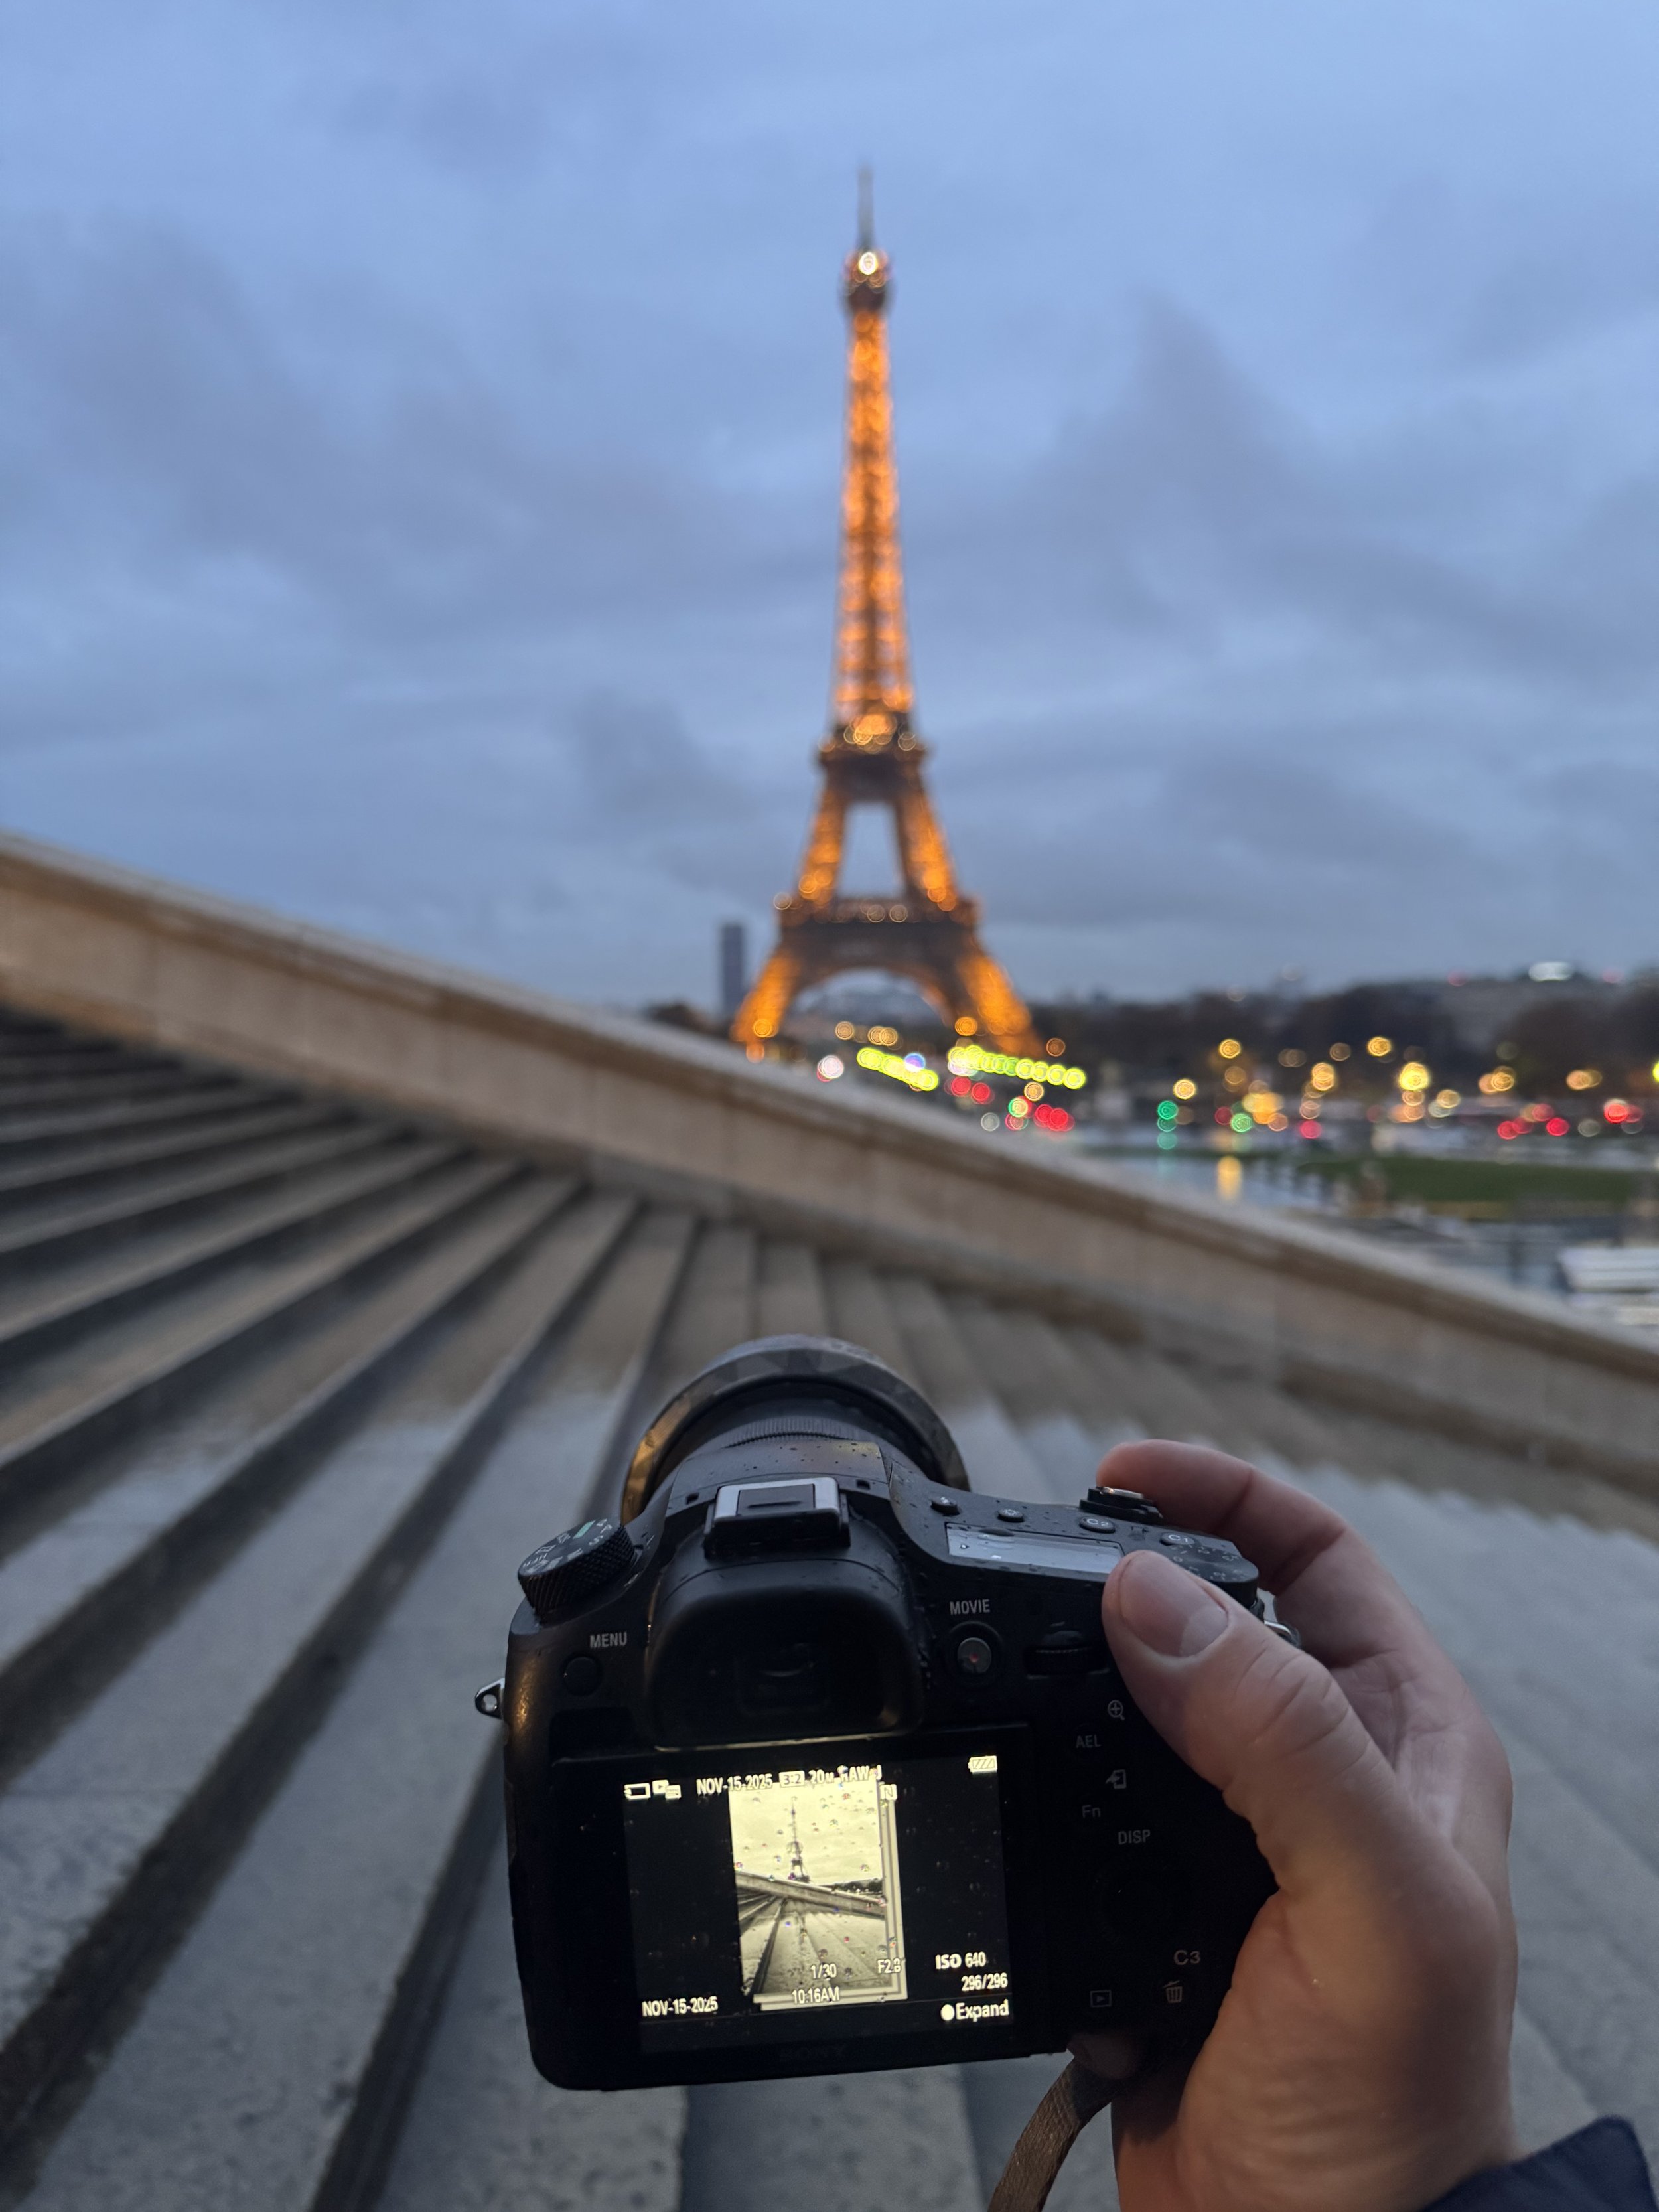
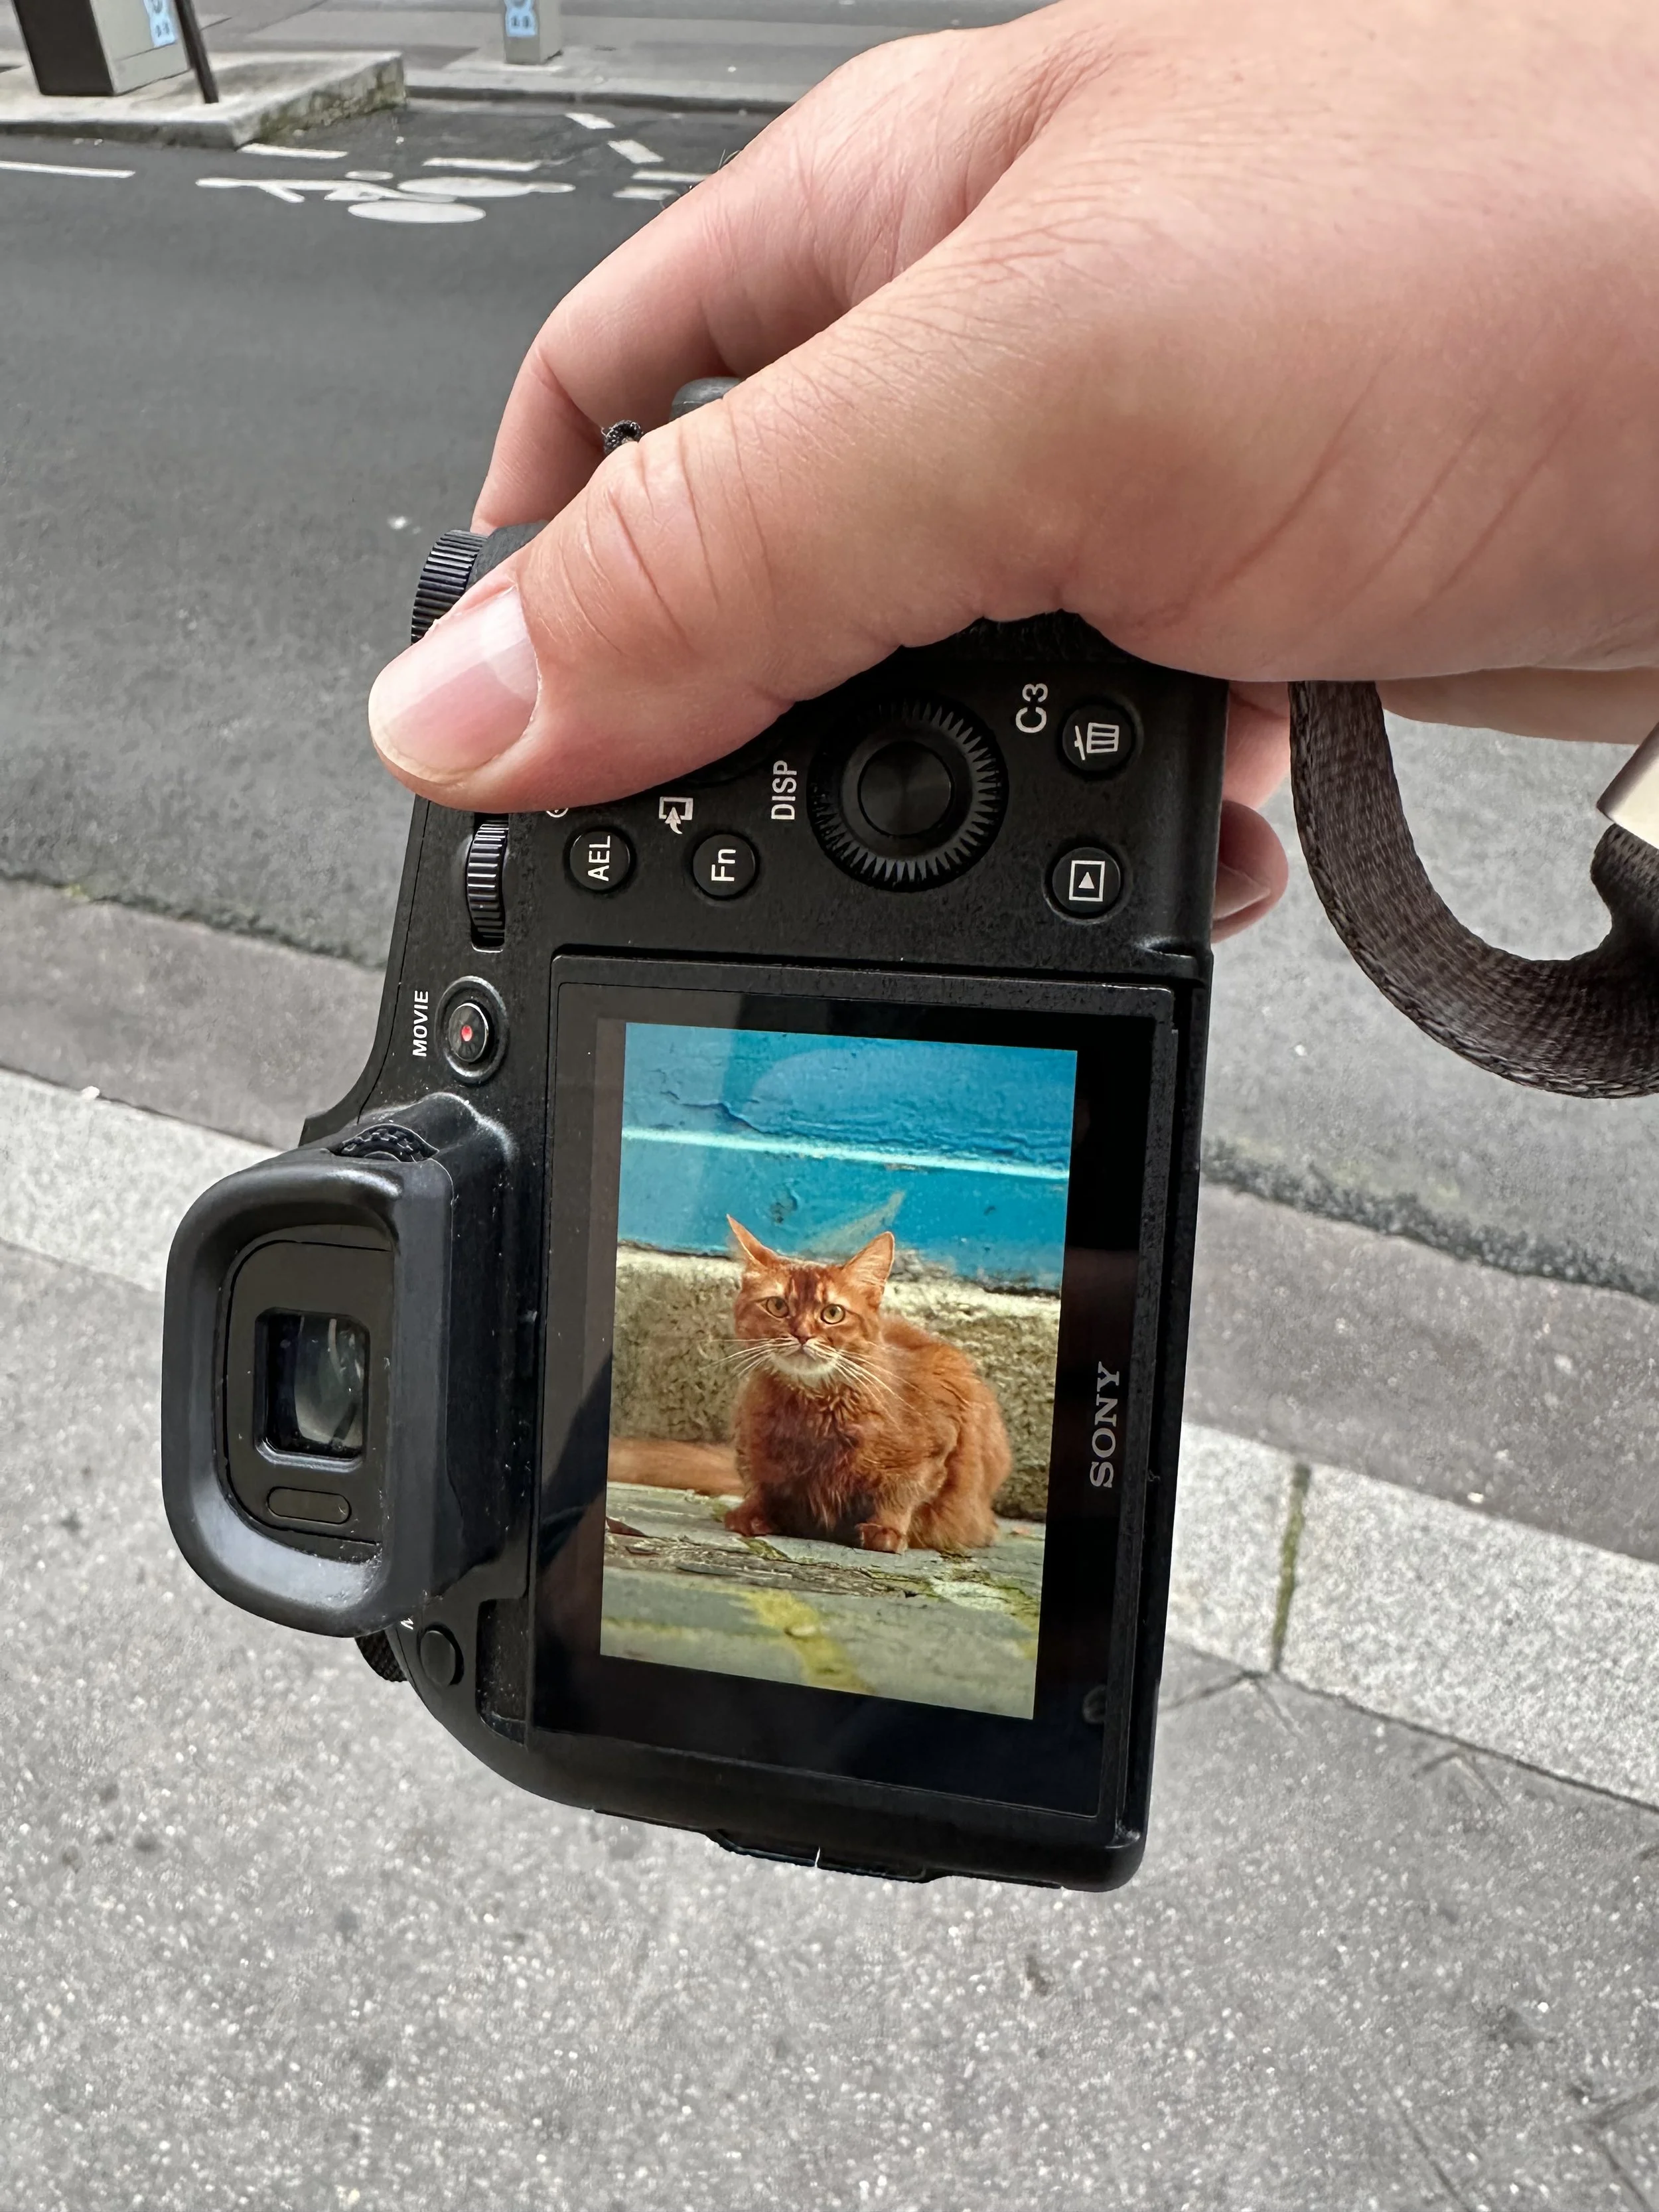
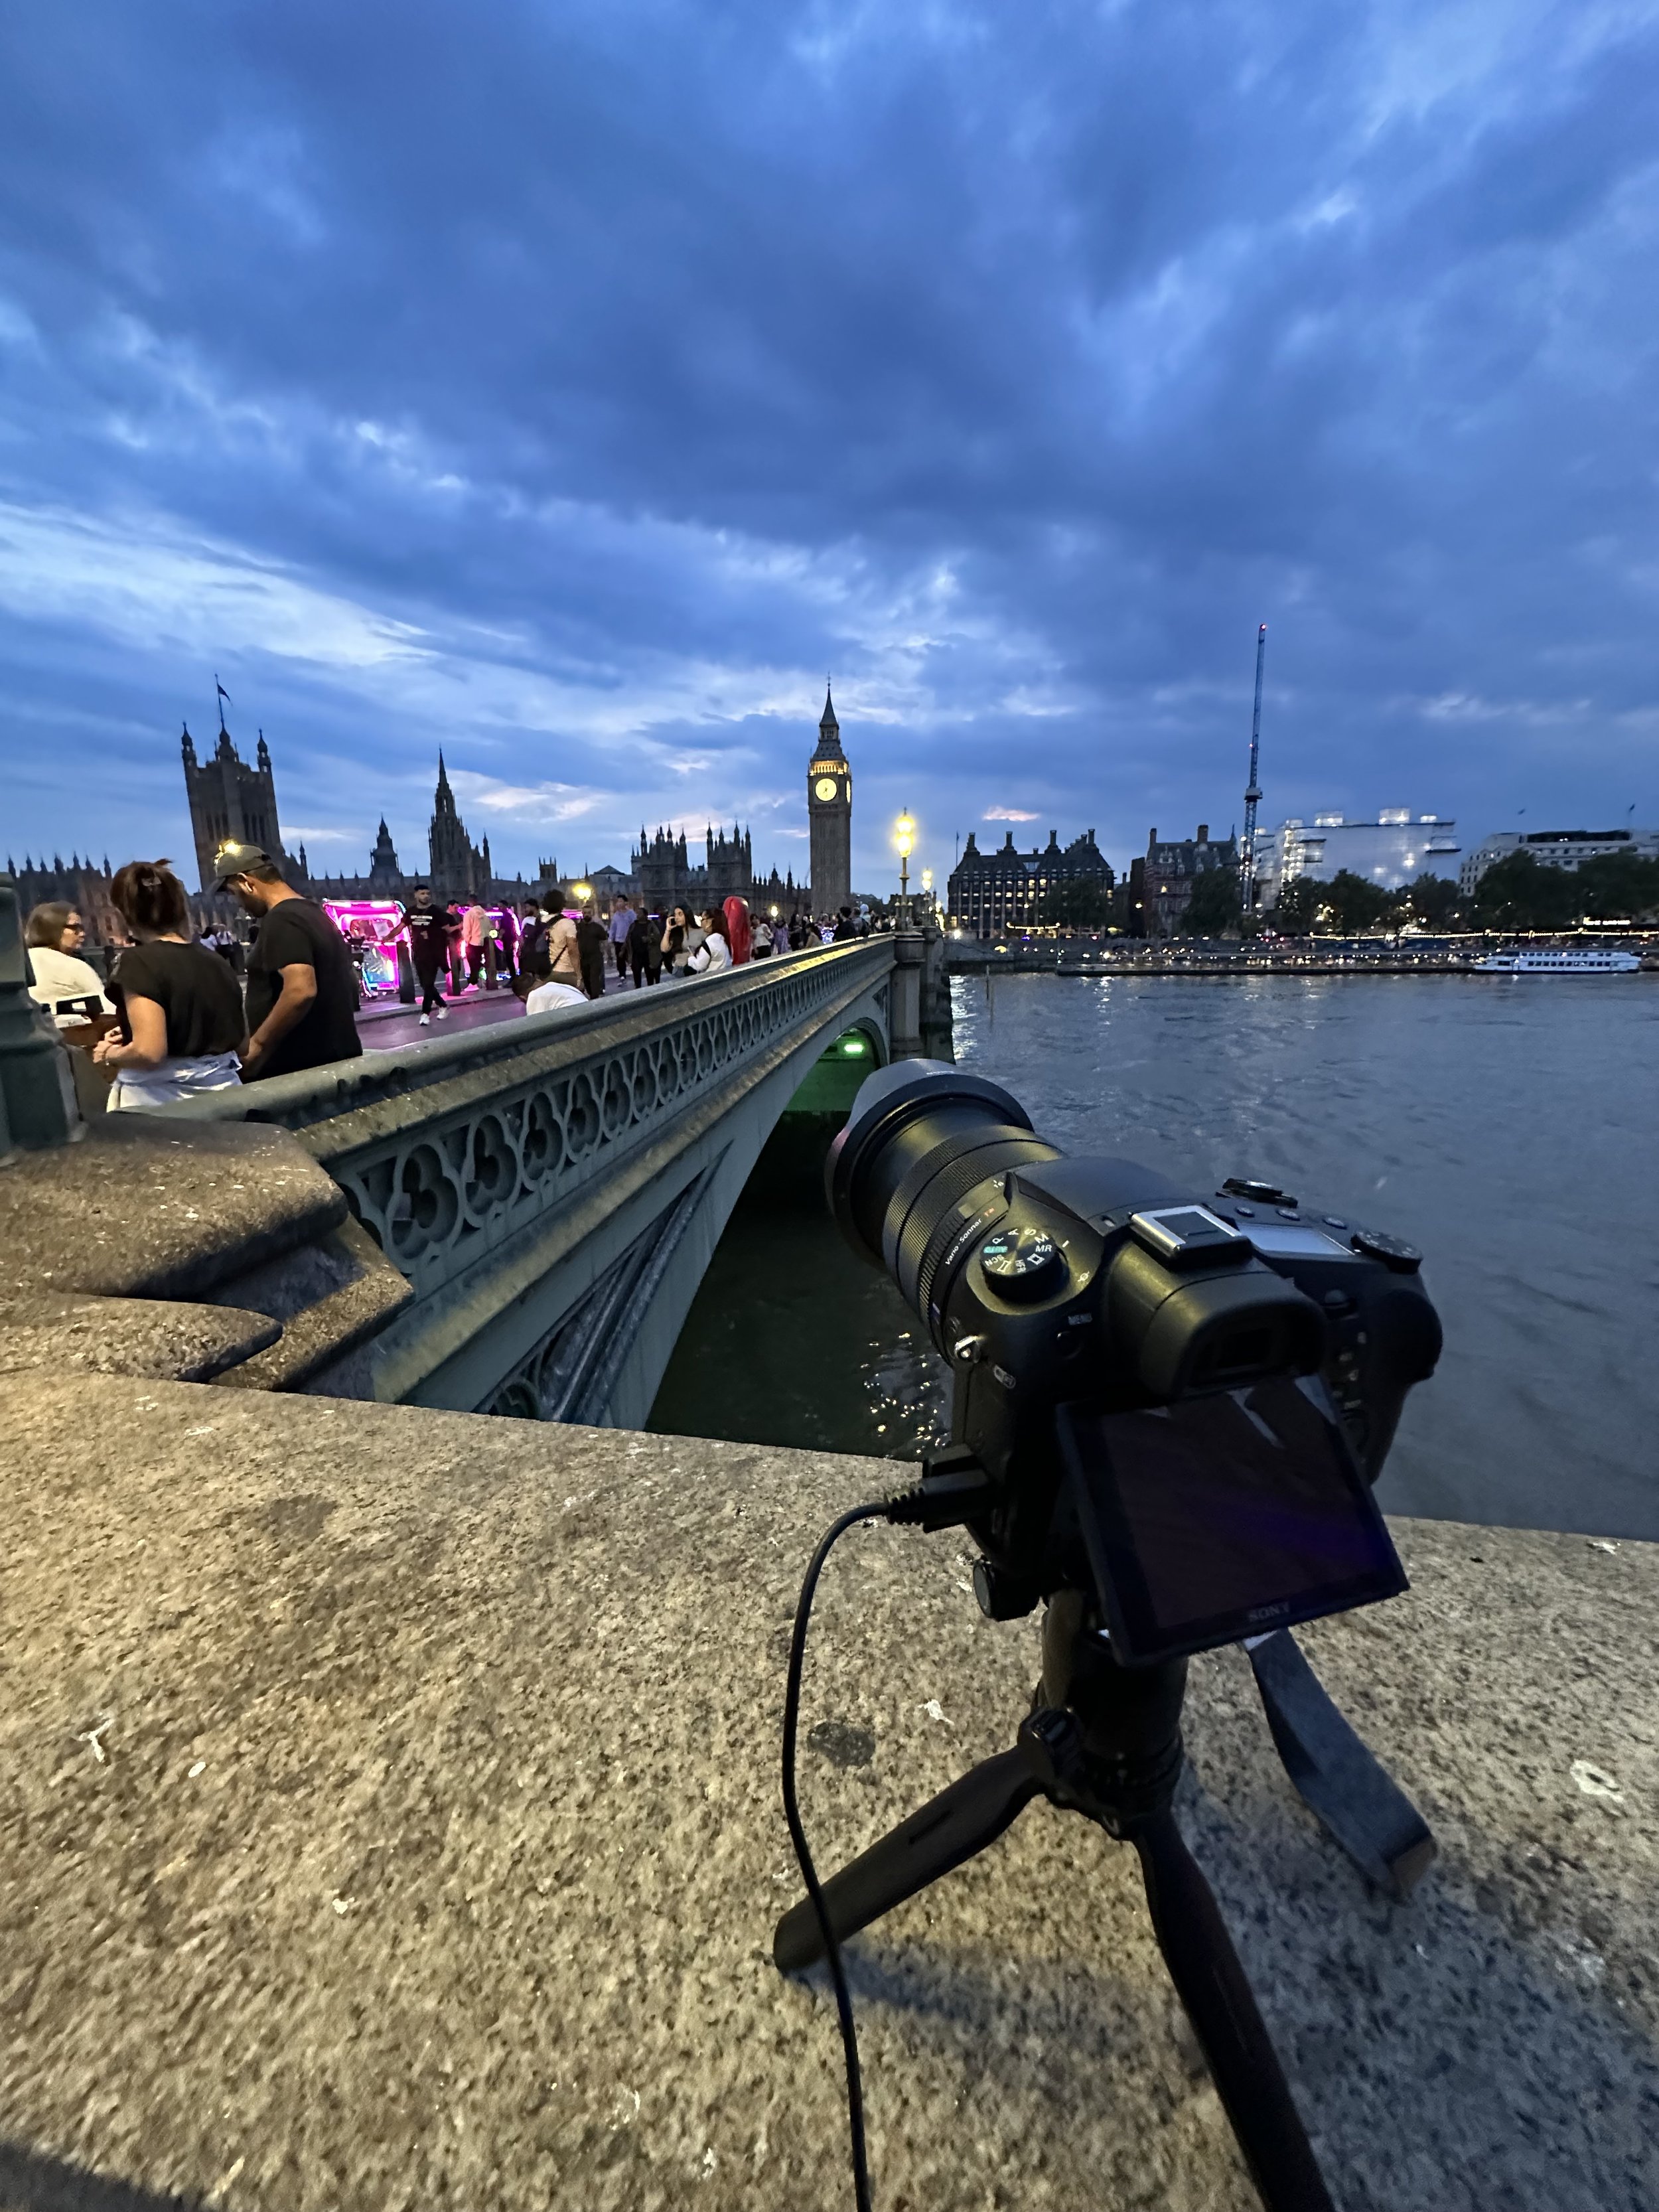
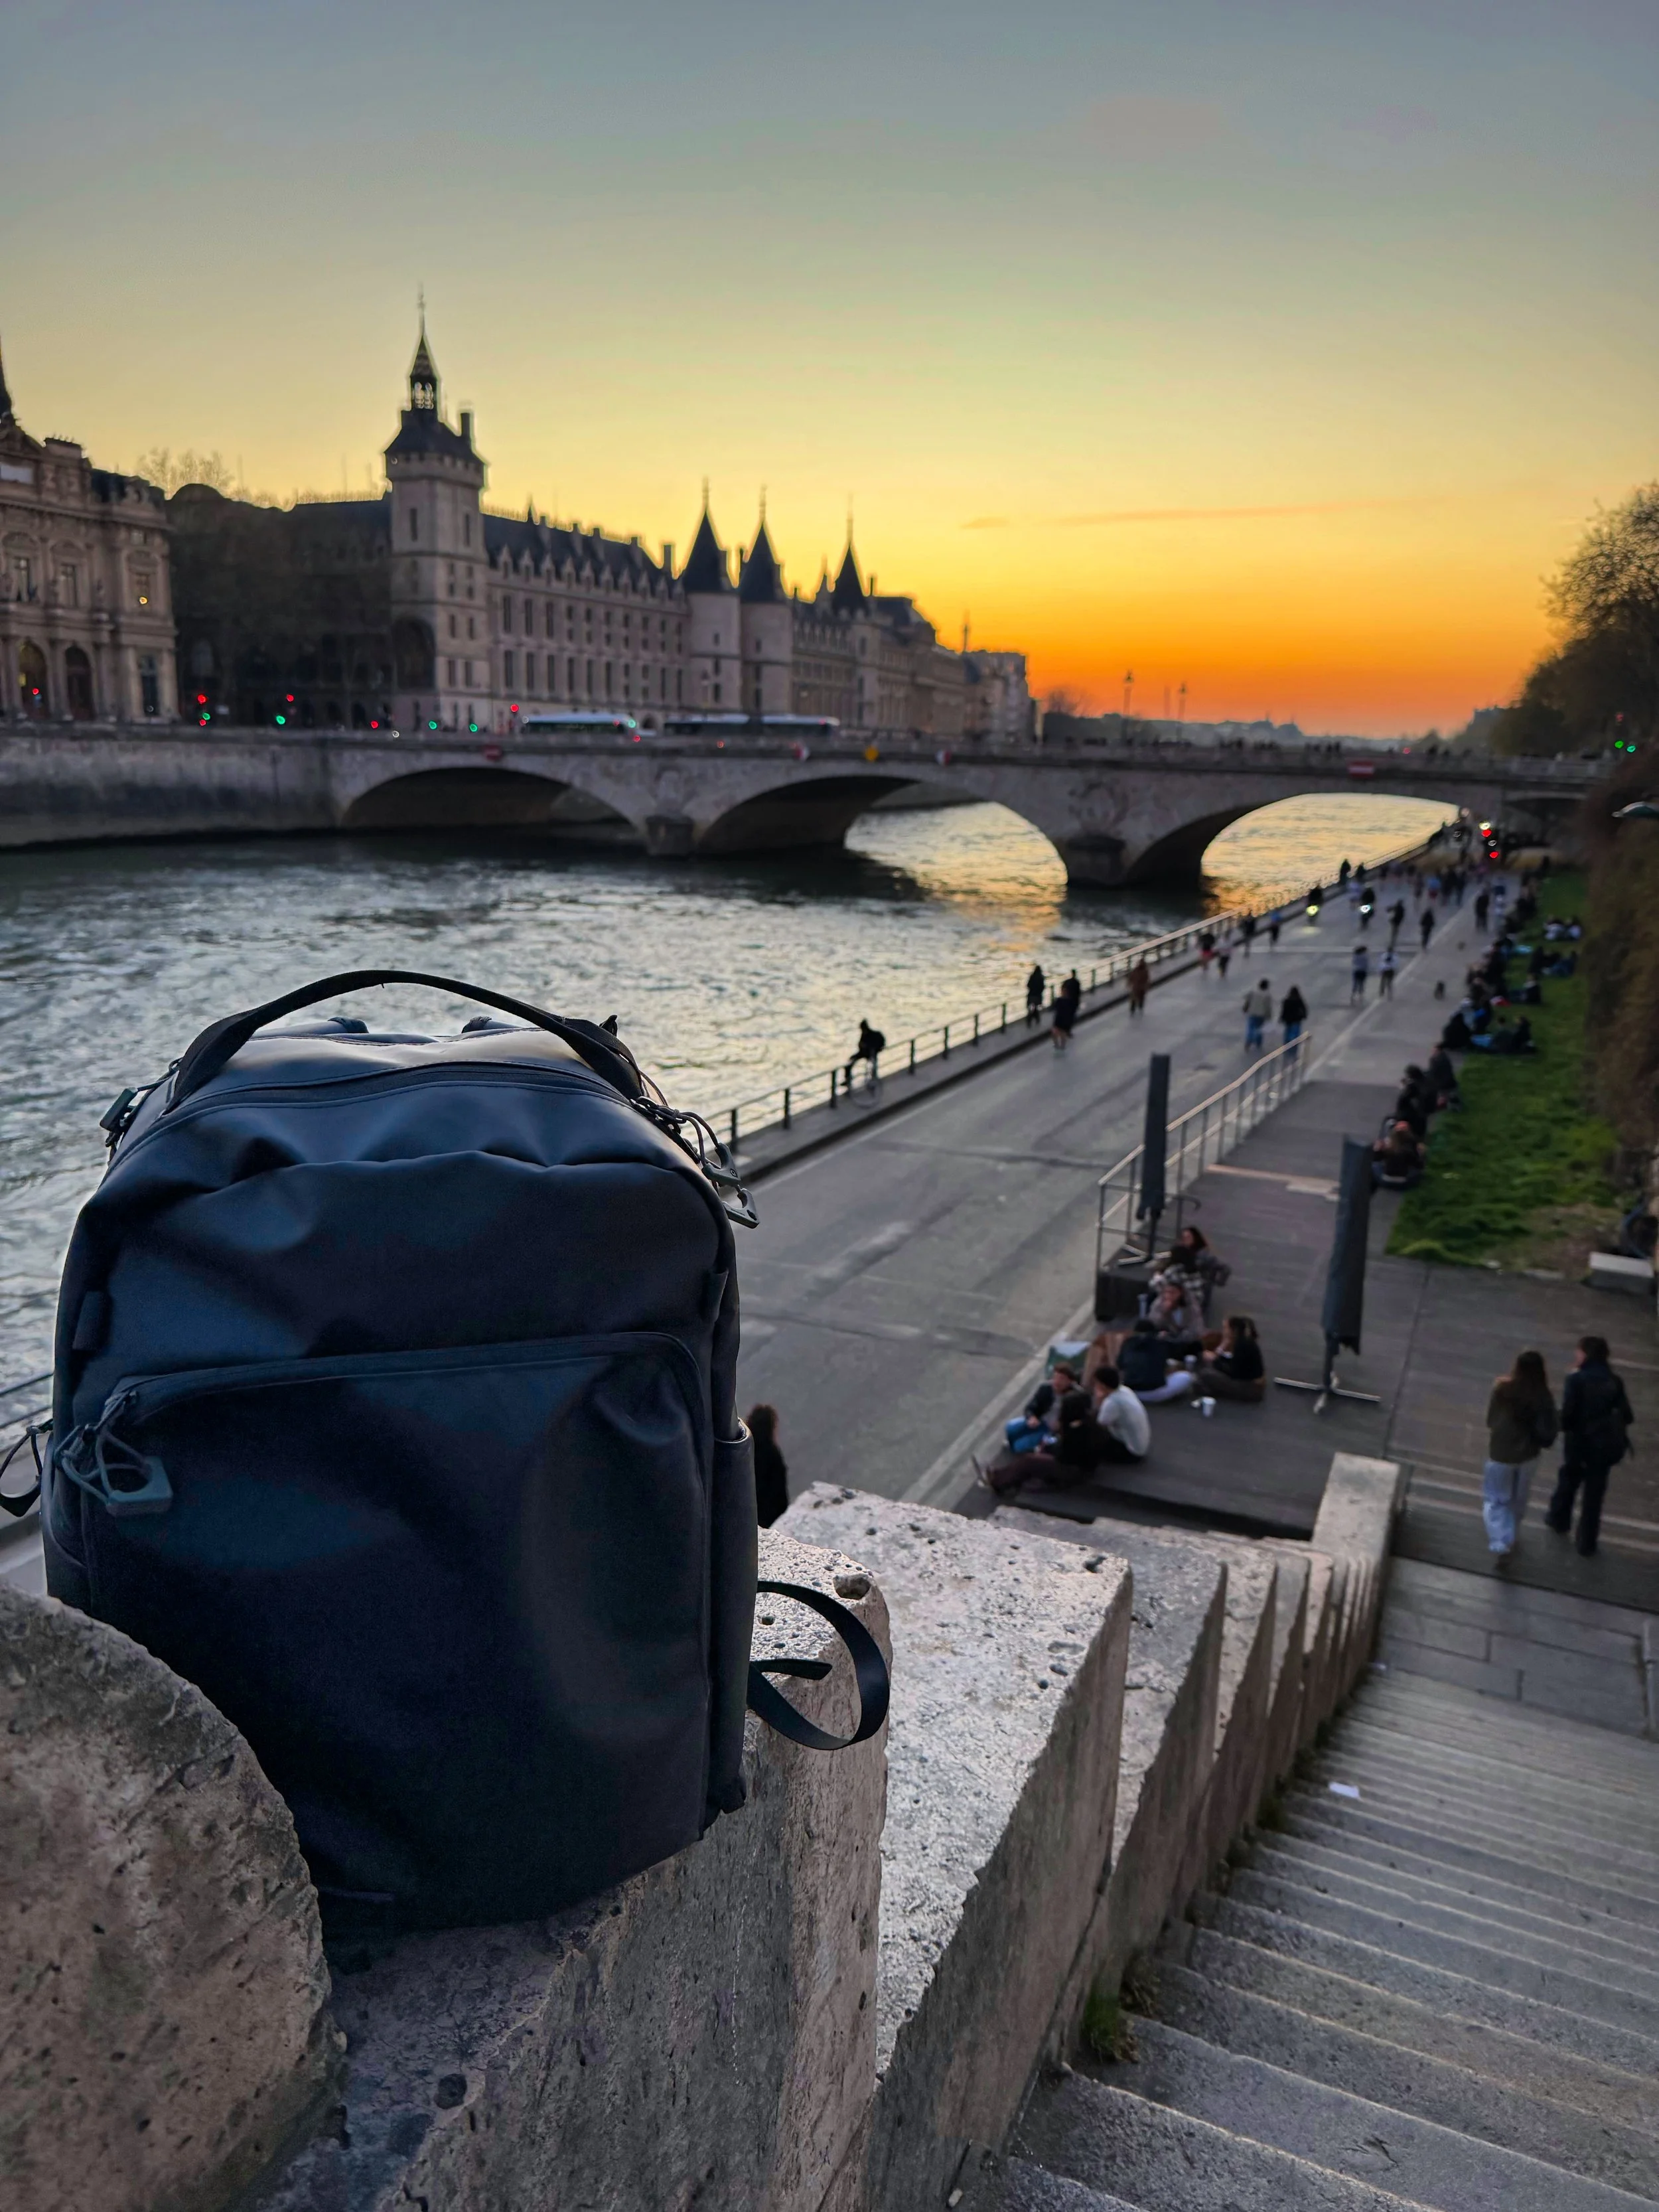
Above: the RX10 out & about the world.The Loathing
I said love letter, and I meant it, but honesty requires acknowledging the rough edges.
As mentioned above, low light performance is the most consequential flaw in real world use. When a moment is happening in bad light, the RX10 IV will sometimes just fail to capture it in any meaningful way, and there's nothing to be done about it. That's a sensor size limitation more than anything else, but it surfaces at the worst times and no amount of cranking up the ISO will save the shot.Startup time can also be annoying. If the camera is off and something happens in front of you, you will perhaps miss it. You learn to keep it on in situations where things are dynamic, which helps, but it shouldn't be necessary. The other day I was waiting for a cyclist to come by a scene in Amsterdam and I just kept tapping the shutter button to keep it from turning off so I didn't miss the shot. Sure, you're burning battery but a worthy trick to not miss the shot.The lockups are the most maddening issue. Occasionally and with no obvious pattern, the camera simply freezes mid session. A restart fixes it but the moment is gone. It hasn't happened often enough to be a deal breaker but it has happened enough to remember. Occasionally you'll need to pop the battery out and reinsert it to reset the camera but thankfully that's rare.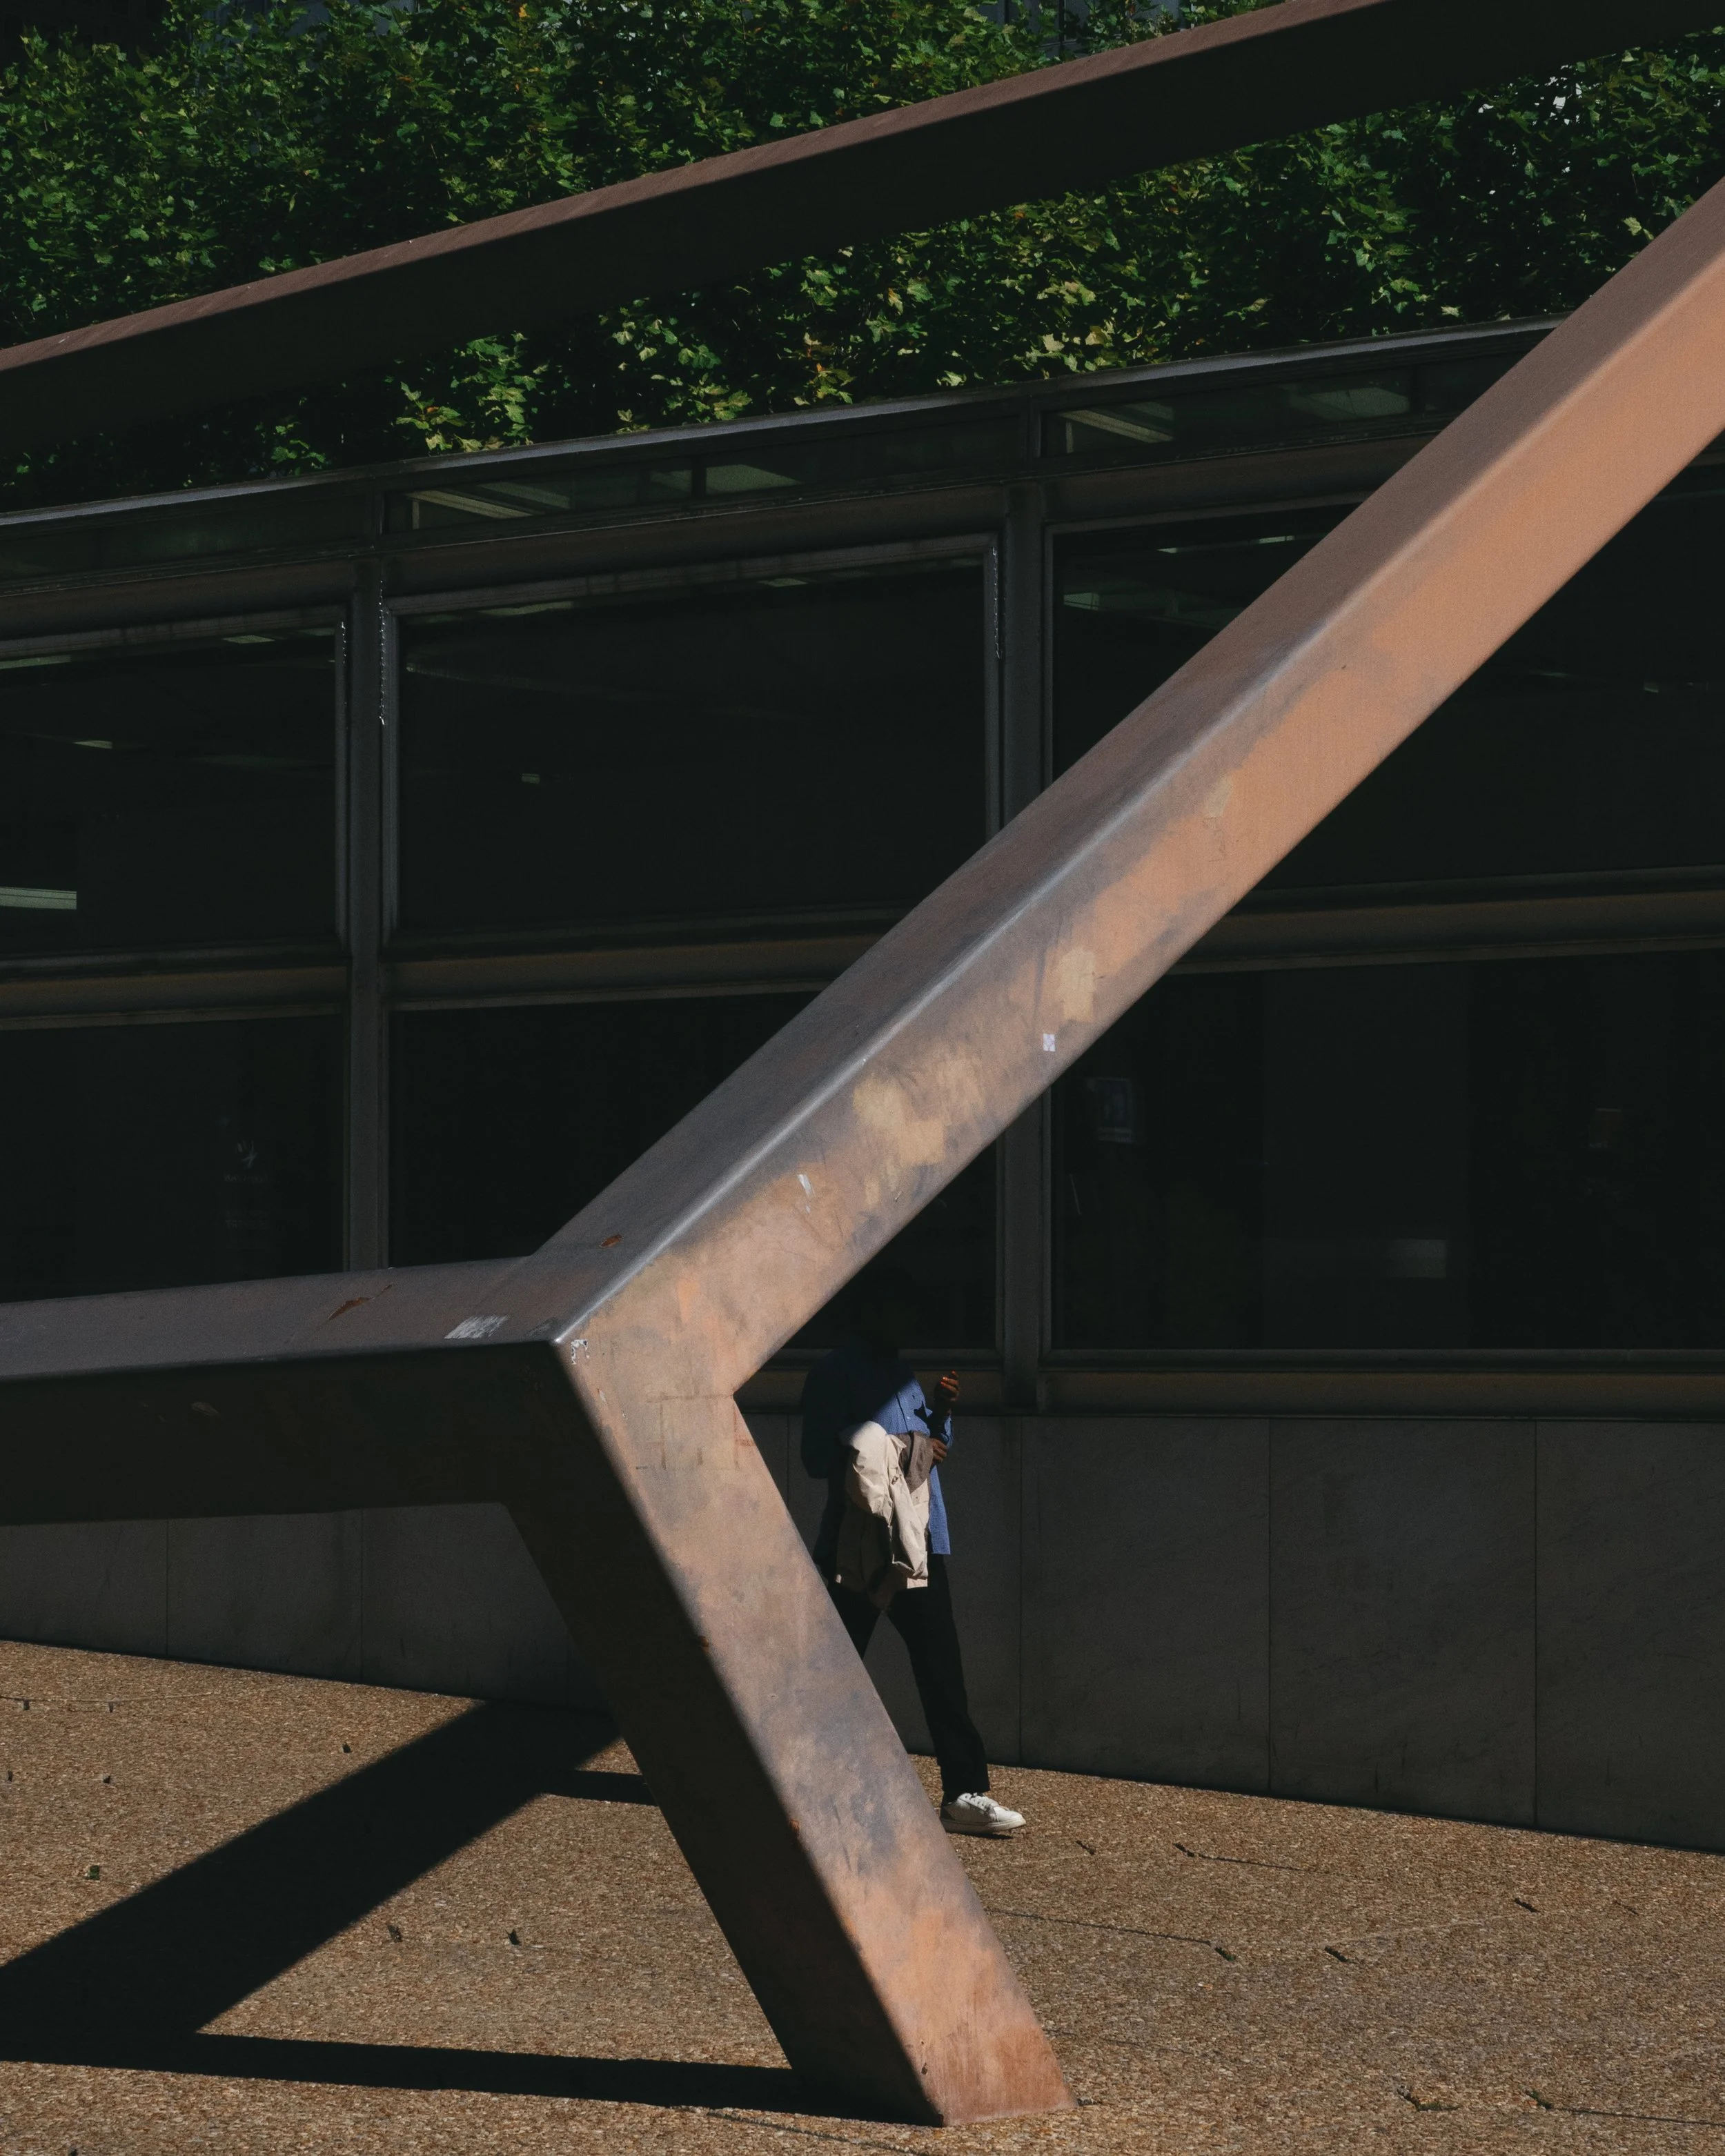
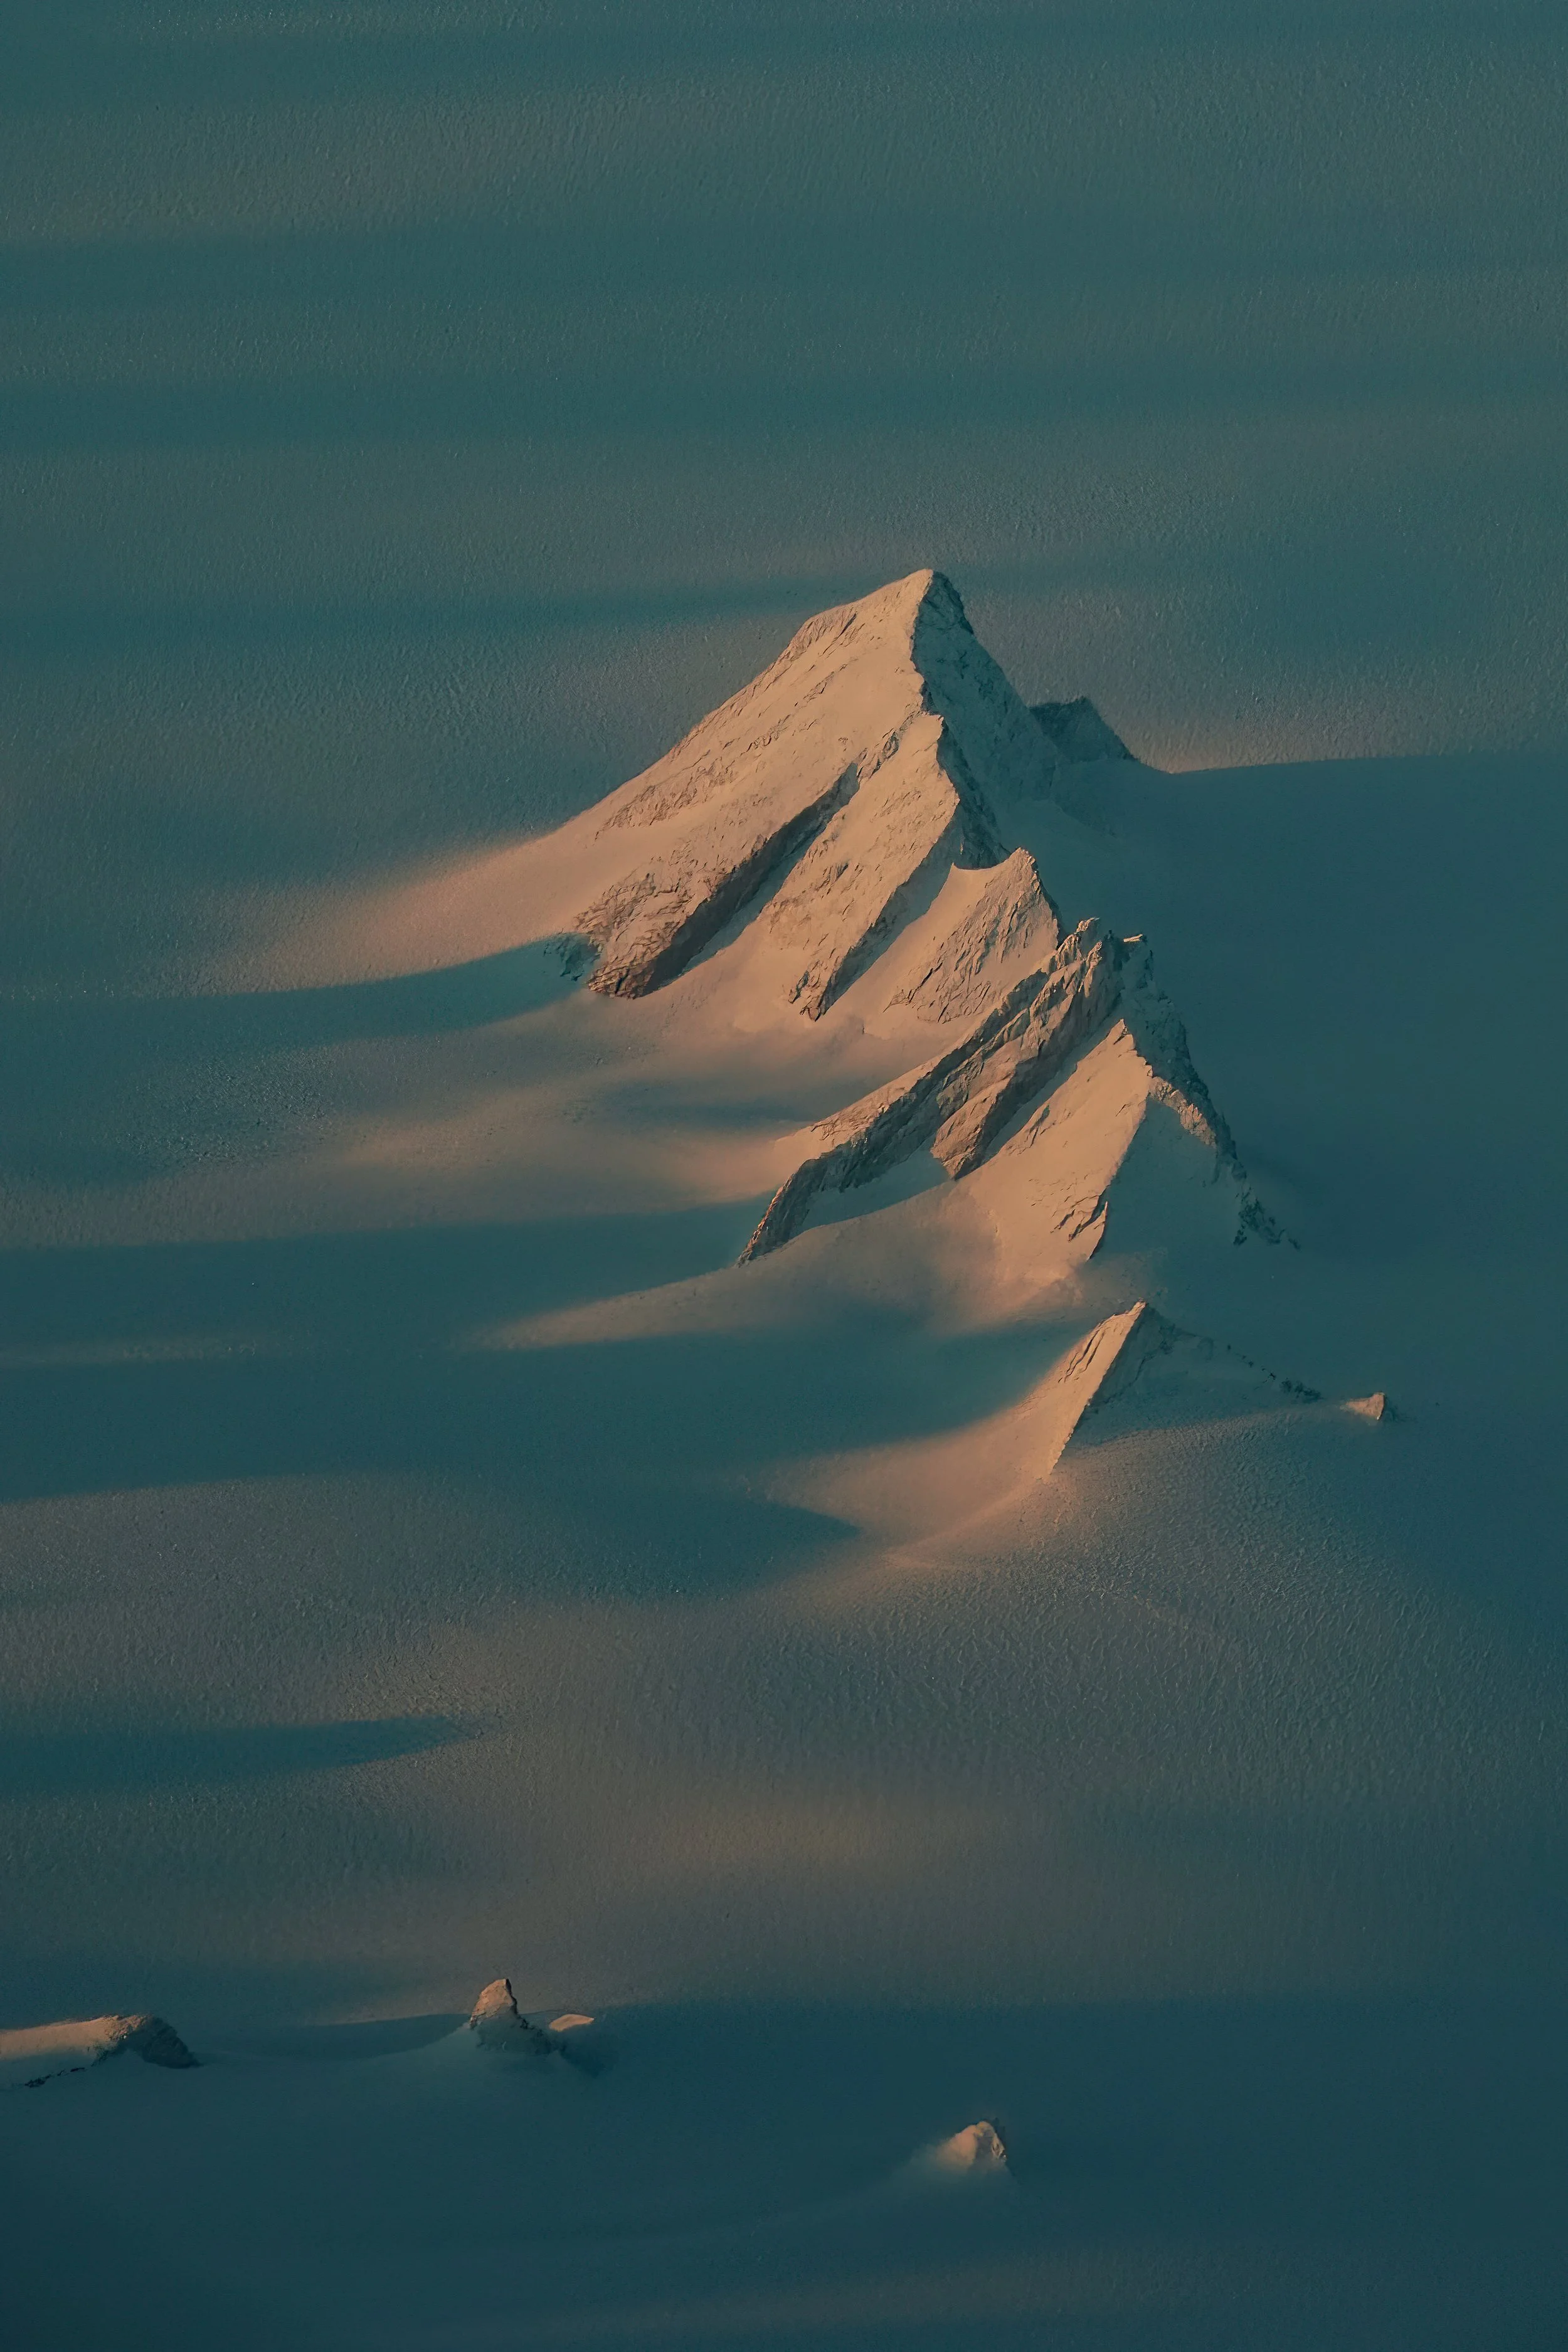
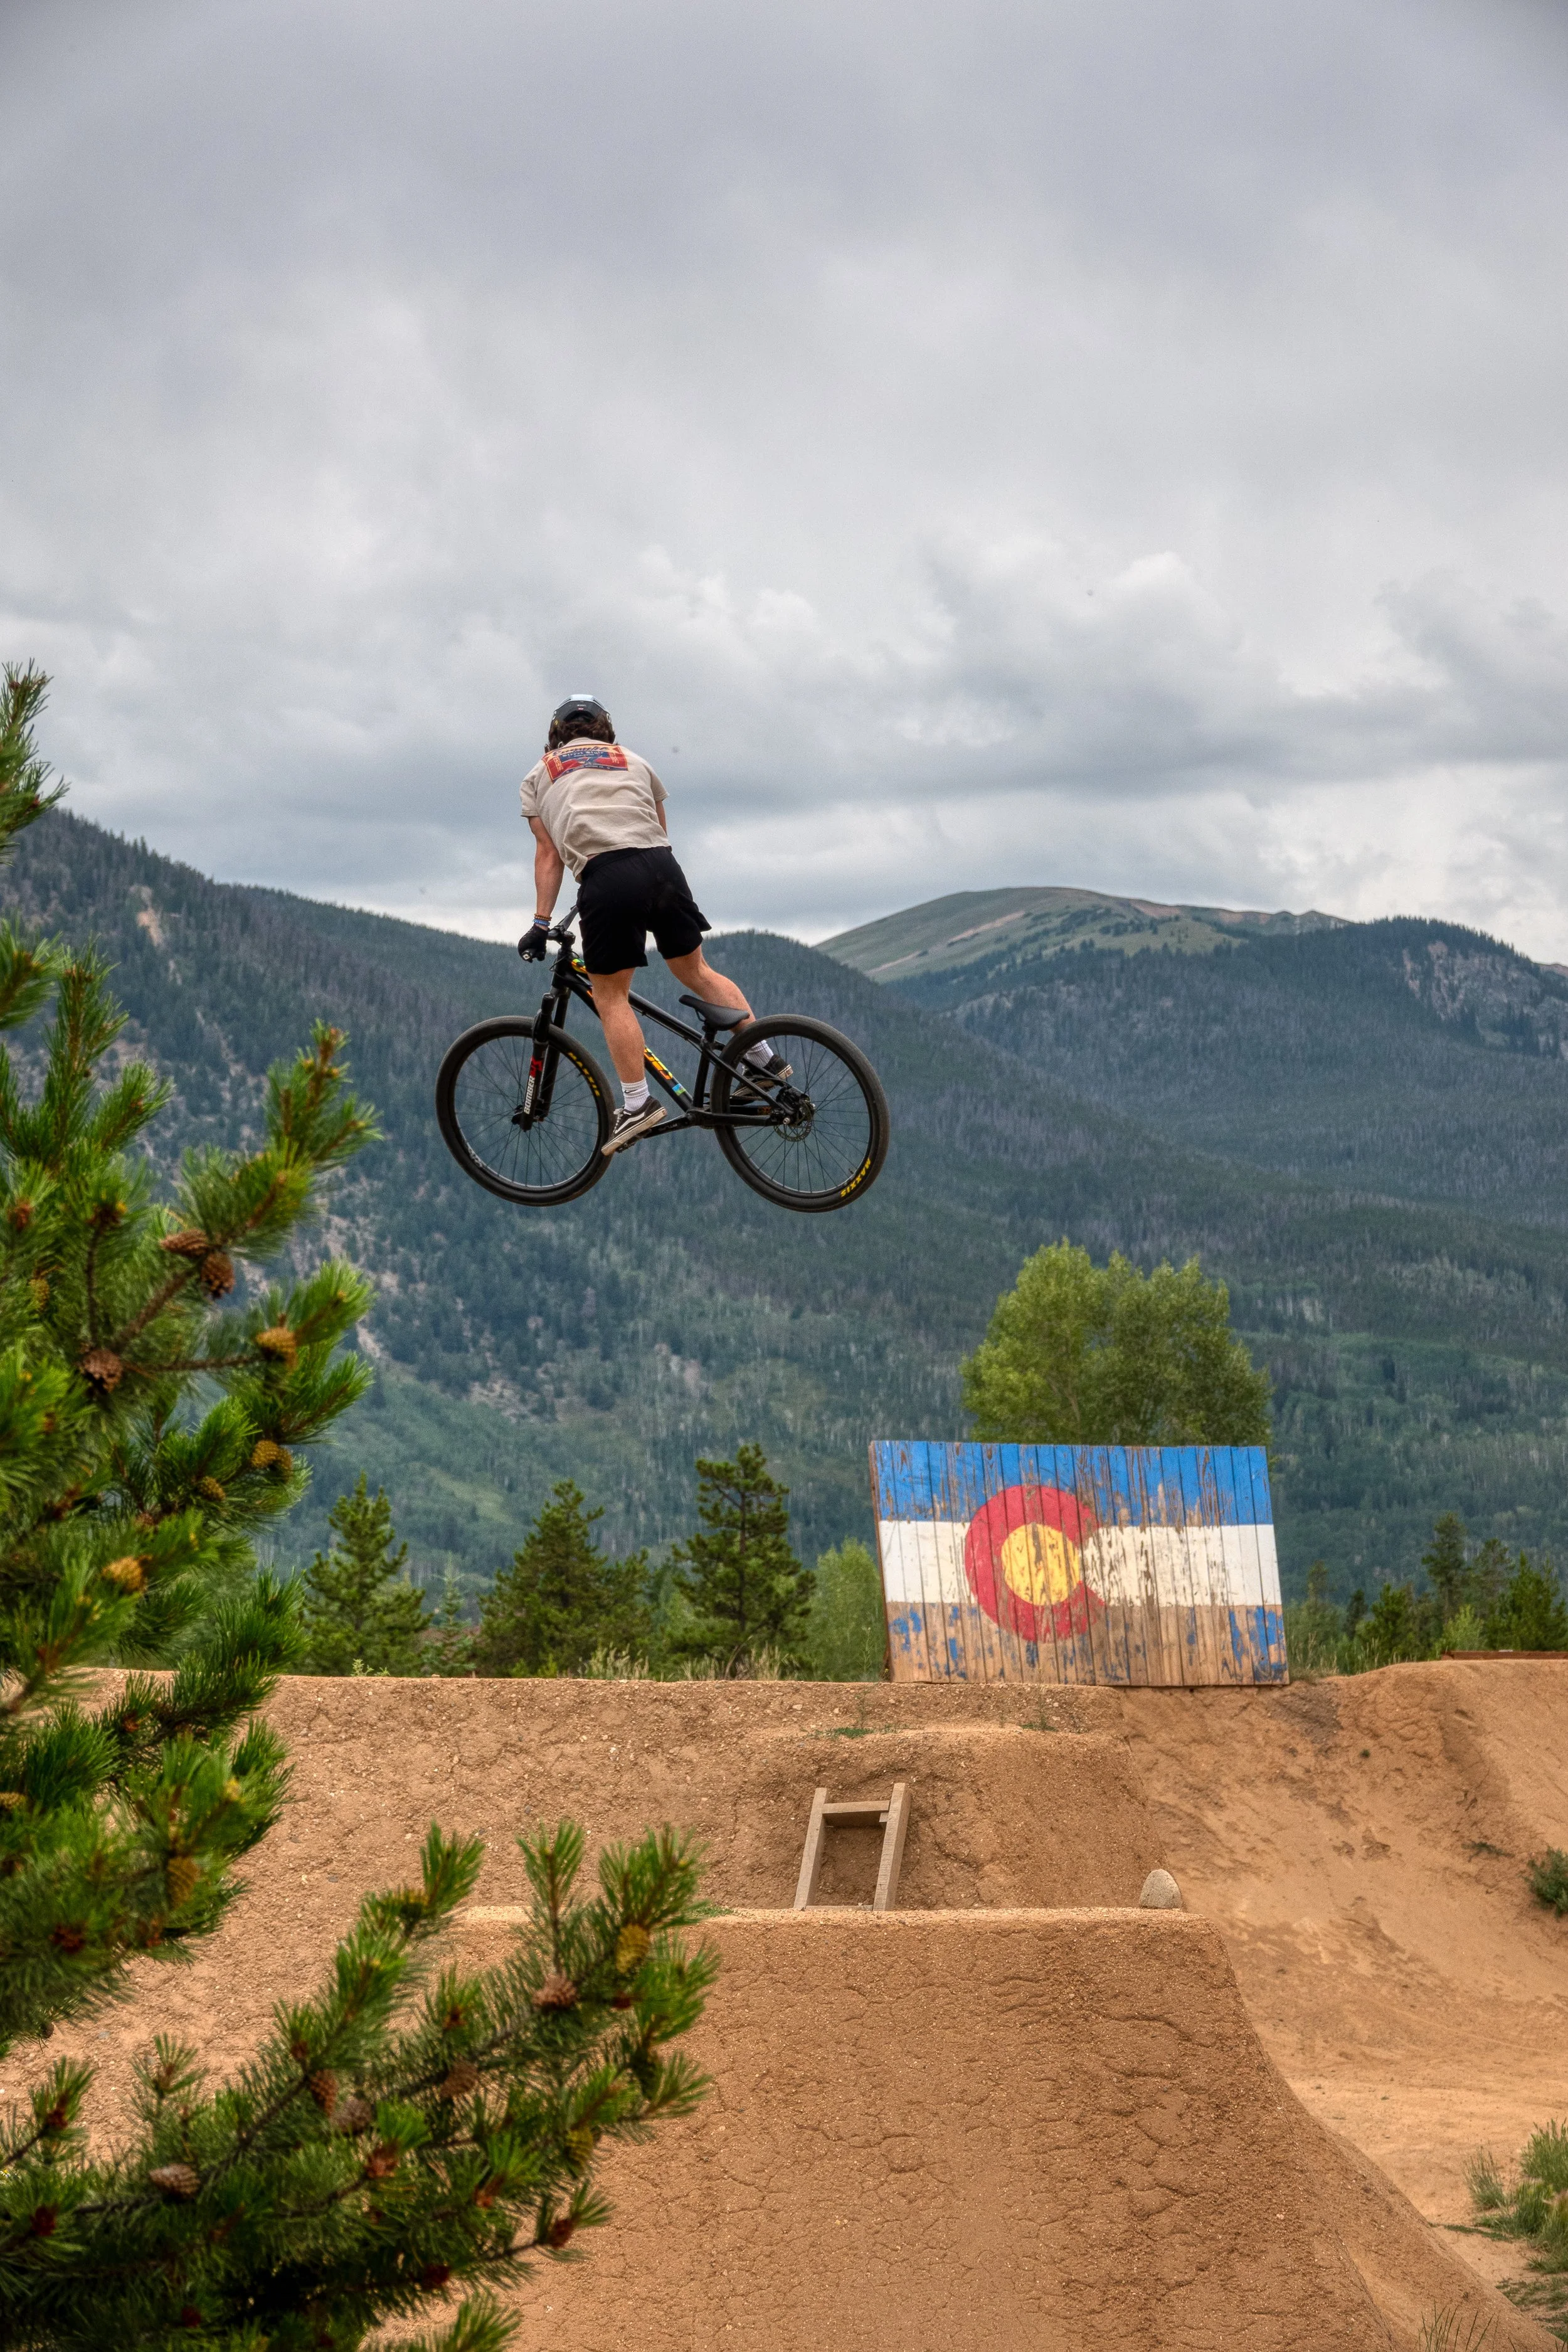
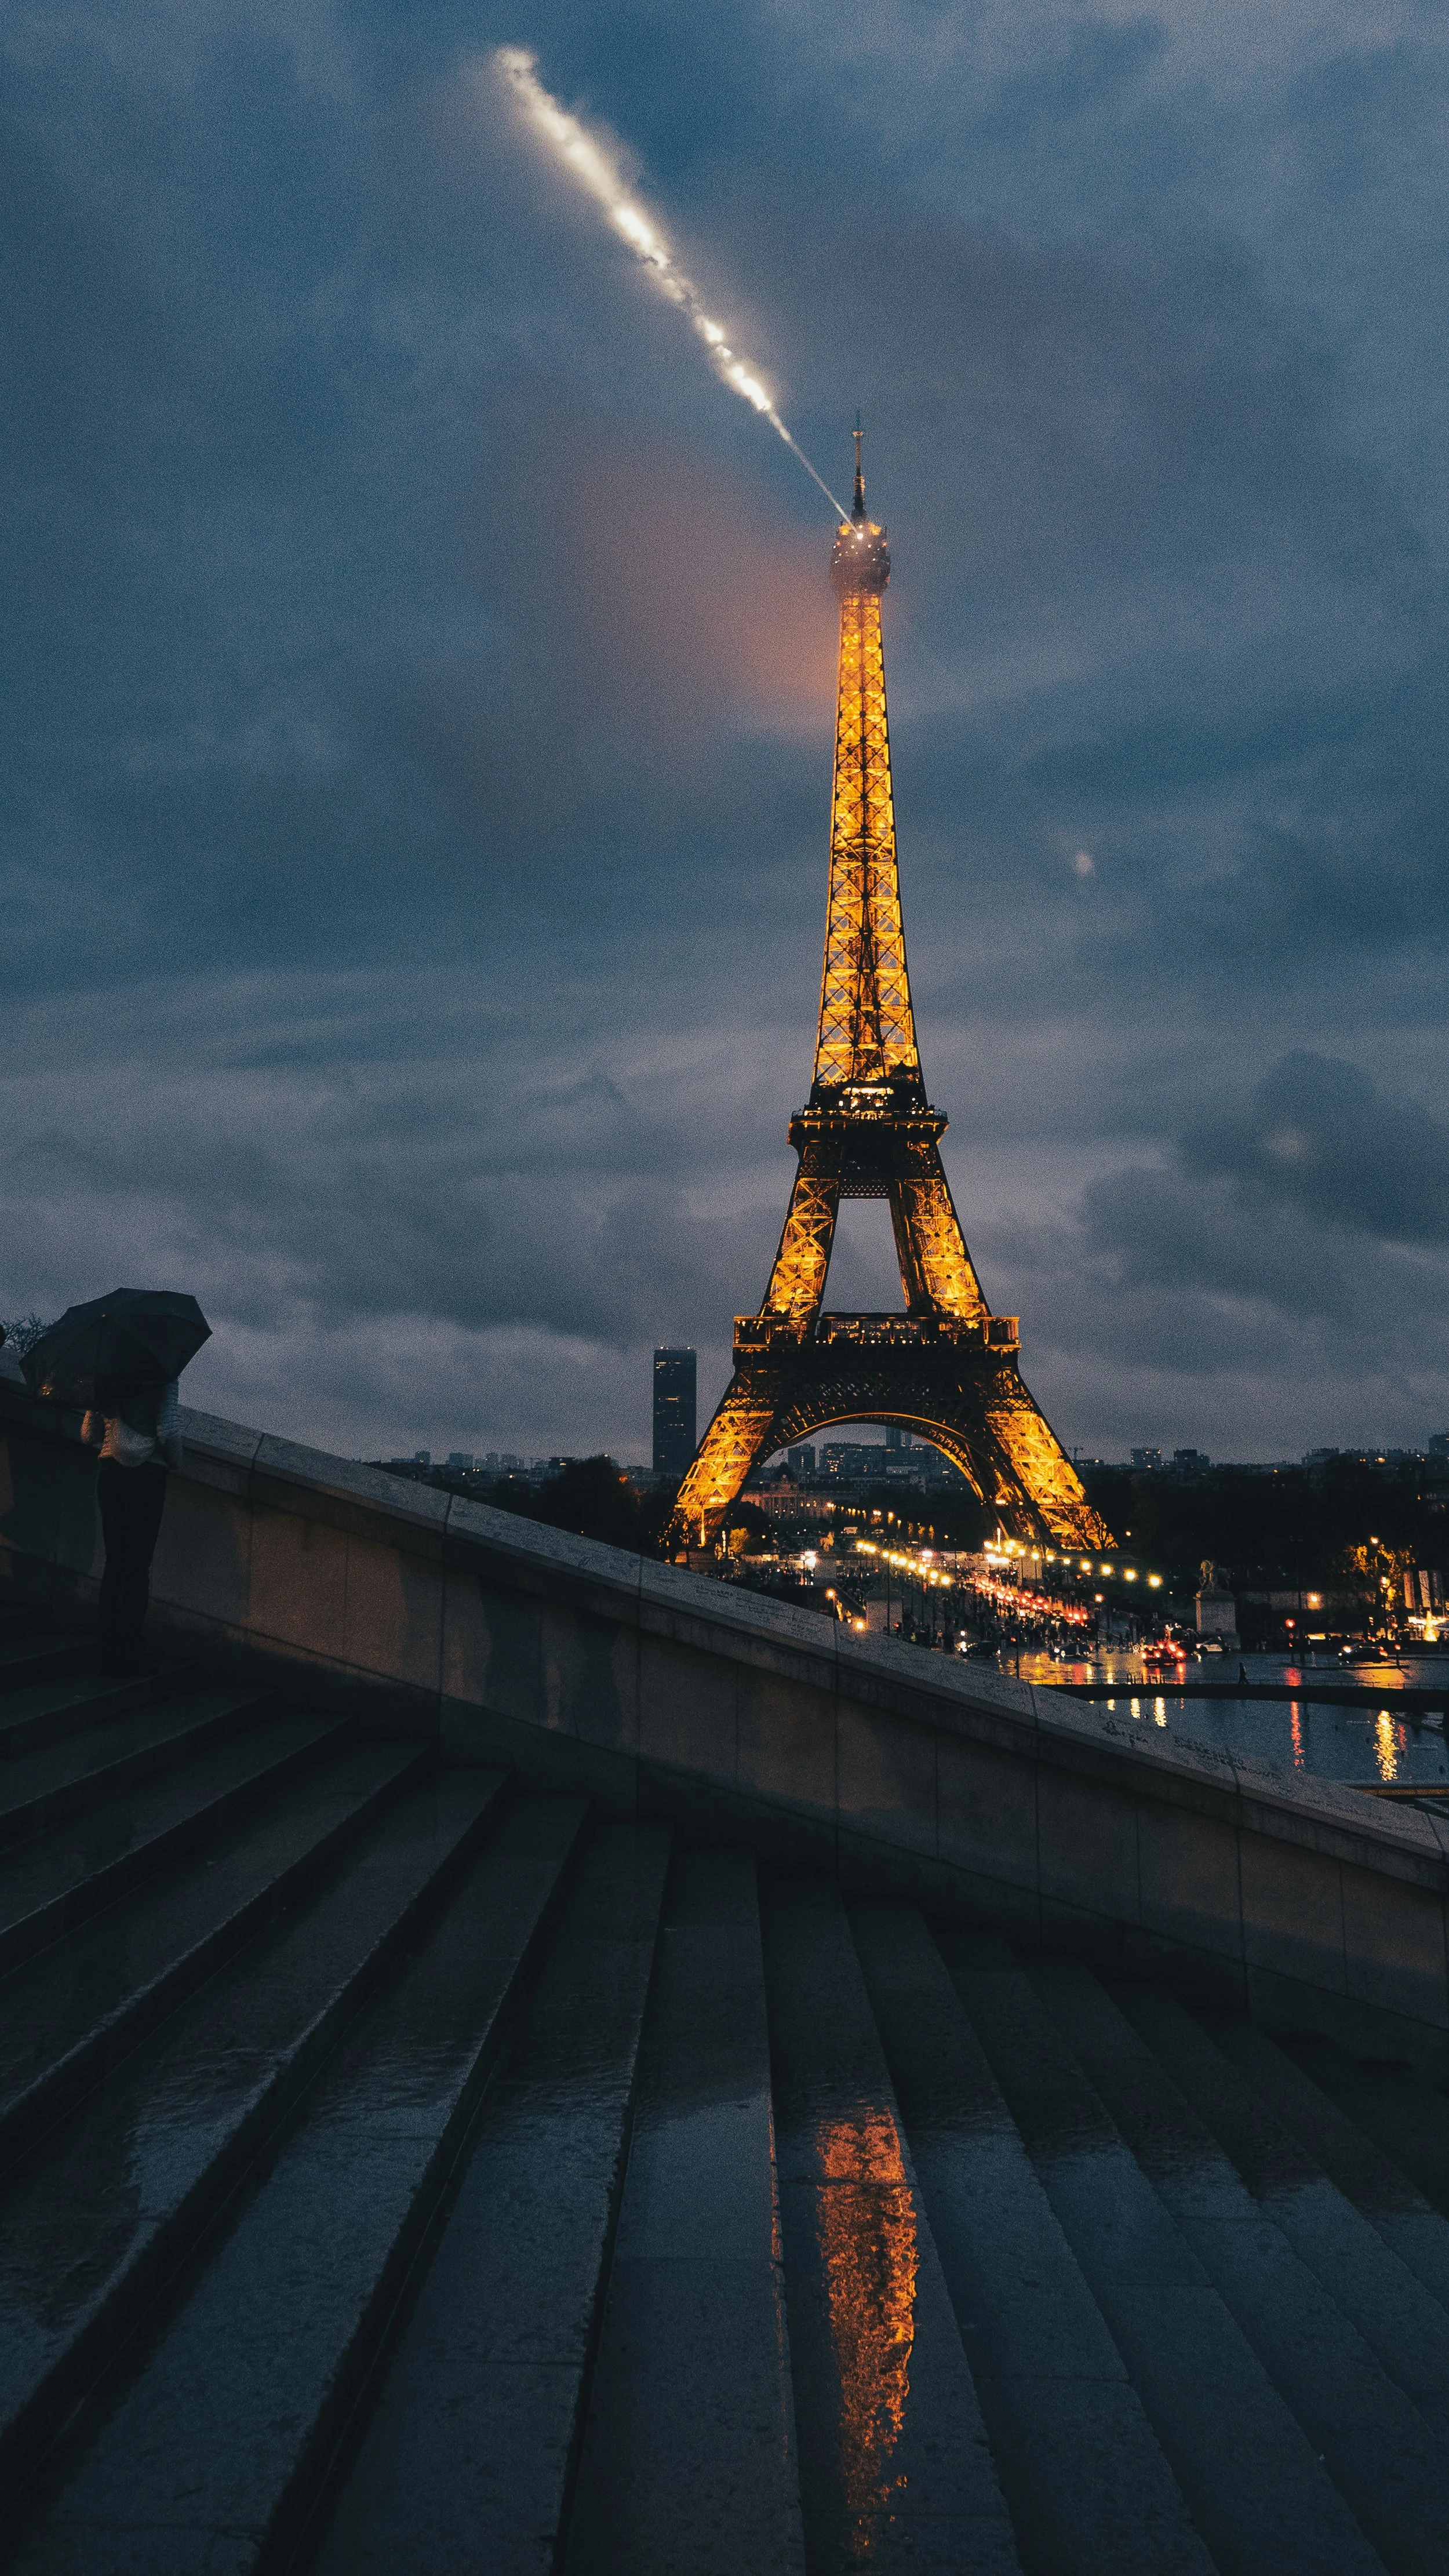
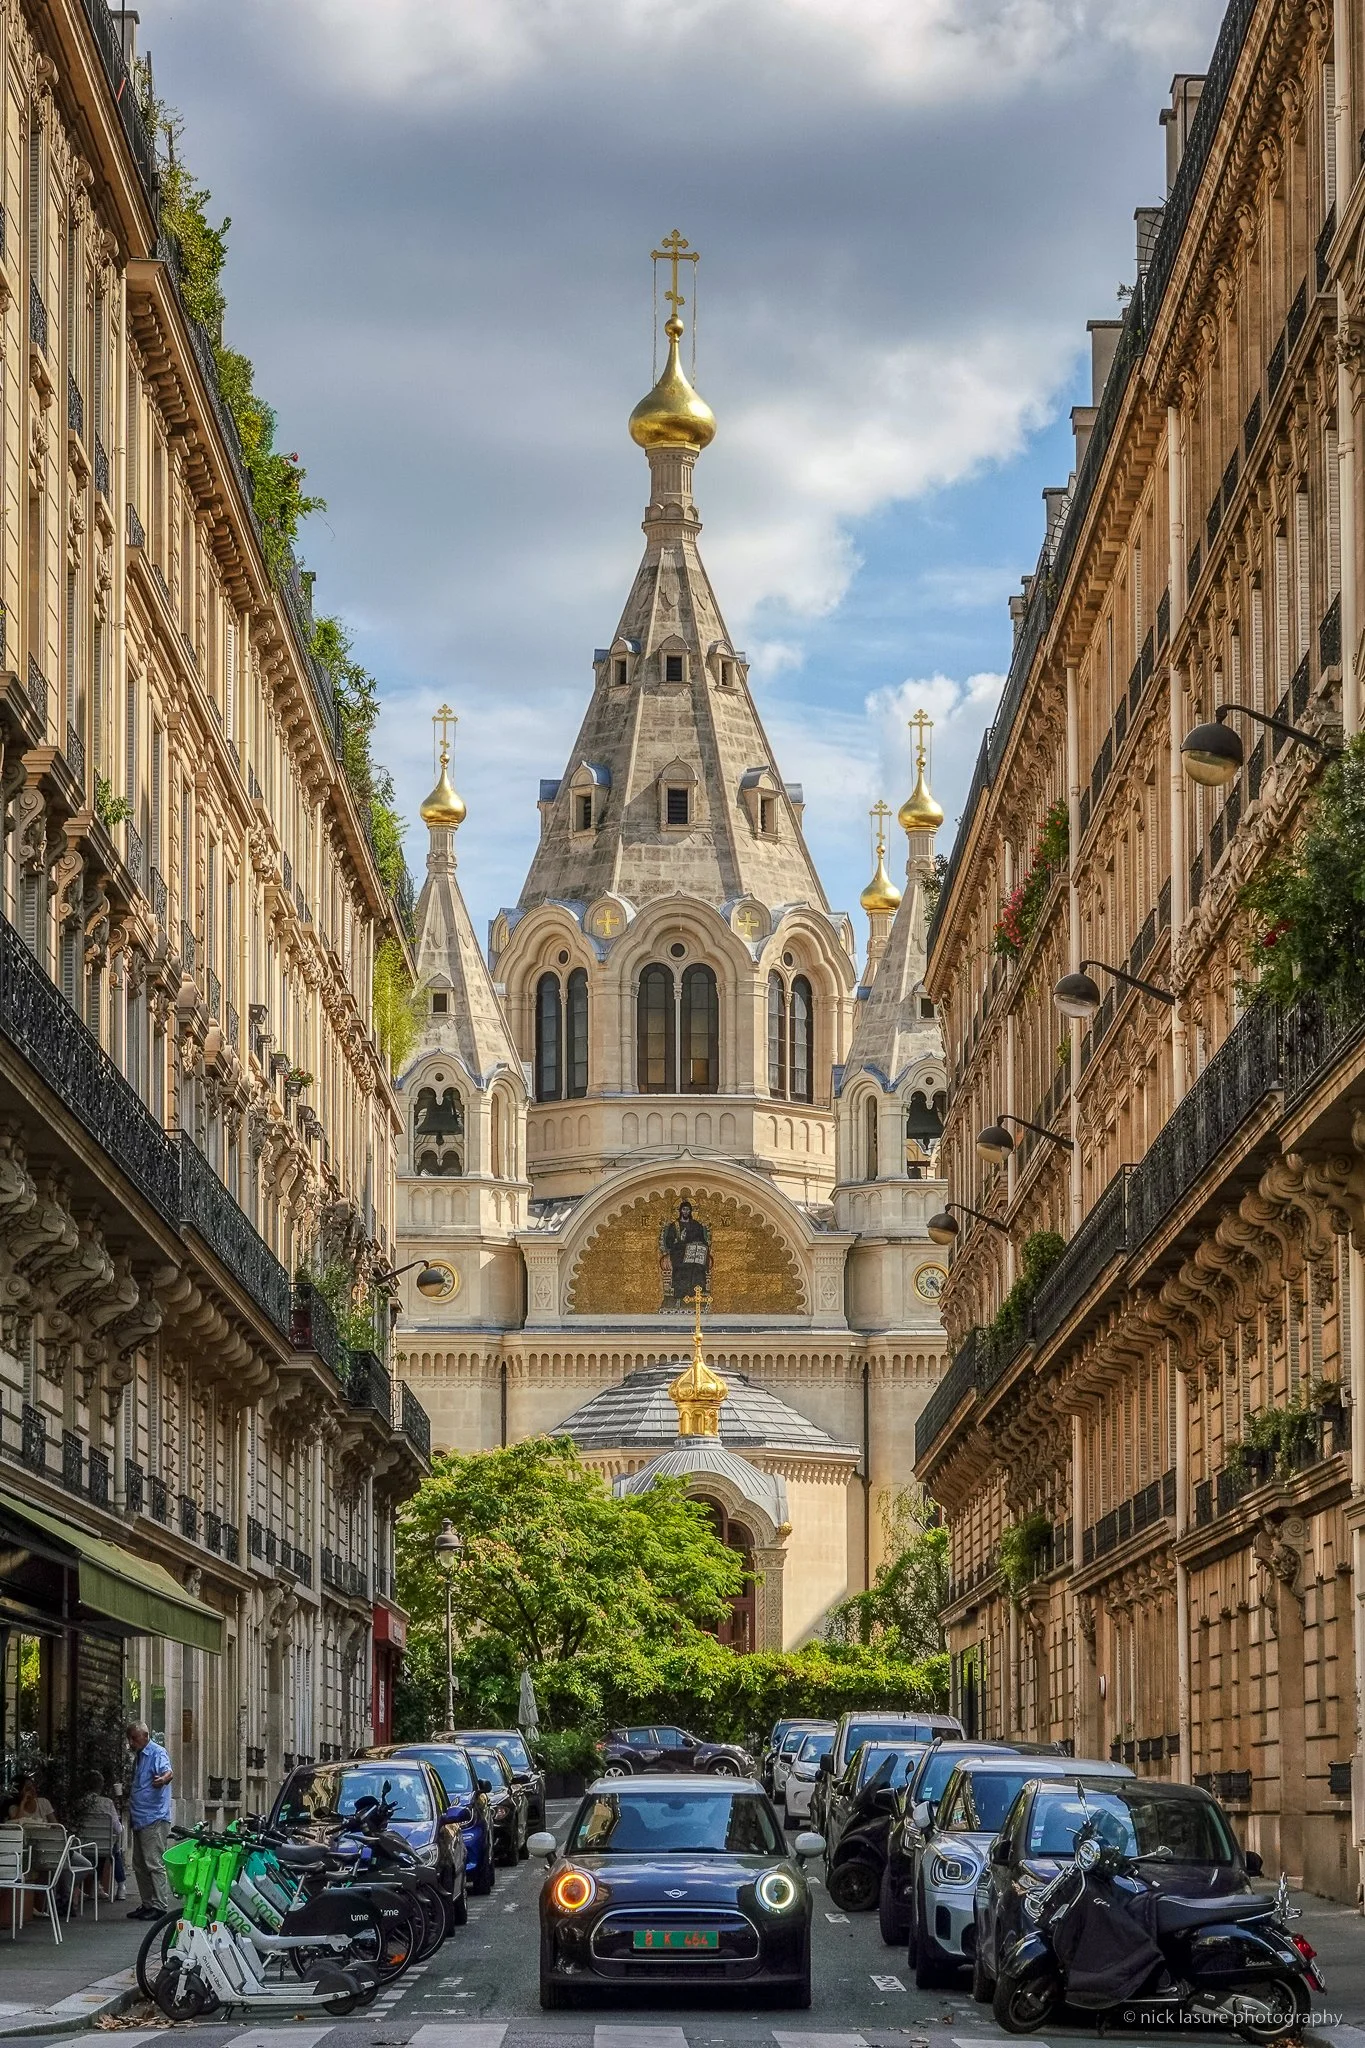
Above: the RX10IV is a versatile camera, sports, telephoto, street, you name it.An RX10 VI Wish List
RX10 what you say? My original draft of this post assumed the RX10 line was dead along with much of the industry, as it had been nearly a decade since the IV was launched. So naturally right before I'm ready to publish, Sony finally announced the long awaited RX10 V! You could imagine my surprise and excitement, but alas, it isn't the case. The new successor seems like a wasted opportunity.
The new RX10V comes with the exact same lens (not the worst thing) and sensor, and the rear screen still only tilts rather than fully articulating. The EVF did get a real bump though, bigger and sharper, borrowed from the A7 V line, so credit where it's due. Beyond that it's mostly a body redesign and a processor bump wrapped around the same core imaging hardware from 2017. The enhanced video options and AI additions do nothing for me.That's a shame, because a more capable successor would have been pretty amazing. If anyone at Sony is reading, squeezing in a larger APS-C sensor would be transformative for this concept along with a slightly wider and brighter lens. I'd certainly trade a slight reduction in focal length for image quality. A modernized processor, yes, but please spare us the overbearing AI processing gimmicks. Sony did actually add dust and moisture resistant construction this time around, so that one's checked off. Give me a fully articulating screen, another customizable button, and closer focus capability and I'll give you my money all day long.Sadly, I'll be skipping the "upgrade" to the V and maybe in another 10 years I'll buy the RX10 VI. Maybe.Where It Sits Now
Since switching from a messenger bag to a backpack on my work trips, I've been bringing my Fujifilm X Series kit more often and the RX10 has been staying home a bit more than it used to. But I'm not abandoning it. There are trips and occasions where one capable camera and no lens decisions is exactly the right answer, and for those days the RX10 IV remains the best option I've found.
It won't do everything, but it does most things well enough and that's usually enough for me. For a bridge camera from 2017, that's a legacy worth celebrating.Thanks for the memories, Sony.Wandrd Prvke Pocket Review: A Traveling Pilot’s Perspective
An EDC carry bag that promises weather resistance and thoughtful organization, but does it actually hold up when the weather turns? A working travel photographer and airline pilot puts the Wandrd Prvke Pocket through its paces across real shooting conditions. Full review including features and who this bag is actually built for.
I have a problem. A backpack problem.
Over the years I’ve owned more camera bags than I care to admit, always hunting for the one that does everything without compromise. After a recent Paris layover hauling three lenses over 17 miles of city walking across two days of shooting, I think the Wandrd Prvke Pocket might finally end the search.From Messenger to Backpack
For years my daily carry was the Peak Design Messenger V1, which I still consider one of the best shoulder bags ever made. Simple, accessible, bullet proof. The problem is my shoulders have voted it off the island after too many double digit mile city walks loaded with camera gear. My messenger bag era sadly had to end.The role I needed to fill is specific: equal parts EDC, work bag, and travel photography kit for a pilot who is always on the move. Fast access, smart organization, camera friendly, and comfortable enough to survive airports, transit systems, and long city walkabouts. Most bags fail at least one of those. The Prvke Pocket seems to check most boxes. First Impressions
Wandrd is a smaller company out of Utah that built its reputation on a roll top backpack line. I always appreciated the aesthetic but the form never quite worked for my needs. The 31L Prvke Pocket is a different direction, and a better one I believe. Nothing feels overworked or gimmicky, but the attention to detail is evident as soon as you start loading it up. Build quality feels solid throughout and the materials seem durable enough to handle my weekly travel punishments. Worth noting, the Pocket and Zip versions share most of the same features. The Zip has a cleaner front profile and honestly looks a bit sharper. But the front pocket was the specific feature I’d been chasing, so the choice was easy.Getting ready for a day out on the Paris streets.
Organization and Features
The front pocket is the headline and it earns the attention. A lot of bags offer front pockets that are little more than a flat afterthought. Wandrd’s is genuinely deep and well organized, with enough internal structure to hold a Kindle, AirPods, charger, backup battery, and a few other grab and go items without turning into a black hole. I can even stow my iPad in there for quick access. The room and organization feel deliberate rather than excessive. One small nit, I wish the inside of the cover had a few mesh organizers or zippered pockets to round it out.The two top pockets punch above their weight. The smaller rear facing one handles glasses, wallet, and passport with ease. The larger front facing one opens a full 180 degrees and is surprisingly roomy. On work trips I keep my flight headset, noise cancelling headphones, and sunglasses in there with room to spare, and I’ve been known to shove a sandwich or grain bowl in alongside them. It’s a fine kitchen sink type pocket.The interior back panel handles charging cables, my writing pad, iPad, travel wallet, and miscellaneous life & carry on essentials. More room than you’d expect and sensibly laid out.I ordered the bag with the optional Essential Camera Cube and I’m glad I did. It adds organization and rigidity to the main compartment, which is a fair tradeoff when you’re carrying gear you actually care about. On the Paris trip I had my Fujifilm X-T5 with the XF16-55mm WR II, the XF10-24mm wide angle, and the smaller XF23mm pancake which fit perfectly. Three lenses is unusual for me since I generally prefer traveling light, but the Prvke handled it without complaint.One small addition worth mentioning, I added Wandrd’s interlocking zipper pulls for basic anti theft peace of mind. Walking through busy European train stations, it’s a worthy upgrade though I don’t fret about theft too much.On the Body
Comfort matters and the Prvke delivers. The back panel is well ventilated, the shoulder straps are genuinely comfortable rather than just adequate, and the adjustable chest strap fits well. My longest walk so far with a full load has been just shy of 10 miles with zero complaints and I even rode my bike in Amsterdam 21 miles with it on. I prefer not to ride a bike with backpacks, but it was comfortable and a good reminder I need some panniers for that bike. Small gripe, the chest strap clip is a bit fiddly to engage at times especially one handed. At just over 6 feet tall, I also don’t need my backpack looking like a grade school accessory on my back. The 31L fits well and carries everything I need with room to spare. Wandrd also offers a 21L for different packing needs and body types.Looking good with my bike that I keep in Amsterdam, nice and comfortable for long meandering rides.
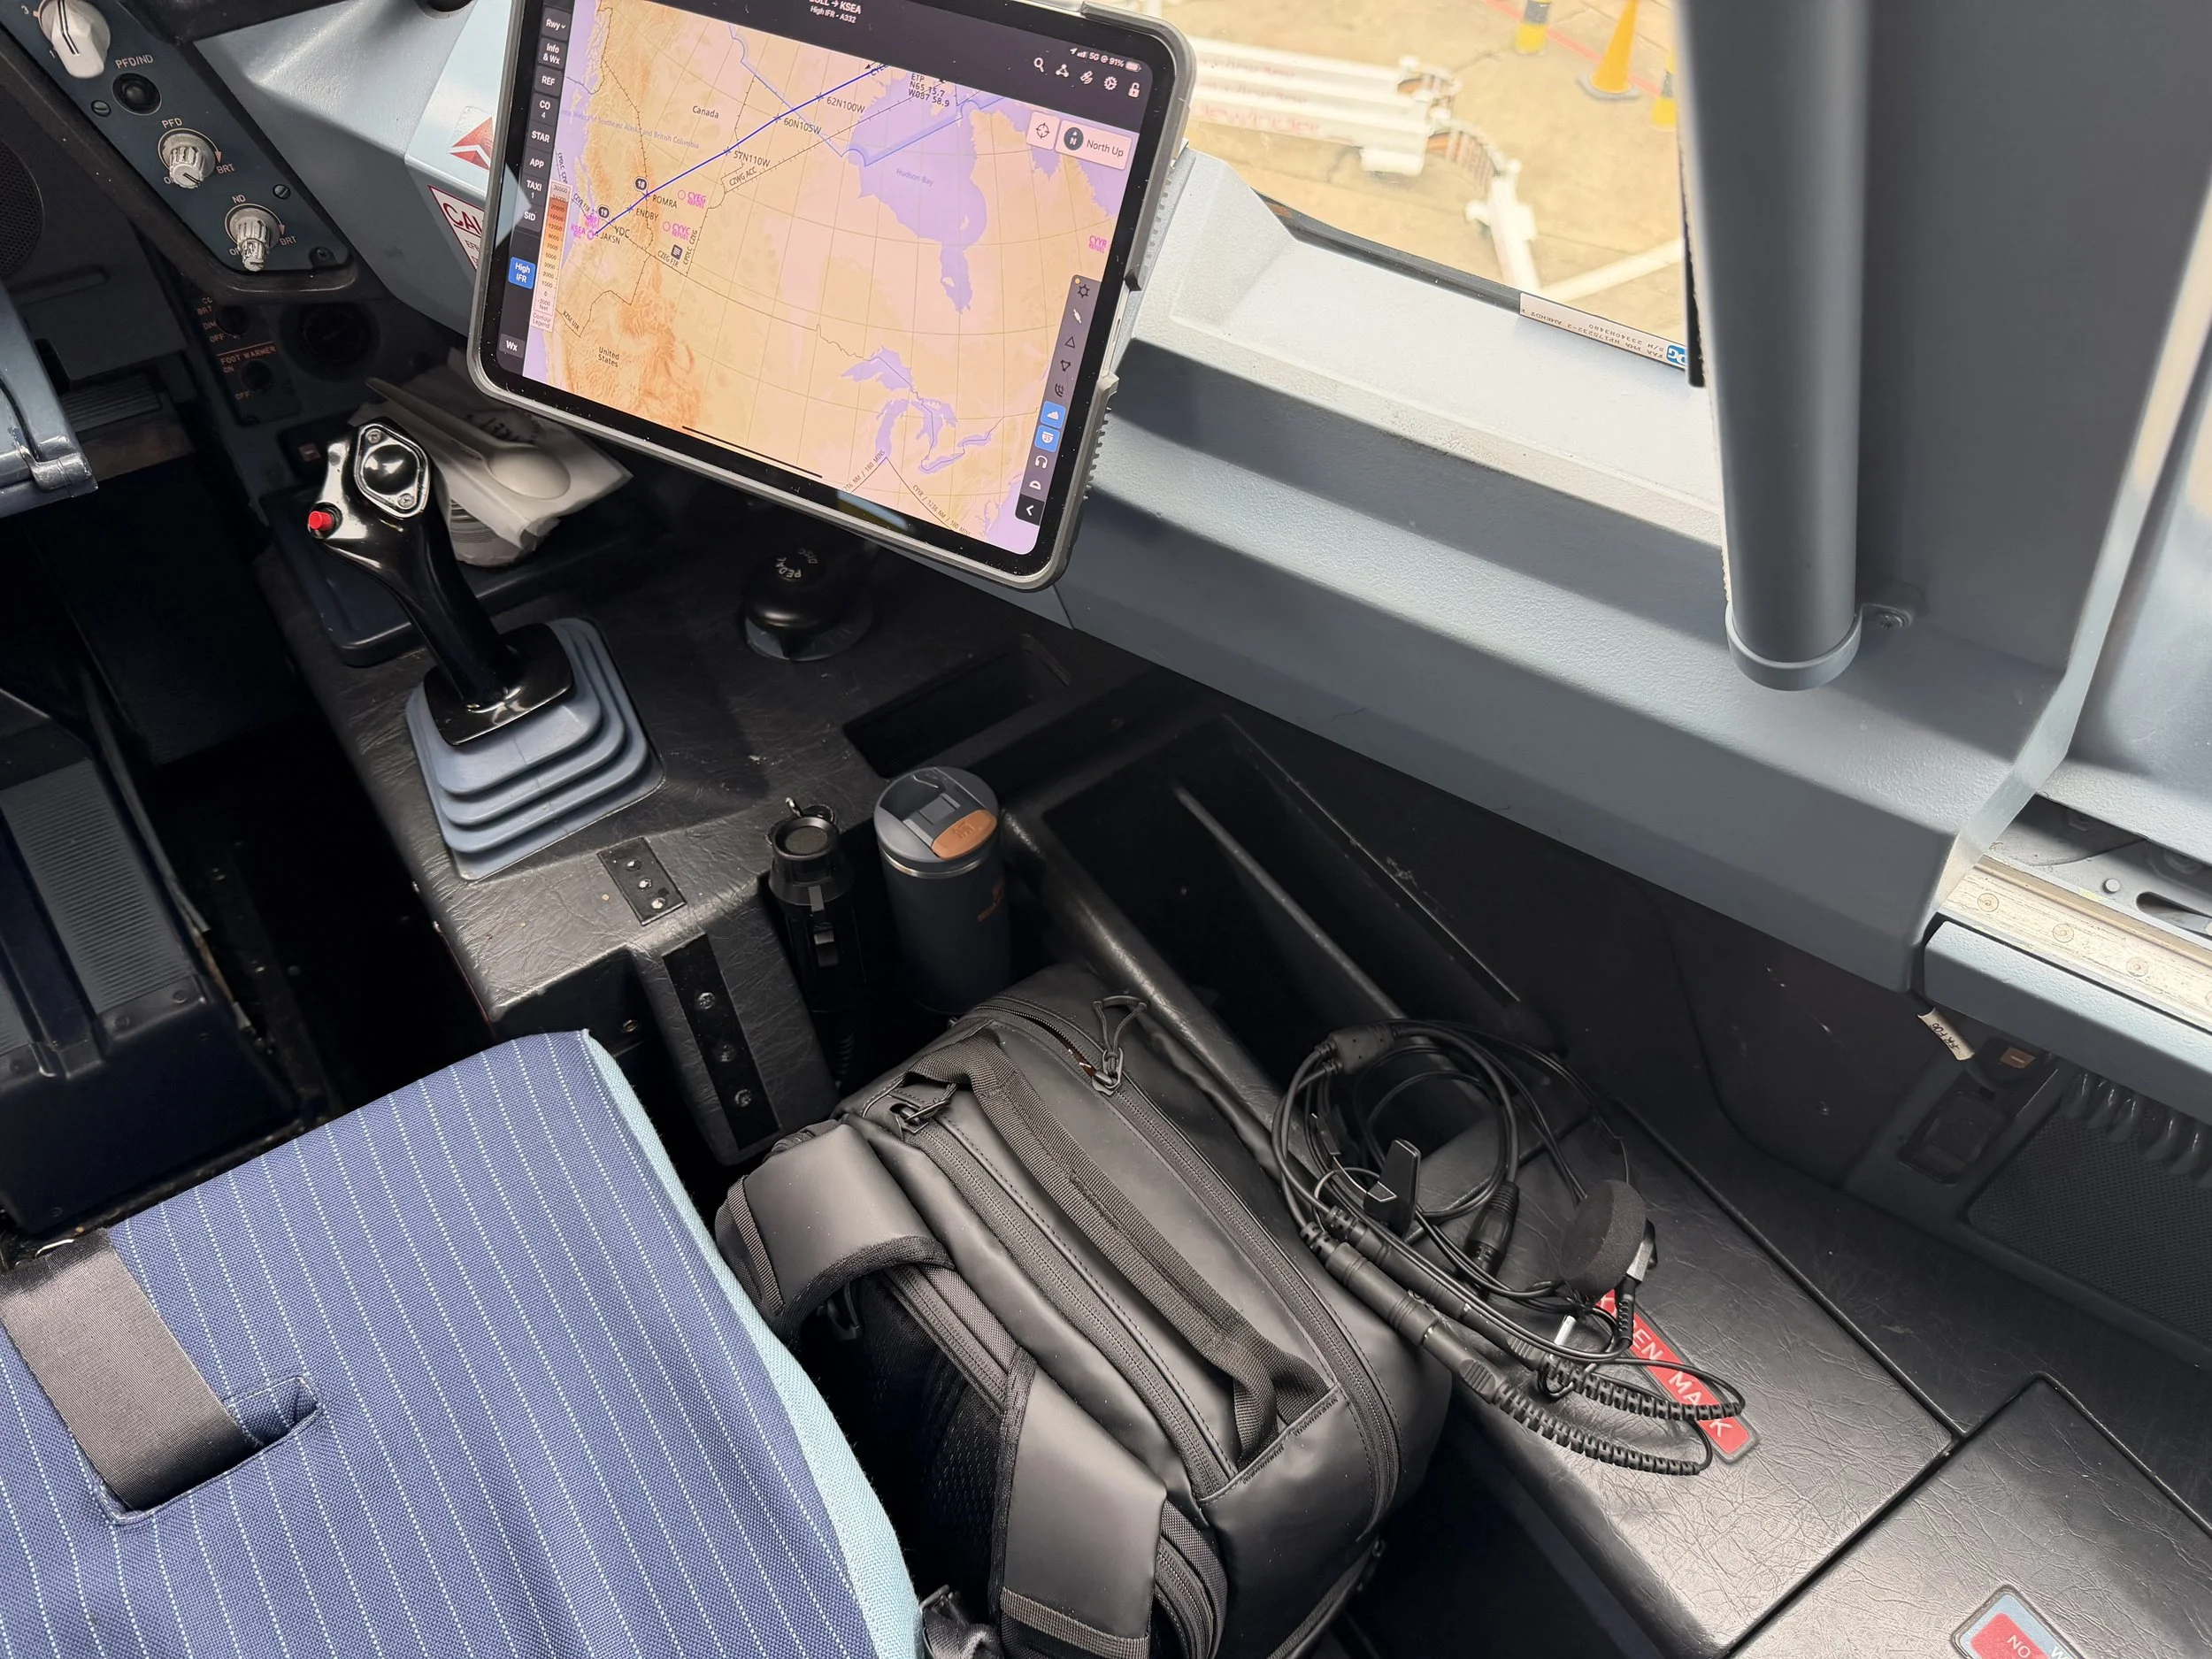
Fits right in the cockpit with no worries, though you can see why I’m not the biggest fan of having to move the strap for rear pocket access.
In the Field
As a pilot, a bag’s first test is often just getting to work. The Prvke slides under economy seat rows and jump seats without issue, which certainly matters when carry on space is at a premium these days. The slight flexibility of the bag helps it conform to tight spaces better than more rigid packs would.Camera access is easy via the side pocket, which also smartly includes small item organizers in the flap for SD cards and business cards. The water bottle and tripod pocket has a handy integrated strap to stabilize tripods, or baguettes, as the situation demands.One thing worth mentioning, accessing the rear back panel requires moving the shoulder straps out of the way first. It’s a minor nuisance when you want to grab your tablet/laptop quickly or change lenses. I’d prefer the straps didn’t interfere and it's annoying to be honest.Weather protection certainly matters too. The bag is built from P900D tarpaulin and N840D ballistic nylon, with YKK zippers throughout. A rain fly is available separately for full protection, which stows in the handy bottom pocket. Though I’ve mostly enjoyed good weather so far, it’s only a matter of time before this thing gets a proper soaking in all day slog. I shall report back with results. 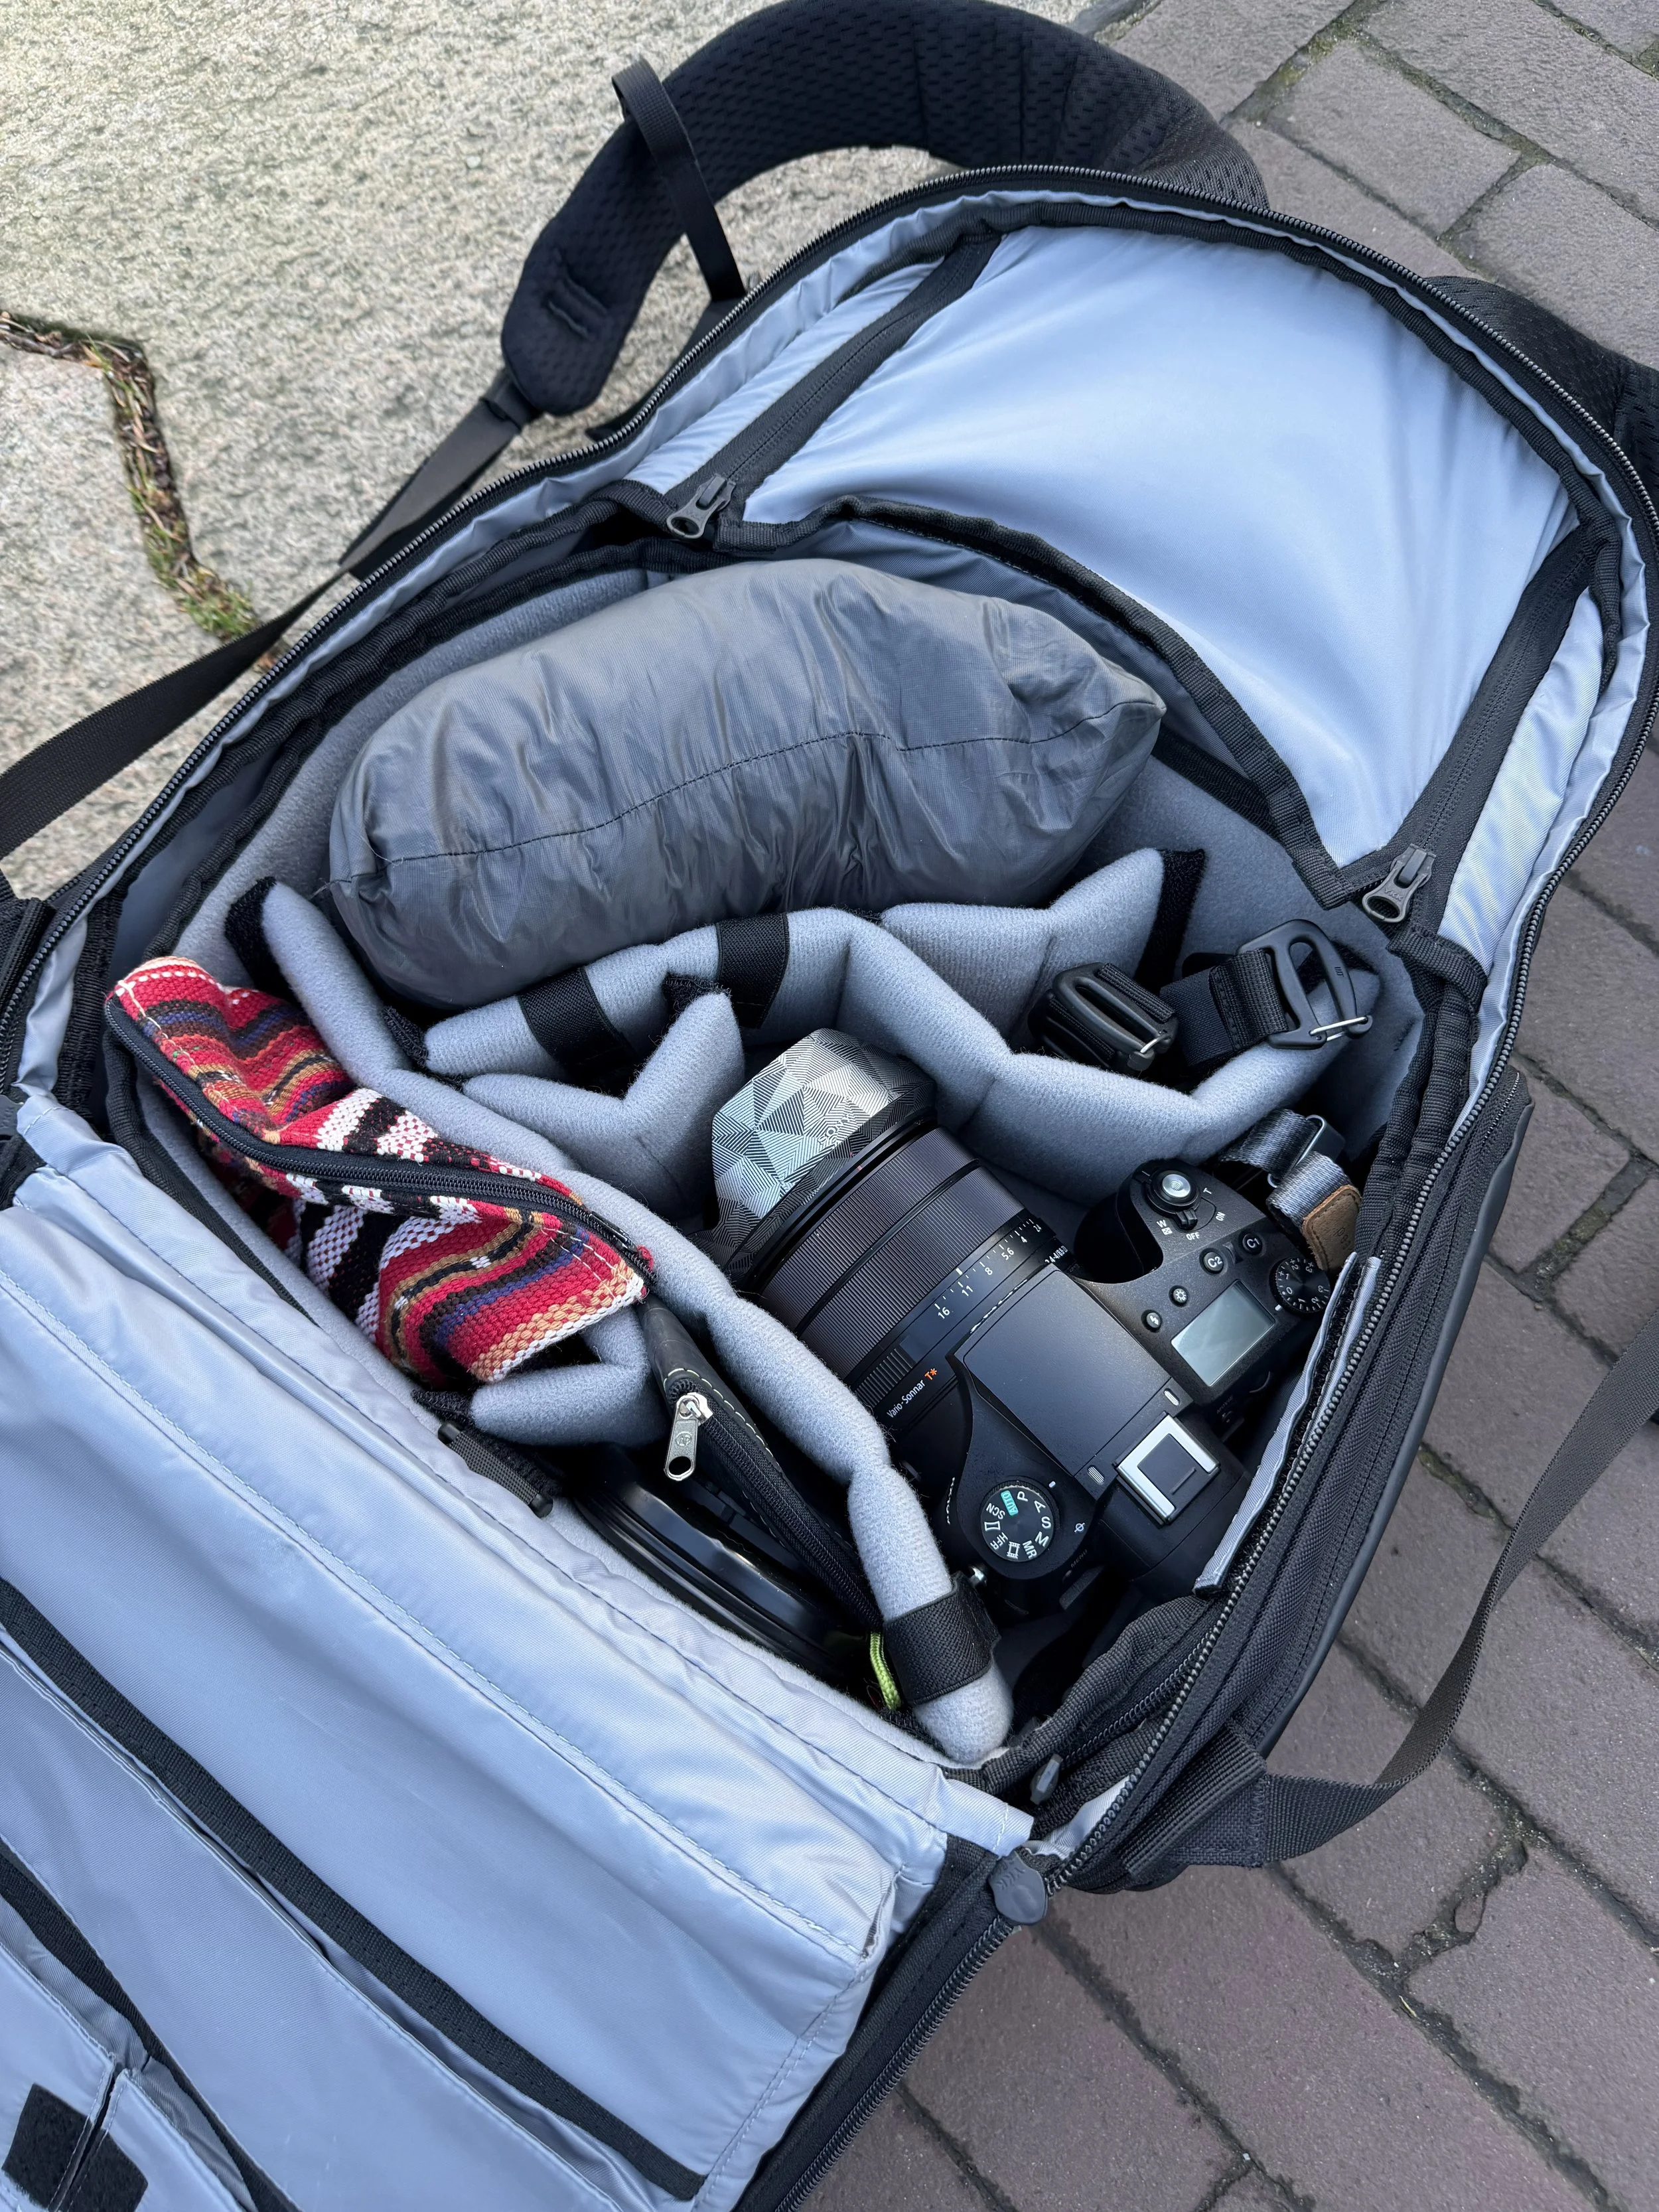
The Prvke in Amsterdam with my typical Sony RX10iv loadout vs the Fuji kit. Plenty of room for a puffy jacket layer as well.
The ‘kitchen sink’ pocket as I call it holding all the things including dinner. Since eating too much airplane isn’t the best thing.
The Good
The aesthetic is modern without being ‘tactical’ (a look I loathe) or overdone, and it doesn’t broadcast “camera gear inside” to everyone on the street. Organization is thoughtful throughout, and the large kitchen sink top pocket is a quiet standout. It’s comfortable for long carries, lightweight before you’ve packed anything, and flexible enough to fit in tight spots. The hidden security pocket, dedicated AirTag slot, and luggage pass through round out a genuinely well considered feature set. At around $254 (bag only) it sits at the higher end of the market, but it earns it in my estimation. The Not So Good
The side water bottle pocket is the biggest miss. Having to use a zipper to access it is quite inconvenient, and the zipper sticks at the bottom corner. Every. Single. Time. A simple stretch pocket with magnets or similar closure like most competing bags use would be a straightforward improvement.Though I’m trying to get used to it, the shoulder strap interference with the rear panel is a recurring annoyance. Particularly in the cockpit and any time you need to access the camera cube for a lens swap. Might be an equal miss along with the water bottle pocket. A handful of slim grab handles on the sides or bottom would also be welcome for the moments when you want to pick the bag up quickly. And if you happen to use the Peak Design Capture system, the shoulder straps are not compatible.Finally, the bag doesn’t reliably stand on its own depending on how it’s loaded. Not a deal breaker, just something to be aware of as you’ll be required to lean it against things. Though I've since purchased the rain fly and storing it in the bottom pocket does help keep the bag upright. Who Is This For
If you’re a travel photographer who moves through cities on foot and needs a bag that works equally well in an airport, on a train, and on long meandering city walks, this is for you. It’d even work well for outdoor adventures once you land somewhere with action on the mind. And of course if you’ve also outgrown the messenger bag era of your life, like me. Final Verdict
The Prvke Pocket is one of the more thoughtfully designed bags I’ve carried, and the first backpack in a while to genuinely hold up against my specific needs. The front pocket alone was a big part for the switch from messenger bag life, and the overall comfort and organization have made it a bag I reach for with little hesitation. A few refinements would make it exceptional. Disclaimer: Purchased with my own money. No sponsorship from Wandrd. Traveling Light + iPad Pro
As an airline pilot traveling across the globe one of my highest priorities when packing for a trip is not bringing a metric ton of stuff with me. The art of minimalist yet effective packing can be challenging. Thankfully a recent change has helped me pack even lighter while keeping my photography workflow very capable.
For many years I carried evolving versions of laptops as my primary editing machine. Looking back, a couple of those were basically bricks with a screen. As newer laptops became slimmer and lighter it was less and less of a burden but nonetheless even newer 15” laptops are not exactly light. The modern airline pilot carries what we call an Electronic Flight Bag or EFB that replaces all the paper charts we used to lug around in those bulky leather flight cases. Thankfully long gone are those cases & charts but a lot of us still carried a personal laptop along with our company issued EFB. That wasn’t bad, but I wanted to go even lighter. I needed a single device that met my editing needs and the previous EFB (hint, it wasn’t a capable Apple product) just couldn’t do it.
Thankfully my company switched to the iPad Pro for our EFBs and wouldn’t you know it this thing is small, light and capable of some serious on-the-road photo editing. Since the switch I’ve been able to leave the laptop at home and figured I’d share my editing process & thoughts on mobile workflow. Let’s see if a photographer can get away with just an iPad while traveling.

Editing on the road made easy with Affinity Photo and a good cup of coffee.
The Import Process
There are various ways to bring your photos into your workflow. Depending on what camera you are using a bluetooth connection via app or using Apple’s SD card reader can easily be used. The majority of the time I use the SD reader as it is much quicker for importing photos than wireless methods. If I have only a handful of photos I really want, I’ll use Fuji’s app to grab a few photos directly from my X100T via a WiFi connection. Speaking of which, the updated Fuji app is much better than its predecessor and actually works like a charm now.
Whichever method you choose, your imported photos will go directly to your Photos app in one large folder of sorts (more on that below) where you can access your images from within editing & sharing apps.
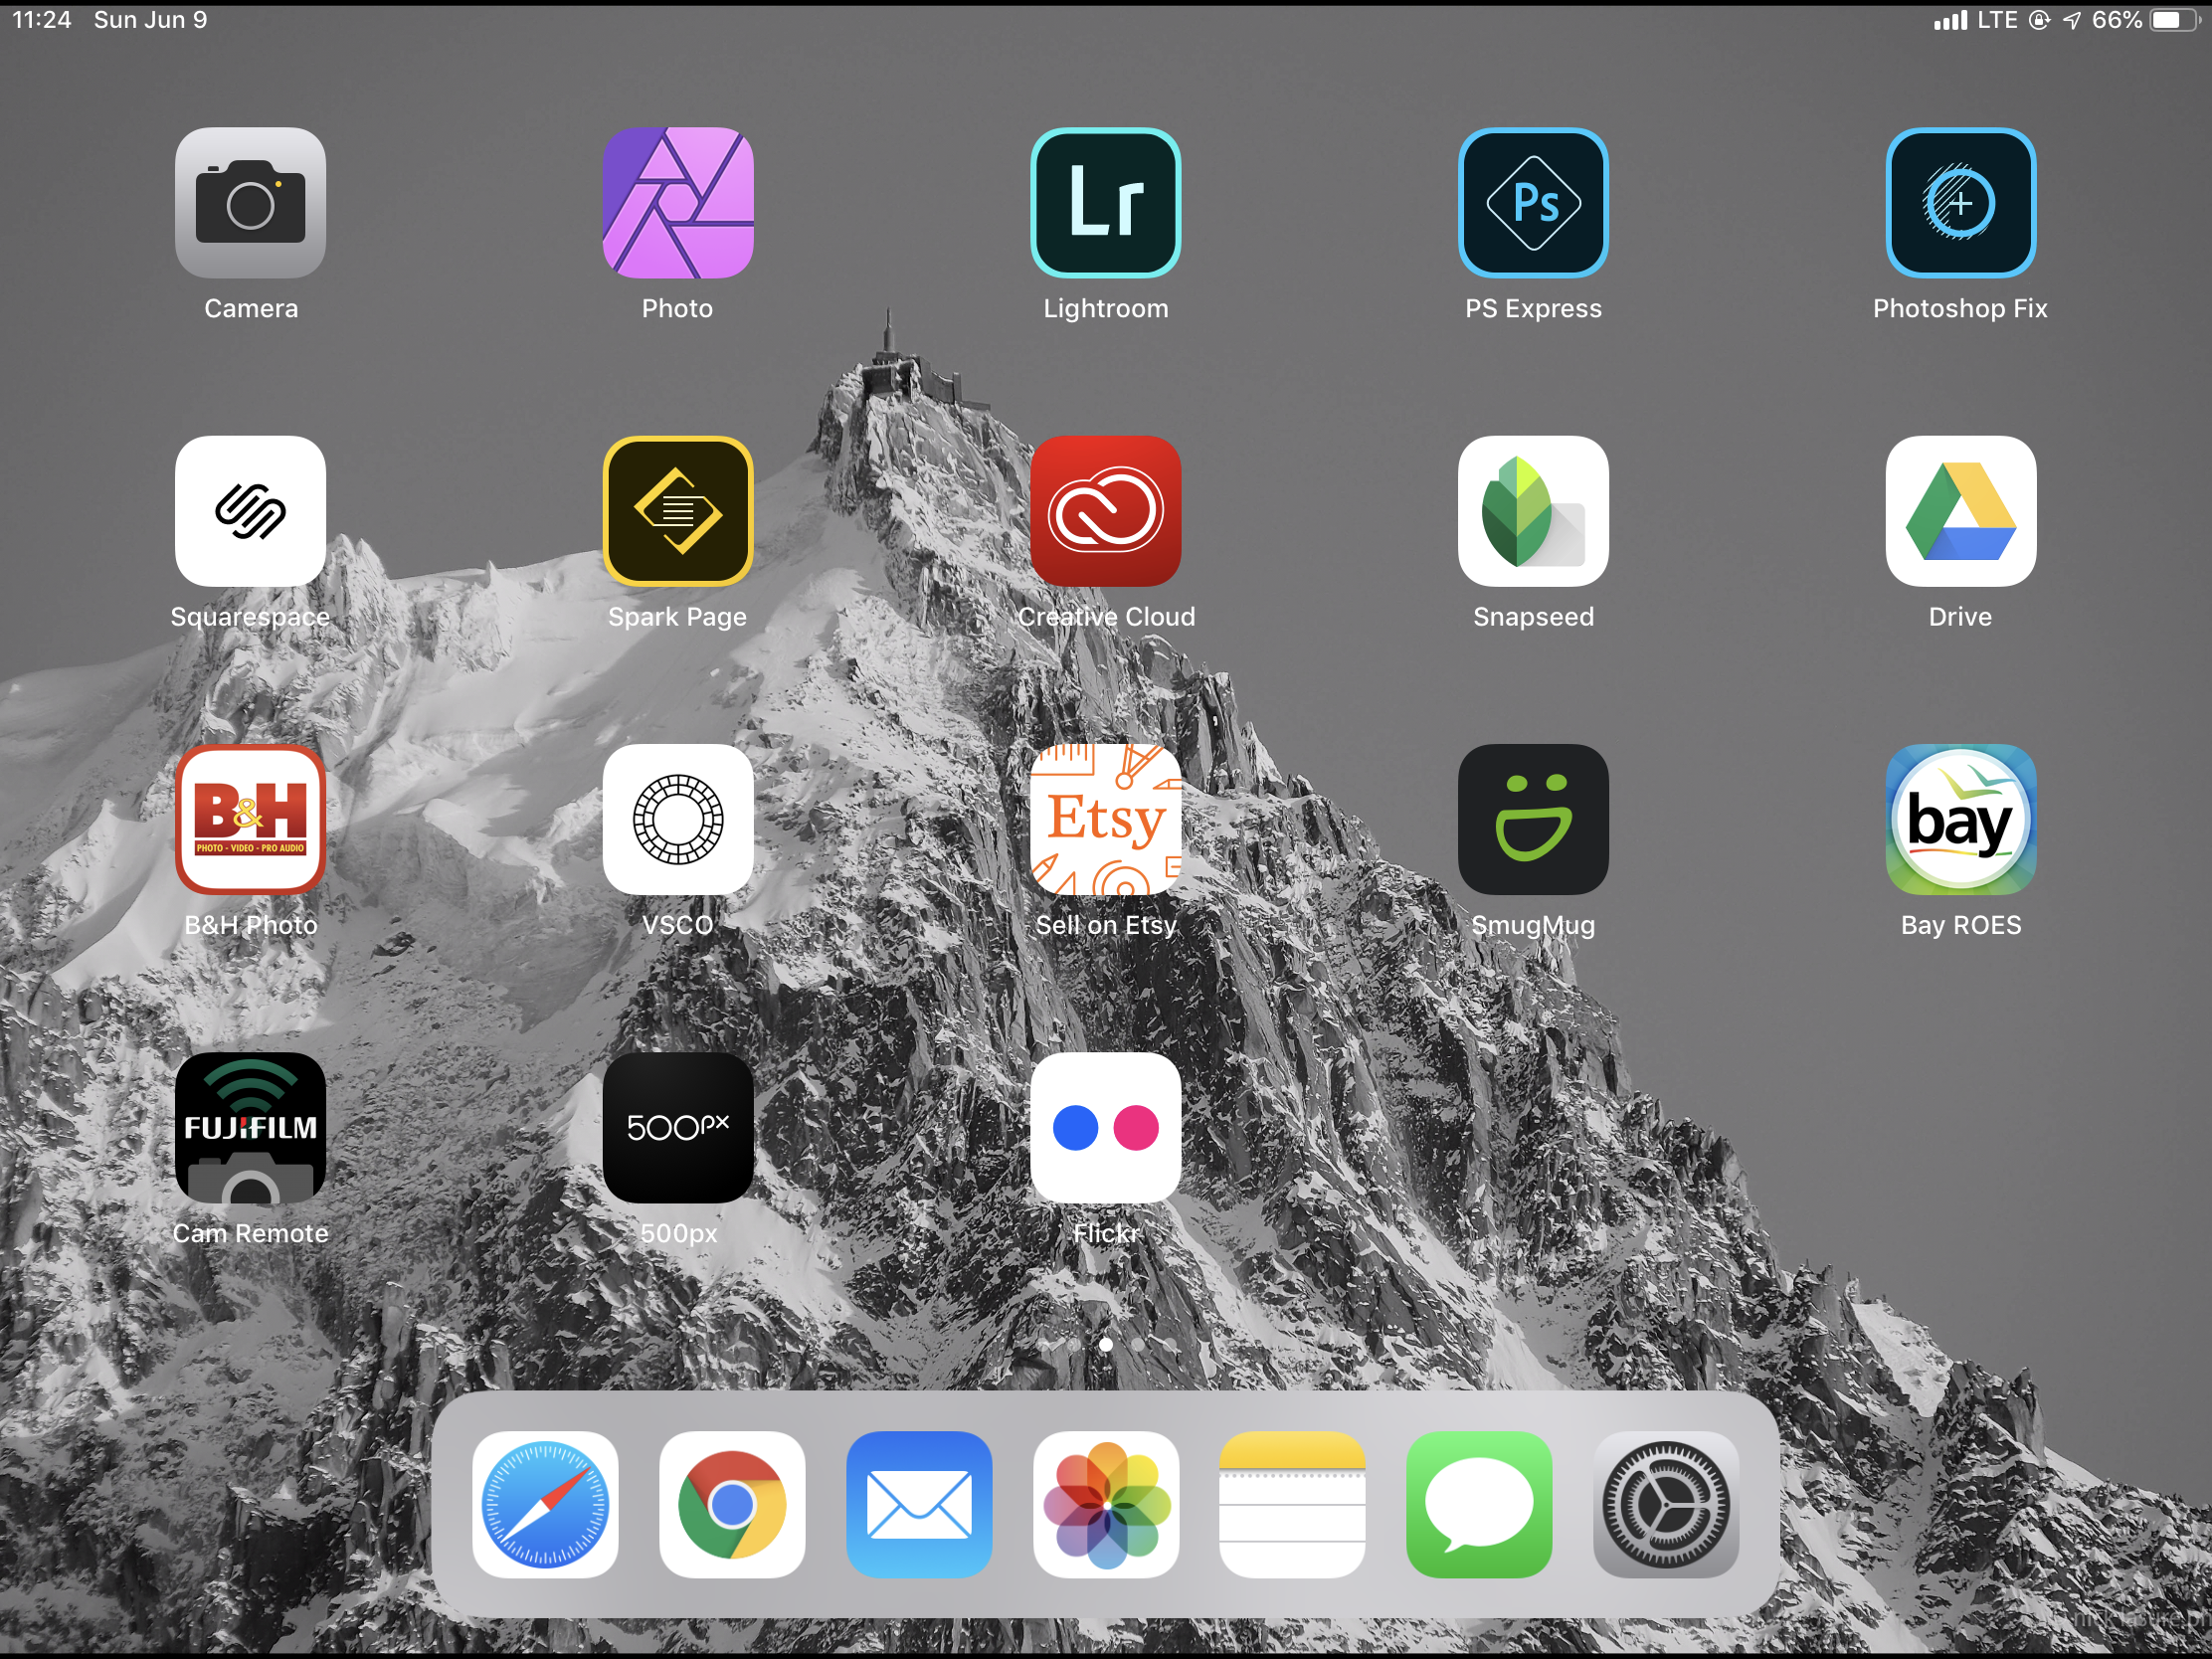
My photography app collection. The majority of my on-the-road editing, managing & sharing needs are easily met.

The things you find wandering about in the hutongs of Beijing - X100T edited in Snapseed.
Editing
There are a myriad of editing options available from ‘filter’ based apps such as VSCO or Snapseed (which also have in depth editing) to advanced options such as Lightroom and Affinity Photo. My go to apps are usually Snapseed and Lightroom, but if I need a more advanced set of features I’ll import to Affinity for things such as merging panoramas or focus stacking. In fact, Affinity’s focus stack and pano features make packing light even easier with the ability to stack images from my fixed lens X100T to get the wide aspect that is usually reserved for much wider focal lengths.
I try not to over-edit images, instead keeping them what the human eye saw since even the best cameras have a hard time reproducing the tones, saturation and depth we can see. So for my editing needs the iPad is more than enough and with apps such as Affinity one can utilize layers & masks to your heart’s content to make your images pop how you like.
Of course what good are your editing efforts if your screen sucks? While calibrating an iPad screen for printing isn’t really a thing you can adjust your brightness manually and using a reference image to watch for highlights and shadows will keep you in check. Generally the screen does a good job of representing the colors/tones you’ll see but for reproducible color & printing profiles you are best to keep that at home on your calibrated monitor.
Managing Pictures & Storing
One of my biggest complaints about iOS is the lack of a true file management system, you are basically dumping your photos into one giant folder with limited ability to do advanced sorting as you can do on a Mac or Windows based machine. While the ‘Albums’ feature is semi-useful it isn’t a replacement for a robust system.
Thus far I’ve managed to keep the overall numbers of my pictures low on my iPad only editing as I need and not using it for a dumping ground. One thing I’m considering is utilizing Dropbox more since you can import directly from Affinity and of course utilizing the options of Adobe Cloud services though I have yet to embrace that either. The good news here is that if you are invested in a cloud service already you have options for managing your library via the iPad.
For me, I believe the keep it simple principle applies here, import, edit, share and I’ll backup relevant photos once I’m home on my primary drives. This also keeps my images safe in case I lose my iPad while at work or it somehow gets ran over by a hotel van.

Sunset at the Egg in Beijing, edited with the Snapseed.
Sharing
Taking a photo is of course step 1, step 2 is editing and finally the most important is sharing your vision with the world. Which social app or venue you use is of course up to you, but working with the iPad makes sharing a snap. Most social apps are integrated into iOS not to mention the ability to Airdrop a photo right to your friend’s phone.
Other useful apps include a dedicated 500px app, Adobe Spark for making creative story driven pages and Bay ROES to send my images directly to my print lab. The iPad excels here at getting your images out to your adoring fans.

Twinkling Stars in Boston - Fujifilm X100T edited in Snapseed
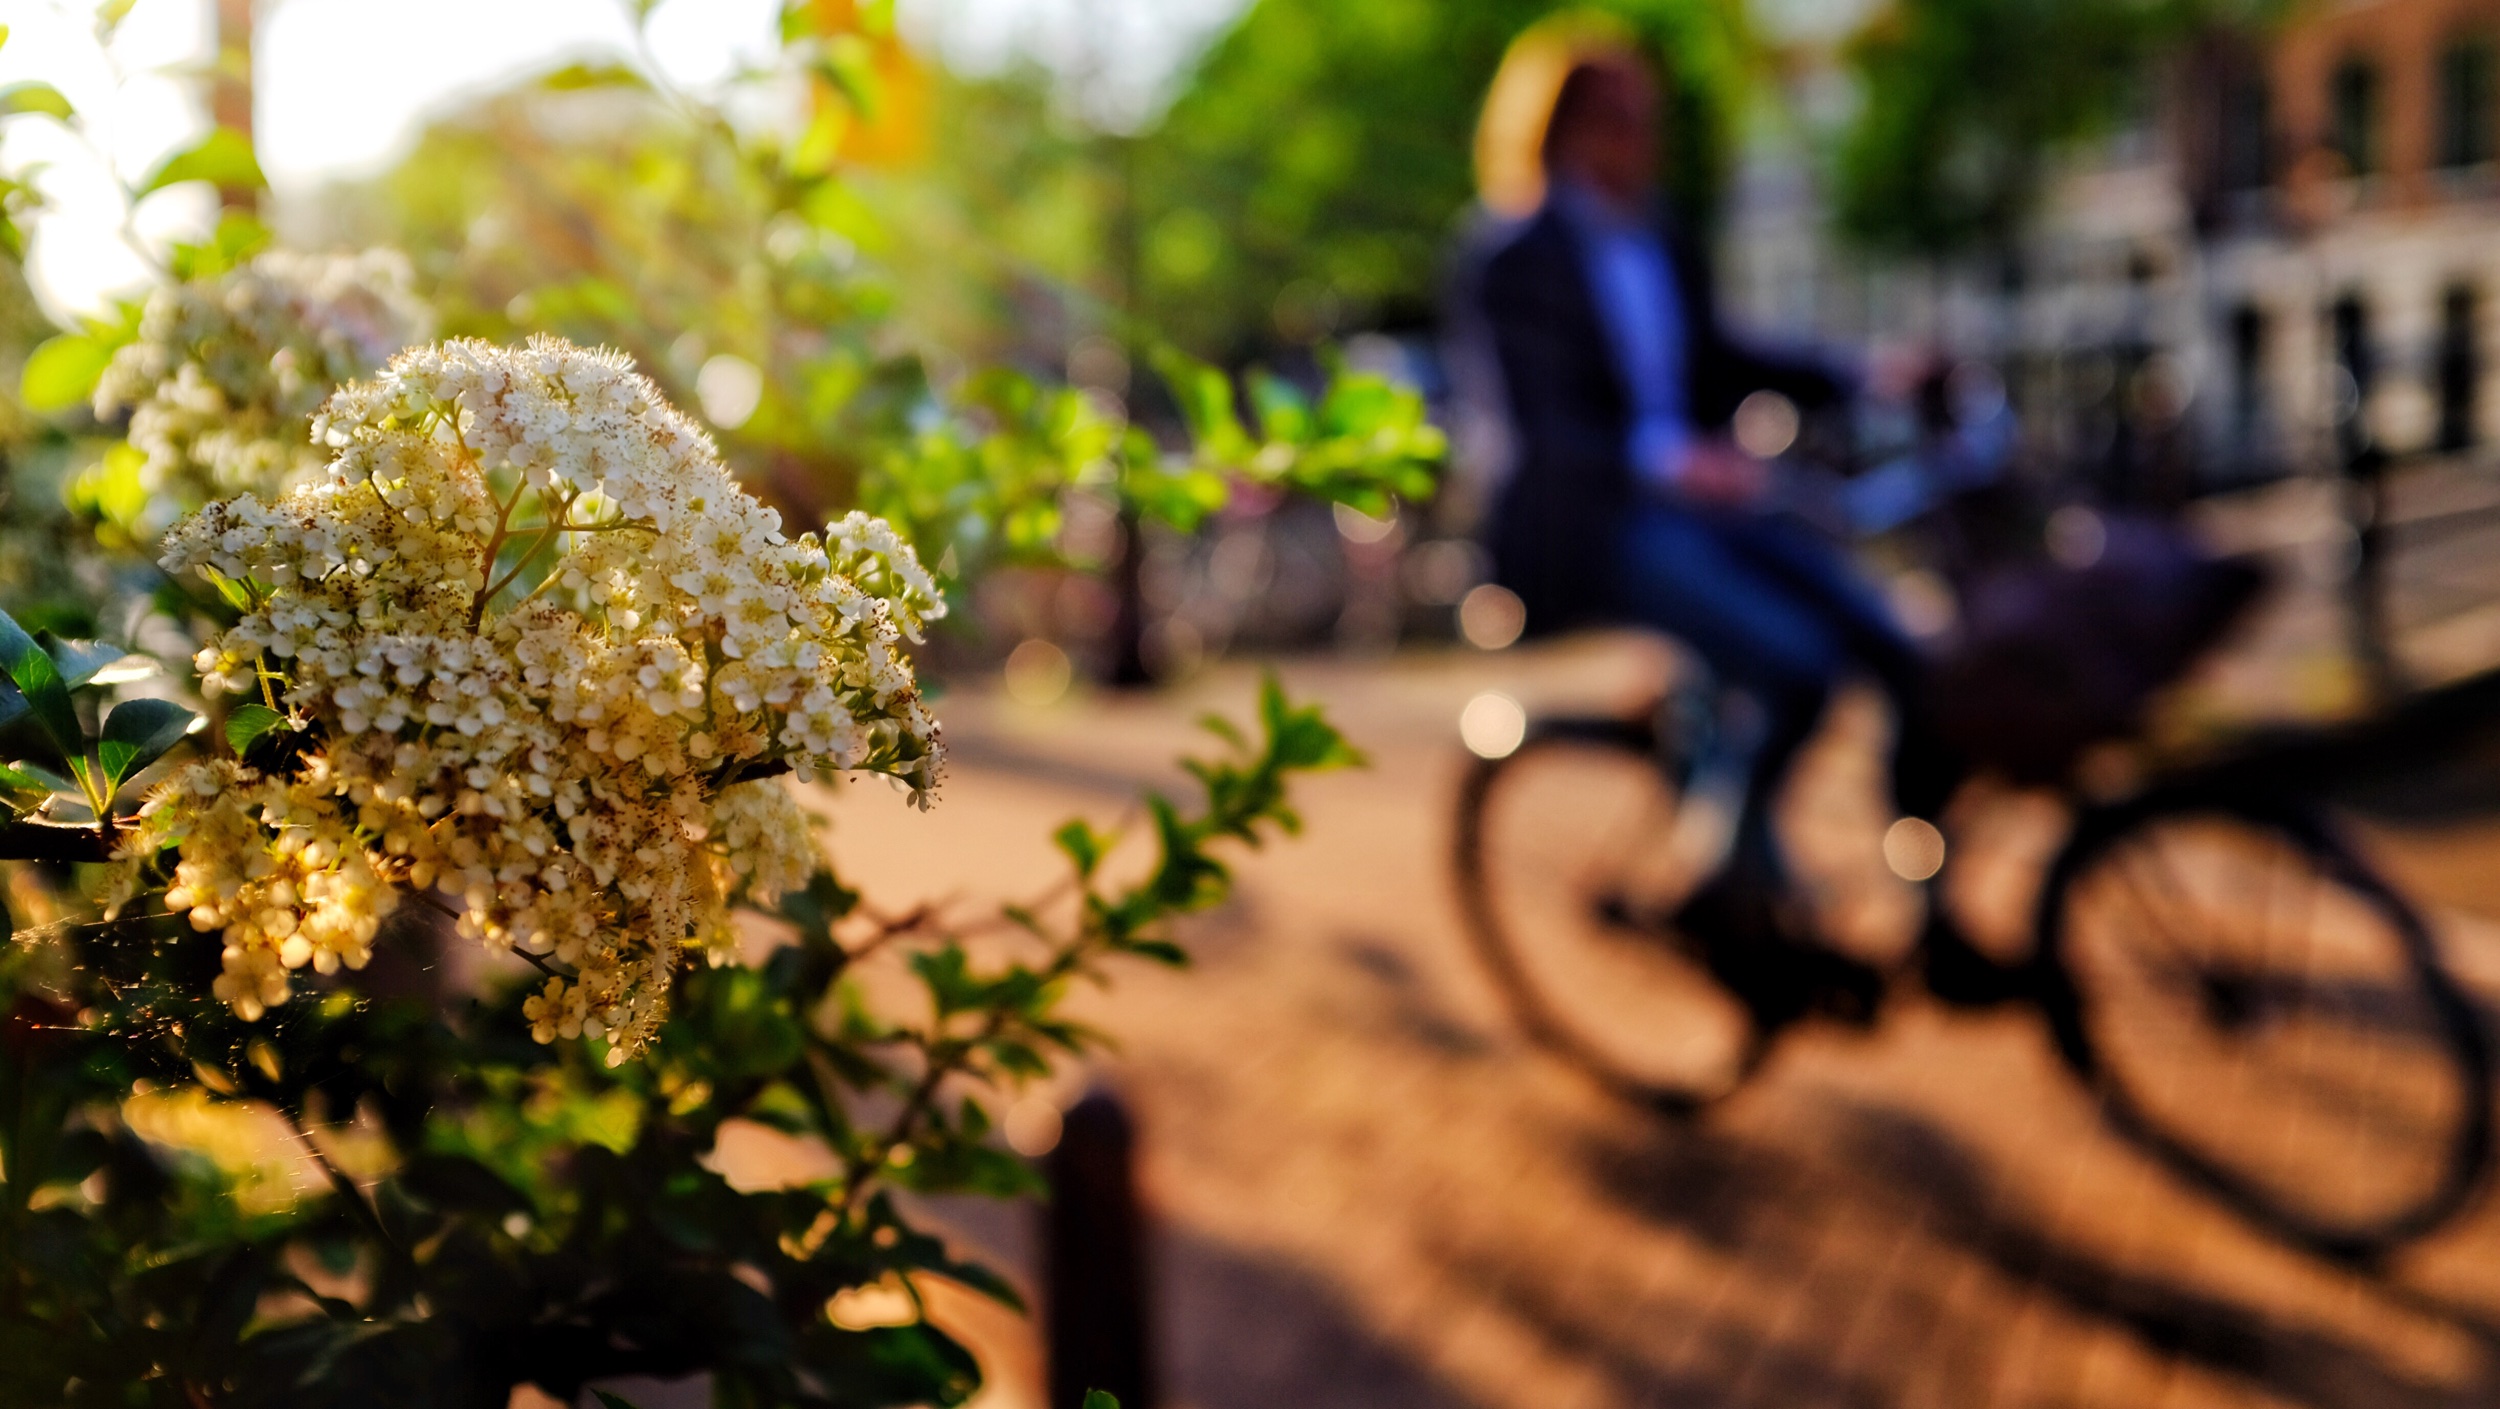
Exploring Amsterdam - Fujifilm X100T edited in Snapseed
Additonal Needs
Aside from editing, what use is a device if you can’t easily write blog posts, plan locations shoots and spend too much time drooling over new camera gear? With handy accessories such as a bluetooth keyboard and the Apple Pencil writing blog posts and finer editing is a breeze.
I also utilize various map apps such as maps.me and the ever useful Google Maps for planning and exploring new places. Maps.me is a wonderful app allowing you download offline maps in case you won’t have data at your destination.
For editing my website I use Squarespace to manage all things you see here and thankfully they’ve just launched refreshed & robust app. Again an iOS specific app delivers and I’m able to manage my business and presentation to the world whilst on the road.
Final Thoughts
So can an iPad replace my computer on the road? Sure can! There are a few limitations but for most edits and everyday use I don’t miss lugging my laptop around at all. It’s proven to be more than capable and harnessing what it has to offer has a wonderful thing. Not to mention I can sleep better knowing my primary laptop is safely at home when I travel.
Ultimate Travel Camera - That Almost Was LUMIX LX10
This is the promised follow up about a camera that I purchased, sort of liked and then sold in short order. After much toiling I purchased the Panasonic LUMIX LX10 last year and initially really [sort of] liked it. It’s a small, sleek (errr...slick), functional and well appointed carry-everywhere-with-you camera. Yet, it wasn’t ultimately what I was hoping for. Let’s break it down and I’ll share a few images from my short journey with the LUMIX to see why it didn’t make the cut.

One of the bright spots of the LX10 was the macro capability. Here we see Photo Lego Dude committing for the shot in Hawaii.
Form Factor & Reliability
One of the major factors in deciding on an everyday carry is the size & how it fits in your hand. The LX10 nailed both of those well enough, but it was almost too small without the addition of some sort of grip as it was a very slick camera to hold onto. Thankfully I never dropped it but came close a few times (love that wrist strap). The much lauded Sony RX100 series suffers from the same design flaw as well. A bit of grippiness could have gone a long way in keeping this thing around. The on/off switch was also unfortunately very easy to activate and I’d sometimes reach into my bag only to find the battery was drained. Clearly not a good thing if time is of the essence for a particular scene.
After a short time of use the lens closure (automatic cover) developed an annoying issue. It wouldn’t fully close or open when turning the camera on/off. This of course didn’t affect the way it captured photos per se, but was a pain as I needed to pay attention so as to not miss a photo opportunity with the closure stuck half open (assuming the battery wasn’t dead). I ultimately sent it back for warranty twice for this issue and it worked great after the second fix. Nonetheless, I wasn’t overly impressed and lost weeks of time without the camera while it was being repaired.
Mt. Rainier looking formidable above the clouds. I believe big zooms on compact cameras are in the gimmicky range but occasionally they are useful.
What I Liked
For a small body and 1” sensor the LX10 actually captured pretty decent photos. The Leica f/1.4-f/2.8 lens is an excellent addition that I felt without the camera would have been pure ‘meh’. It is decently sharp with a useful 24-72mm optical zoom range and a slightly useful digital zoom for a touch more reach.
The articulating screen while fairly standard on cameras these days is a welcome & useful addition for low angle shooting. I’ve really adapted and gotten used to having an articulating screen and fully believe they belong on modern cameras.
The macro capability was actually quite good for such a small sensor and the focusing range nearly down to an inch it makes for easy floral shots or of course Lego Photograhers.
Gimmicks
Though technically most cameras come with what are better known as ‘features’ I like to call them ‘gimmicks’ depending on their usefulness. Things such as the aforementioned articulating screen and 4K focus stacking are arguably useless if they are not well executed. The 4K focus unfortunately stacking falls in the gimmicky range. I was looking forward to this feature for shots of Photo Lego Dude’s adventures, but in the end the results always left something to be desired. Better to manually stack images in Photoshop for truly sharp results.
How about that touch screen you say? Actually yes, it was useful and I enjoyed being able to select focal points with it and navigating the less than stellar menu system with relative ease. Seems everything is touch screen these days and that isn’t always a bad thing. So not quite gimmicky.

Low light/indoor shooting was mildly effective with the LX10, if you bumped up the ISO image quality was quickly lost. At the Tsukiji fish market in Tokyo.

Chicago at night. One of the few favorite images that I captured with the LX10, for those that like natural star bursts f/8 worked perfect in this case.
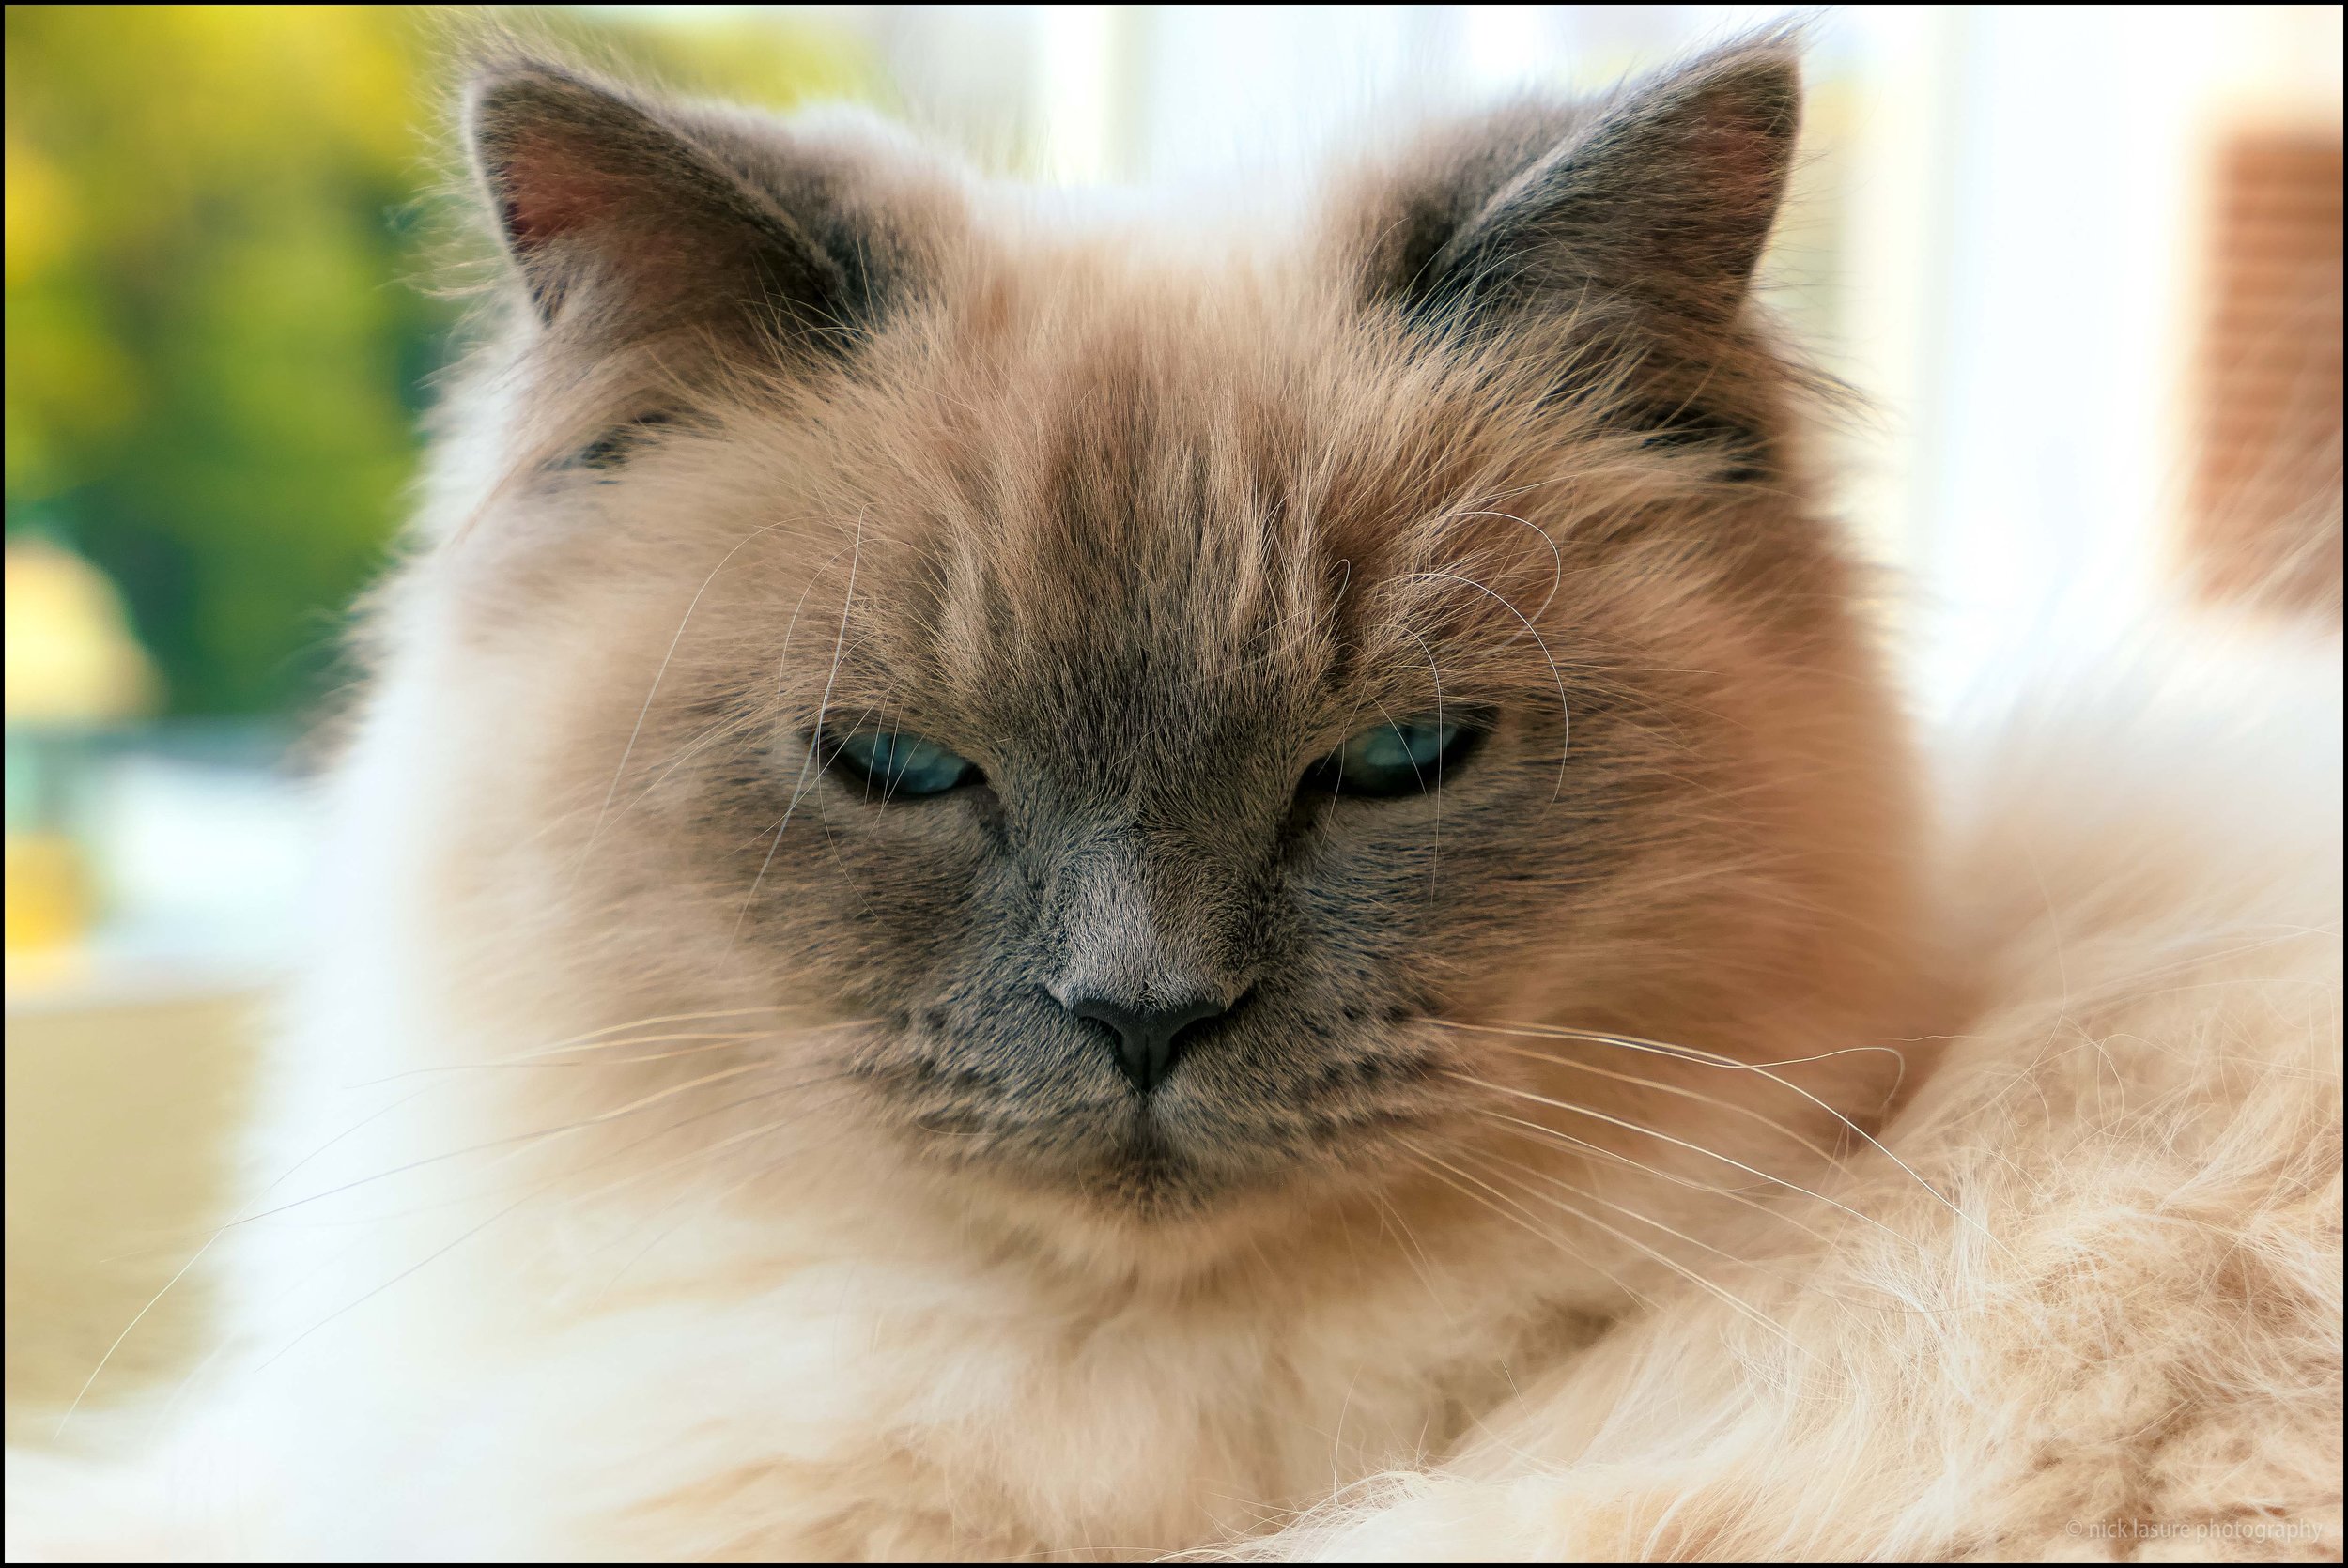
What else does one do in Tokyo but visit a cat cafe? LX10 had the occasional great natural tones with good enough light.

The LX10’s portability was one of it’s best features, small & lightweight makes it great for coming along on the ride or in the backcountry.
Final Thoughts
Ultimately I found the LX10 uninspring and at times frustrating to shoot with but also occasionally useful and fun. I’ll probably miss it at times, but it wasn’t a camera that I felt I could get repeatable results with or print with confidence if I did capture a good moment. Would I recommend it as a general point & shoot for vacation memories or backpacking camera? Certainly. But for the discerning pro or enthusiast who needs a little more from their everyday carry looks elsewhere. Something like say...oh a Fuji X100 series.
Sleeklens Presets Review
I was recently given the opportunity to test & review some handy Lightroom presets from the nice folks over at Sleeklens. If you use Lightroom much you are probably familiar with the usefulness of presets. Though it's nice to have handy one-click editing at your fingertips, I always consider presets to be a starting point and not a finishing point. This is where presets such as those offered by Sleeklens can come in handy.
How I Create & Edit Images
Before we delve into the before & afters, a quick primer on how I shoot & edit might be handy. I'm of the school of thought that getting the image right in the first place is the best starting point in making good images. Though the camera's sensor and human eye never see the same scene as it was. Digital images often need updated [edited] to do the scene justice as your eye saw it.
So when I do use presets they are 'primers' or 'starters' then I fine tune the image with Lightroom's individual controls as I go along. The nice thing about Sleeklens' offering is that it is built as a 'layered' system to editing in Lightroom that others don't accomplish. So there can be less 'right panel' editing and quicker 'left panel' edits to achieve a similar result.
Not Just Another Preset
As I mentioned above, Sleeklens presets use a sort of building block or layering method. While their presets also come with 'all-in-one' clicks that you might be used to the stackable options are a different approach. I won't explain how that works in detail as they have put together a short video on exactly how it works, but you can see some examples I used below.
The other handy thing I really enjoyed using are the brush presets, which handily also function in the gradient tool. While you can always customize your brush settings to your heart's content having quick presets in the brush & gradient menu can speed up your workflow.
Alright, enough chatter - let's get into some before & after images to see what these presets are all about.
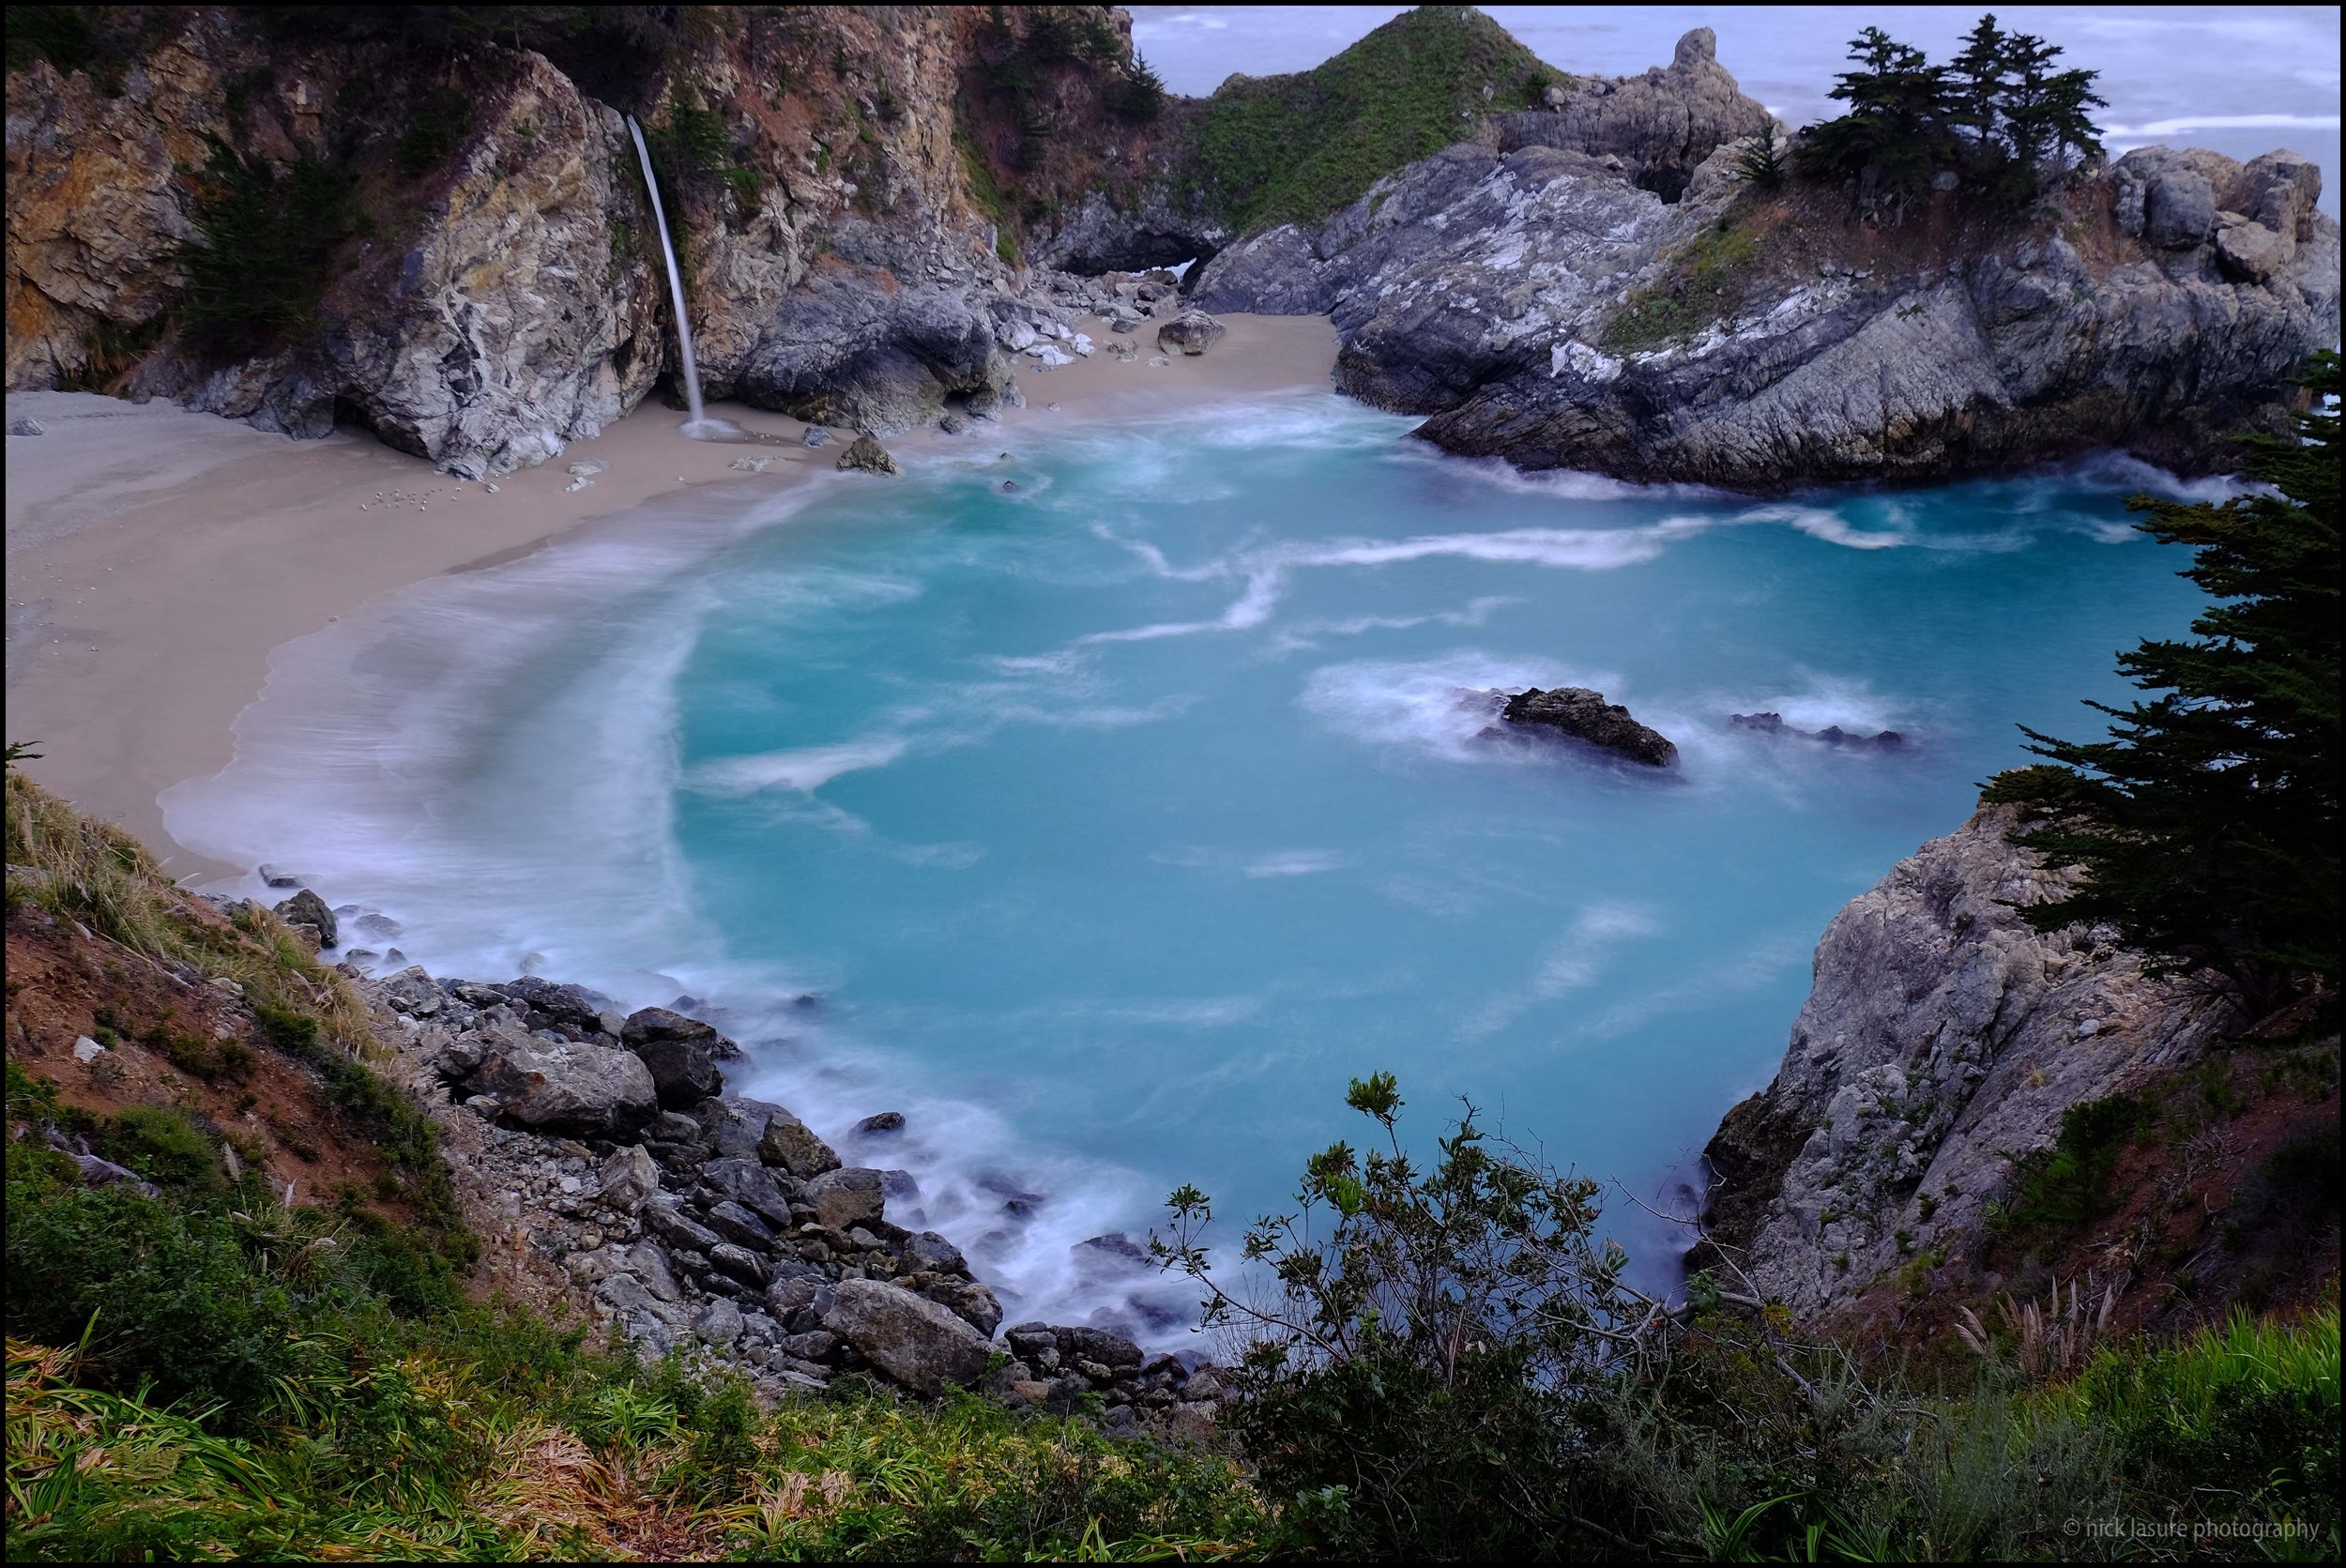
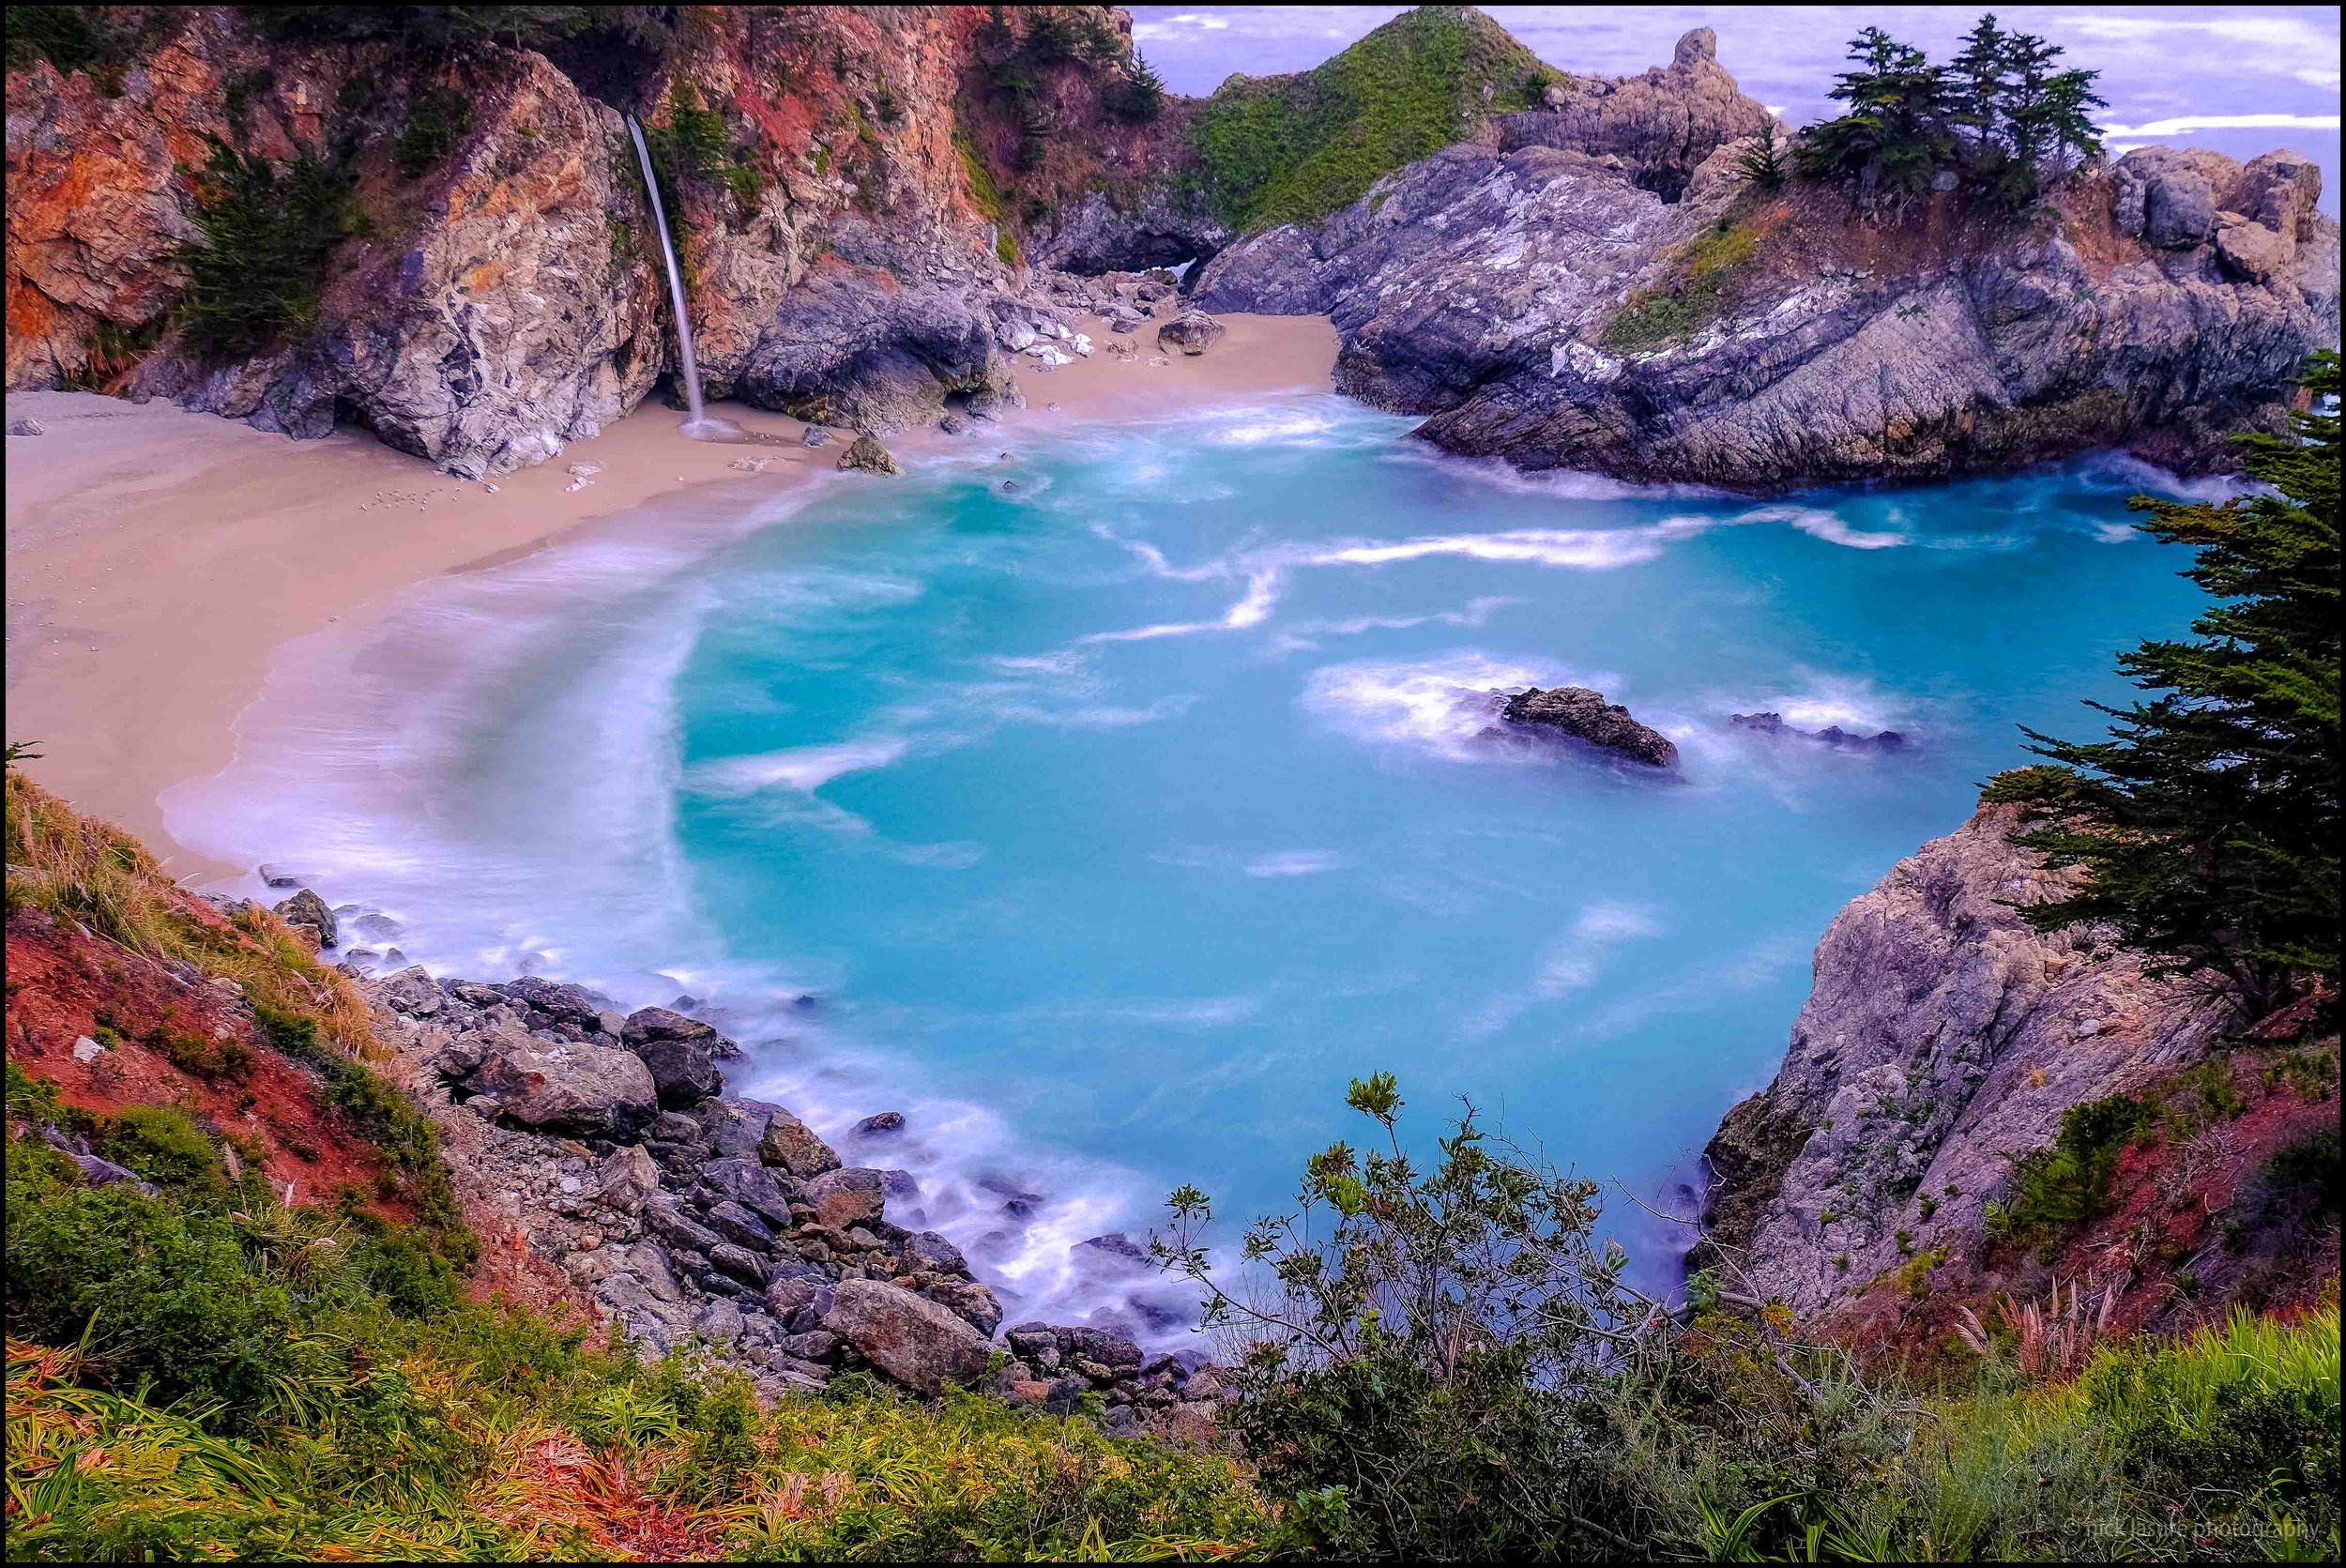
Before/After #1 - This was an image from McWay Falls in Big Sur, California. The image on the left was SOOC from my Fuji X-T1 as a JPEG with a 10 second exposure. For this edit I decided to show what the all-in-one preset can do with no further touches. This was the Calm Sunset preset from the Through the Woods landscape collection. I really like the warm tones and clarity the preset gave the image.
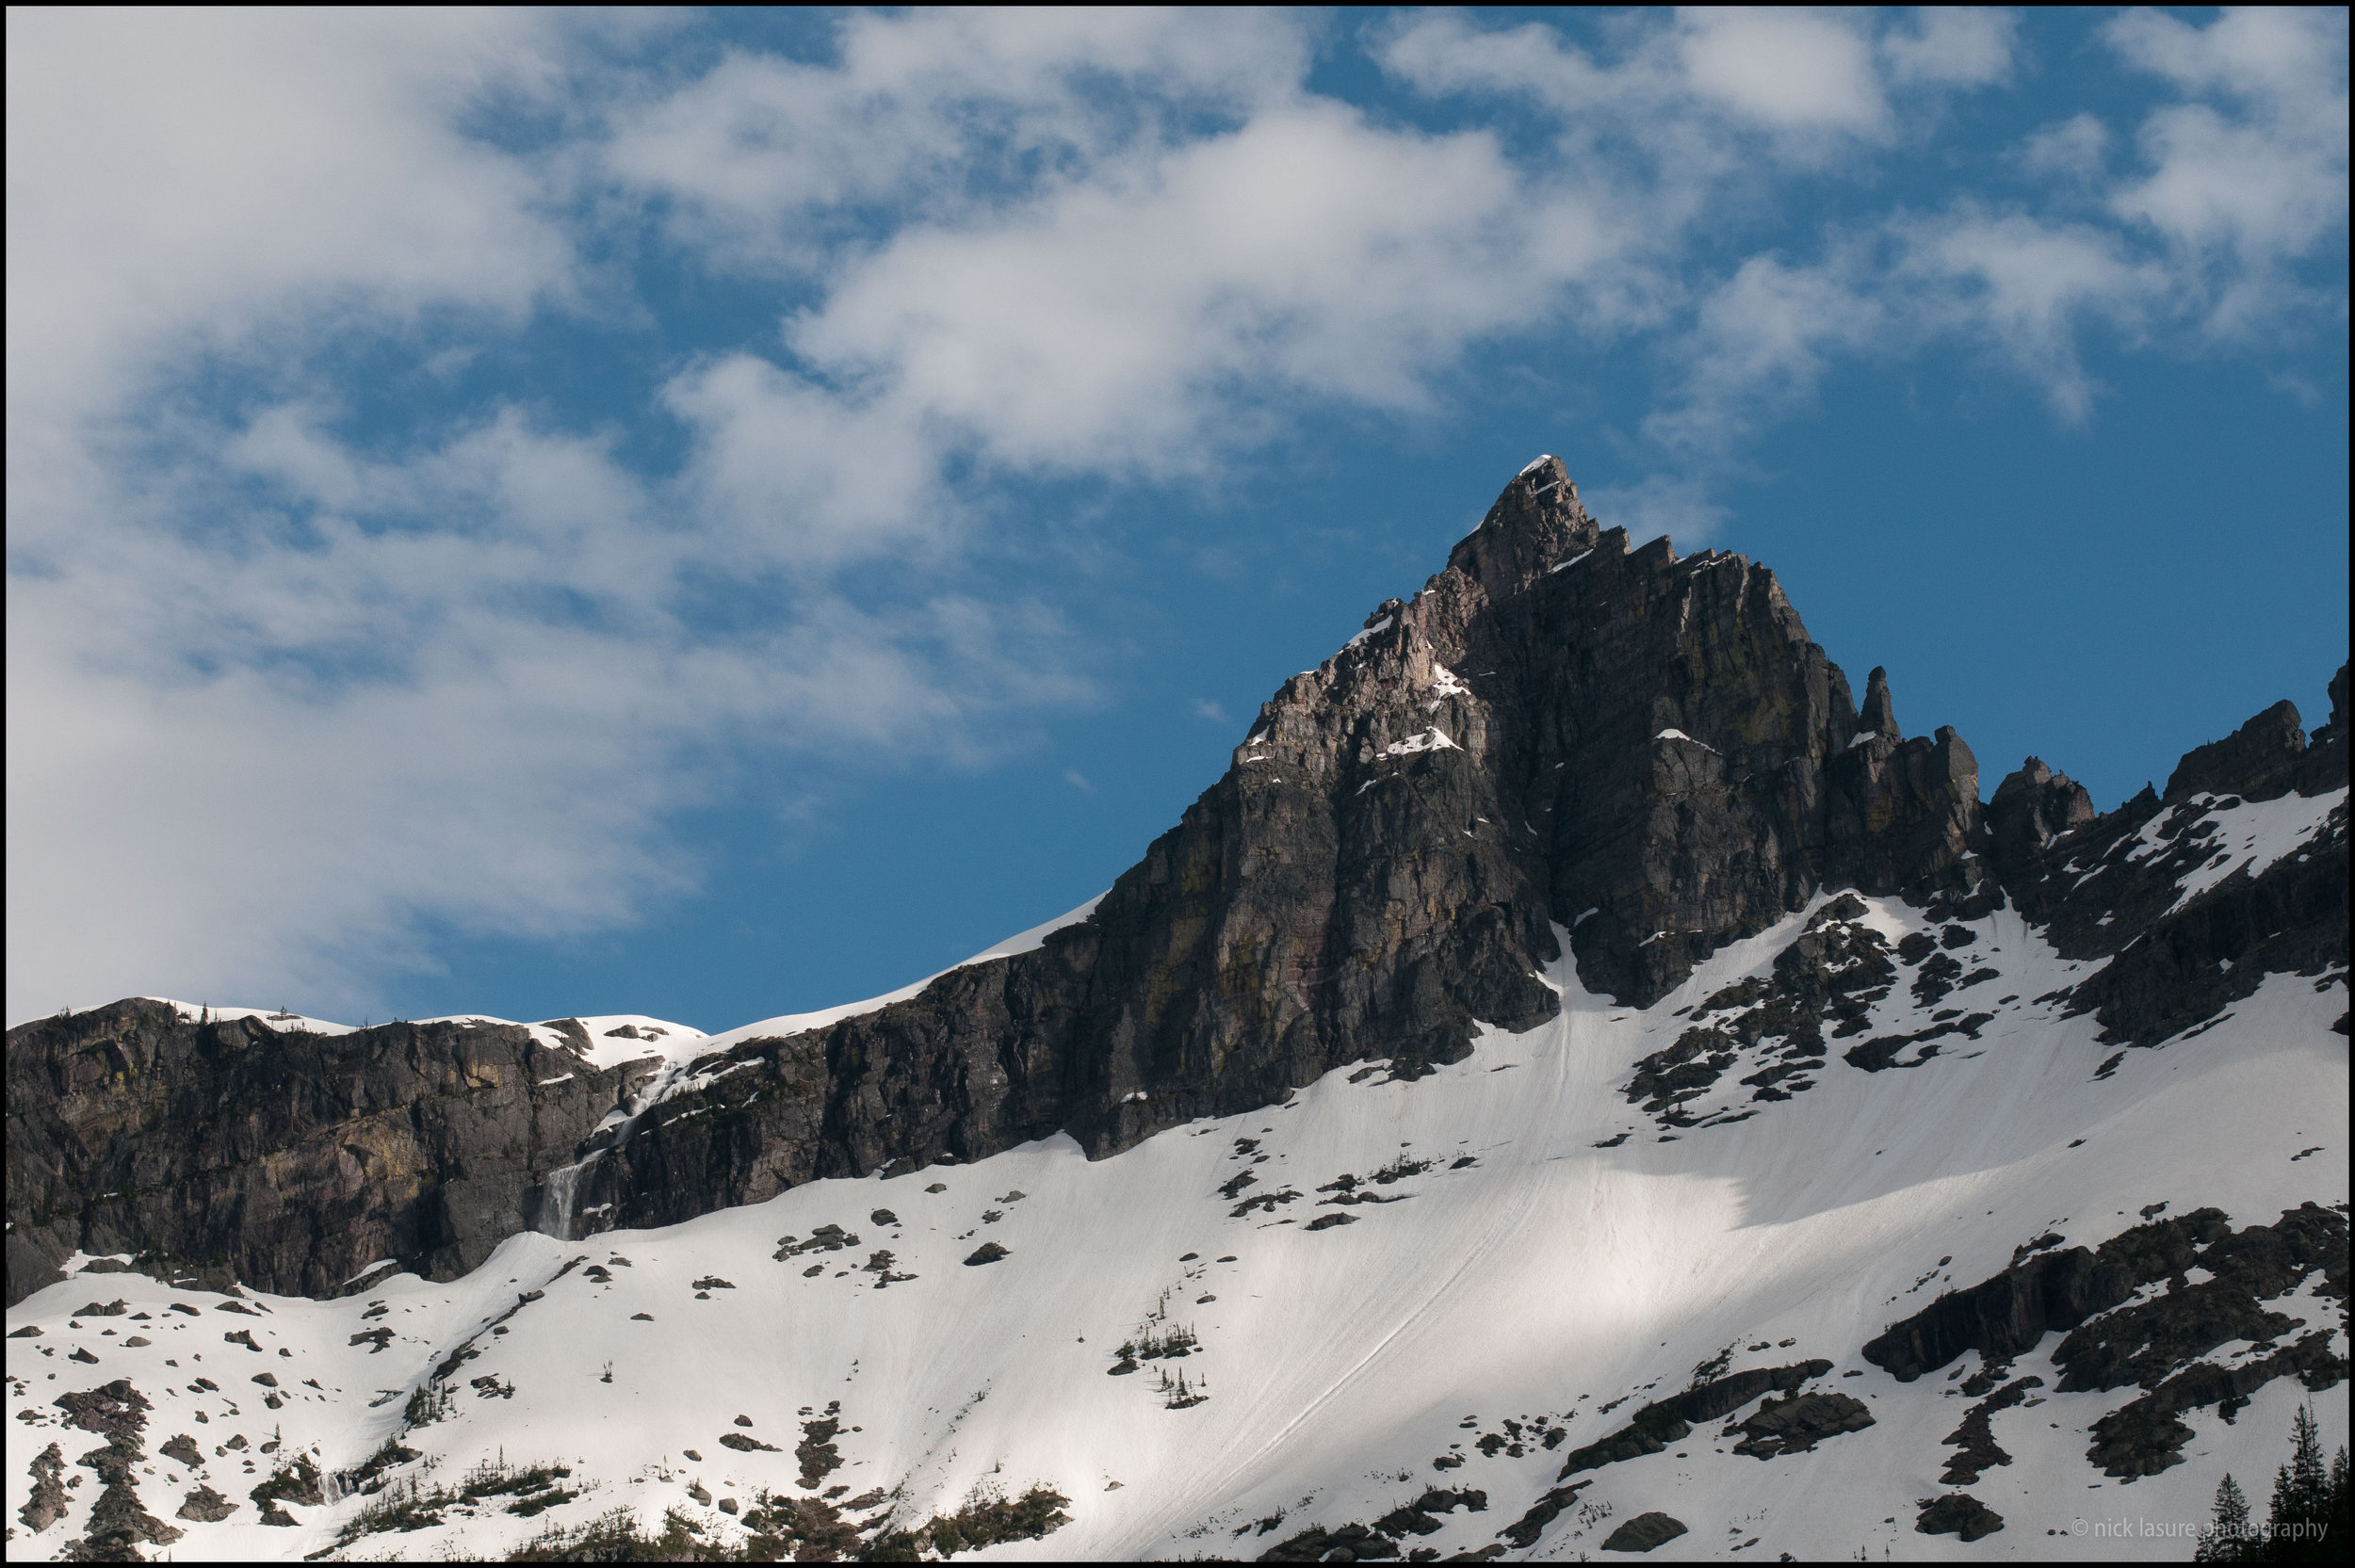
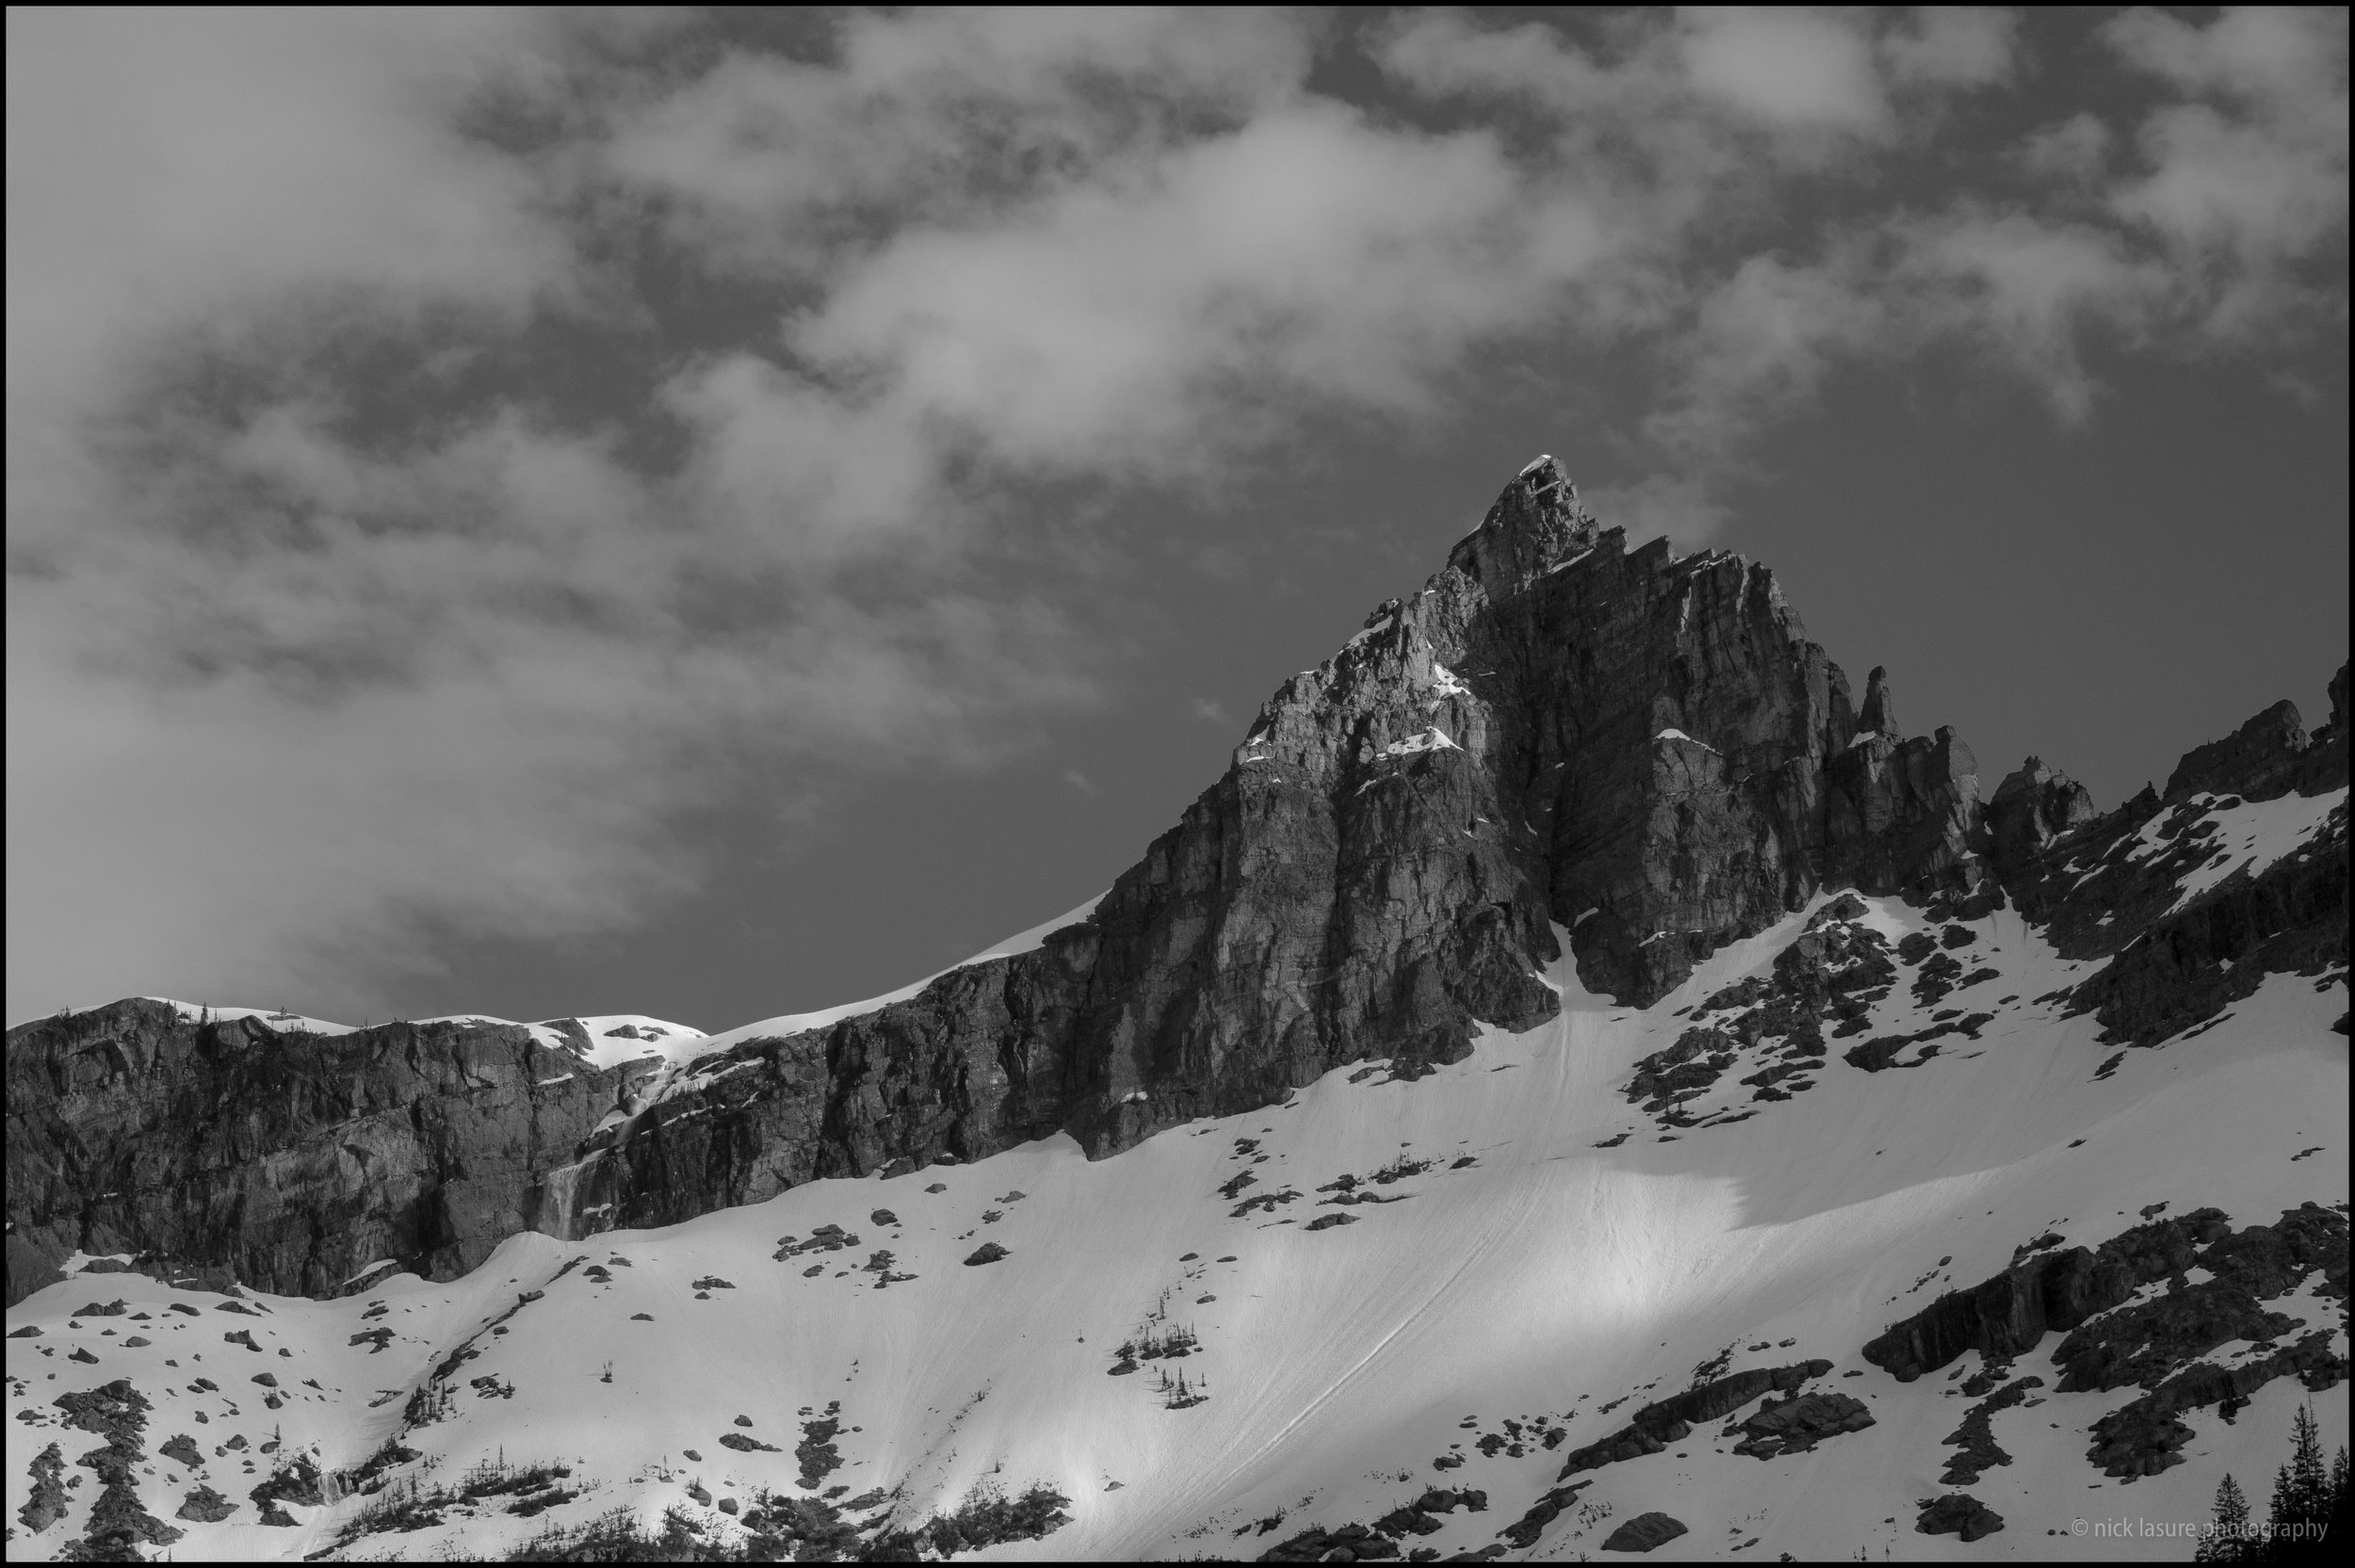
Before/After #2 - This image is from Glacier National Park in Montana. Taken with my old Nikon D300 the original file was a RAW file (NEF) with good exposure. Though I thought it might look better as a black & white image with a few adjustments. So I used the layering/stacking method with the following presets in this order: (1) Base - Monochrome Fantasy (2) Exposure - Less Highlights (5) Polish - Less Contrast (6) Vignette - Subtle Black.
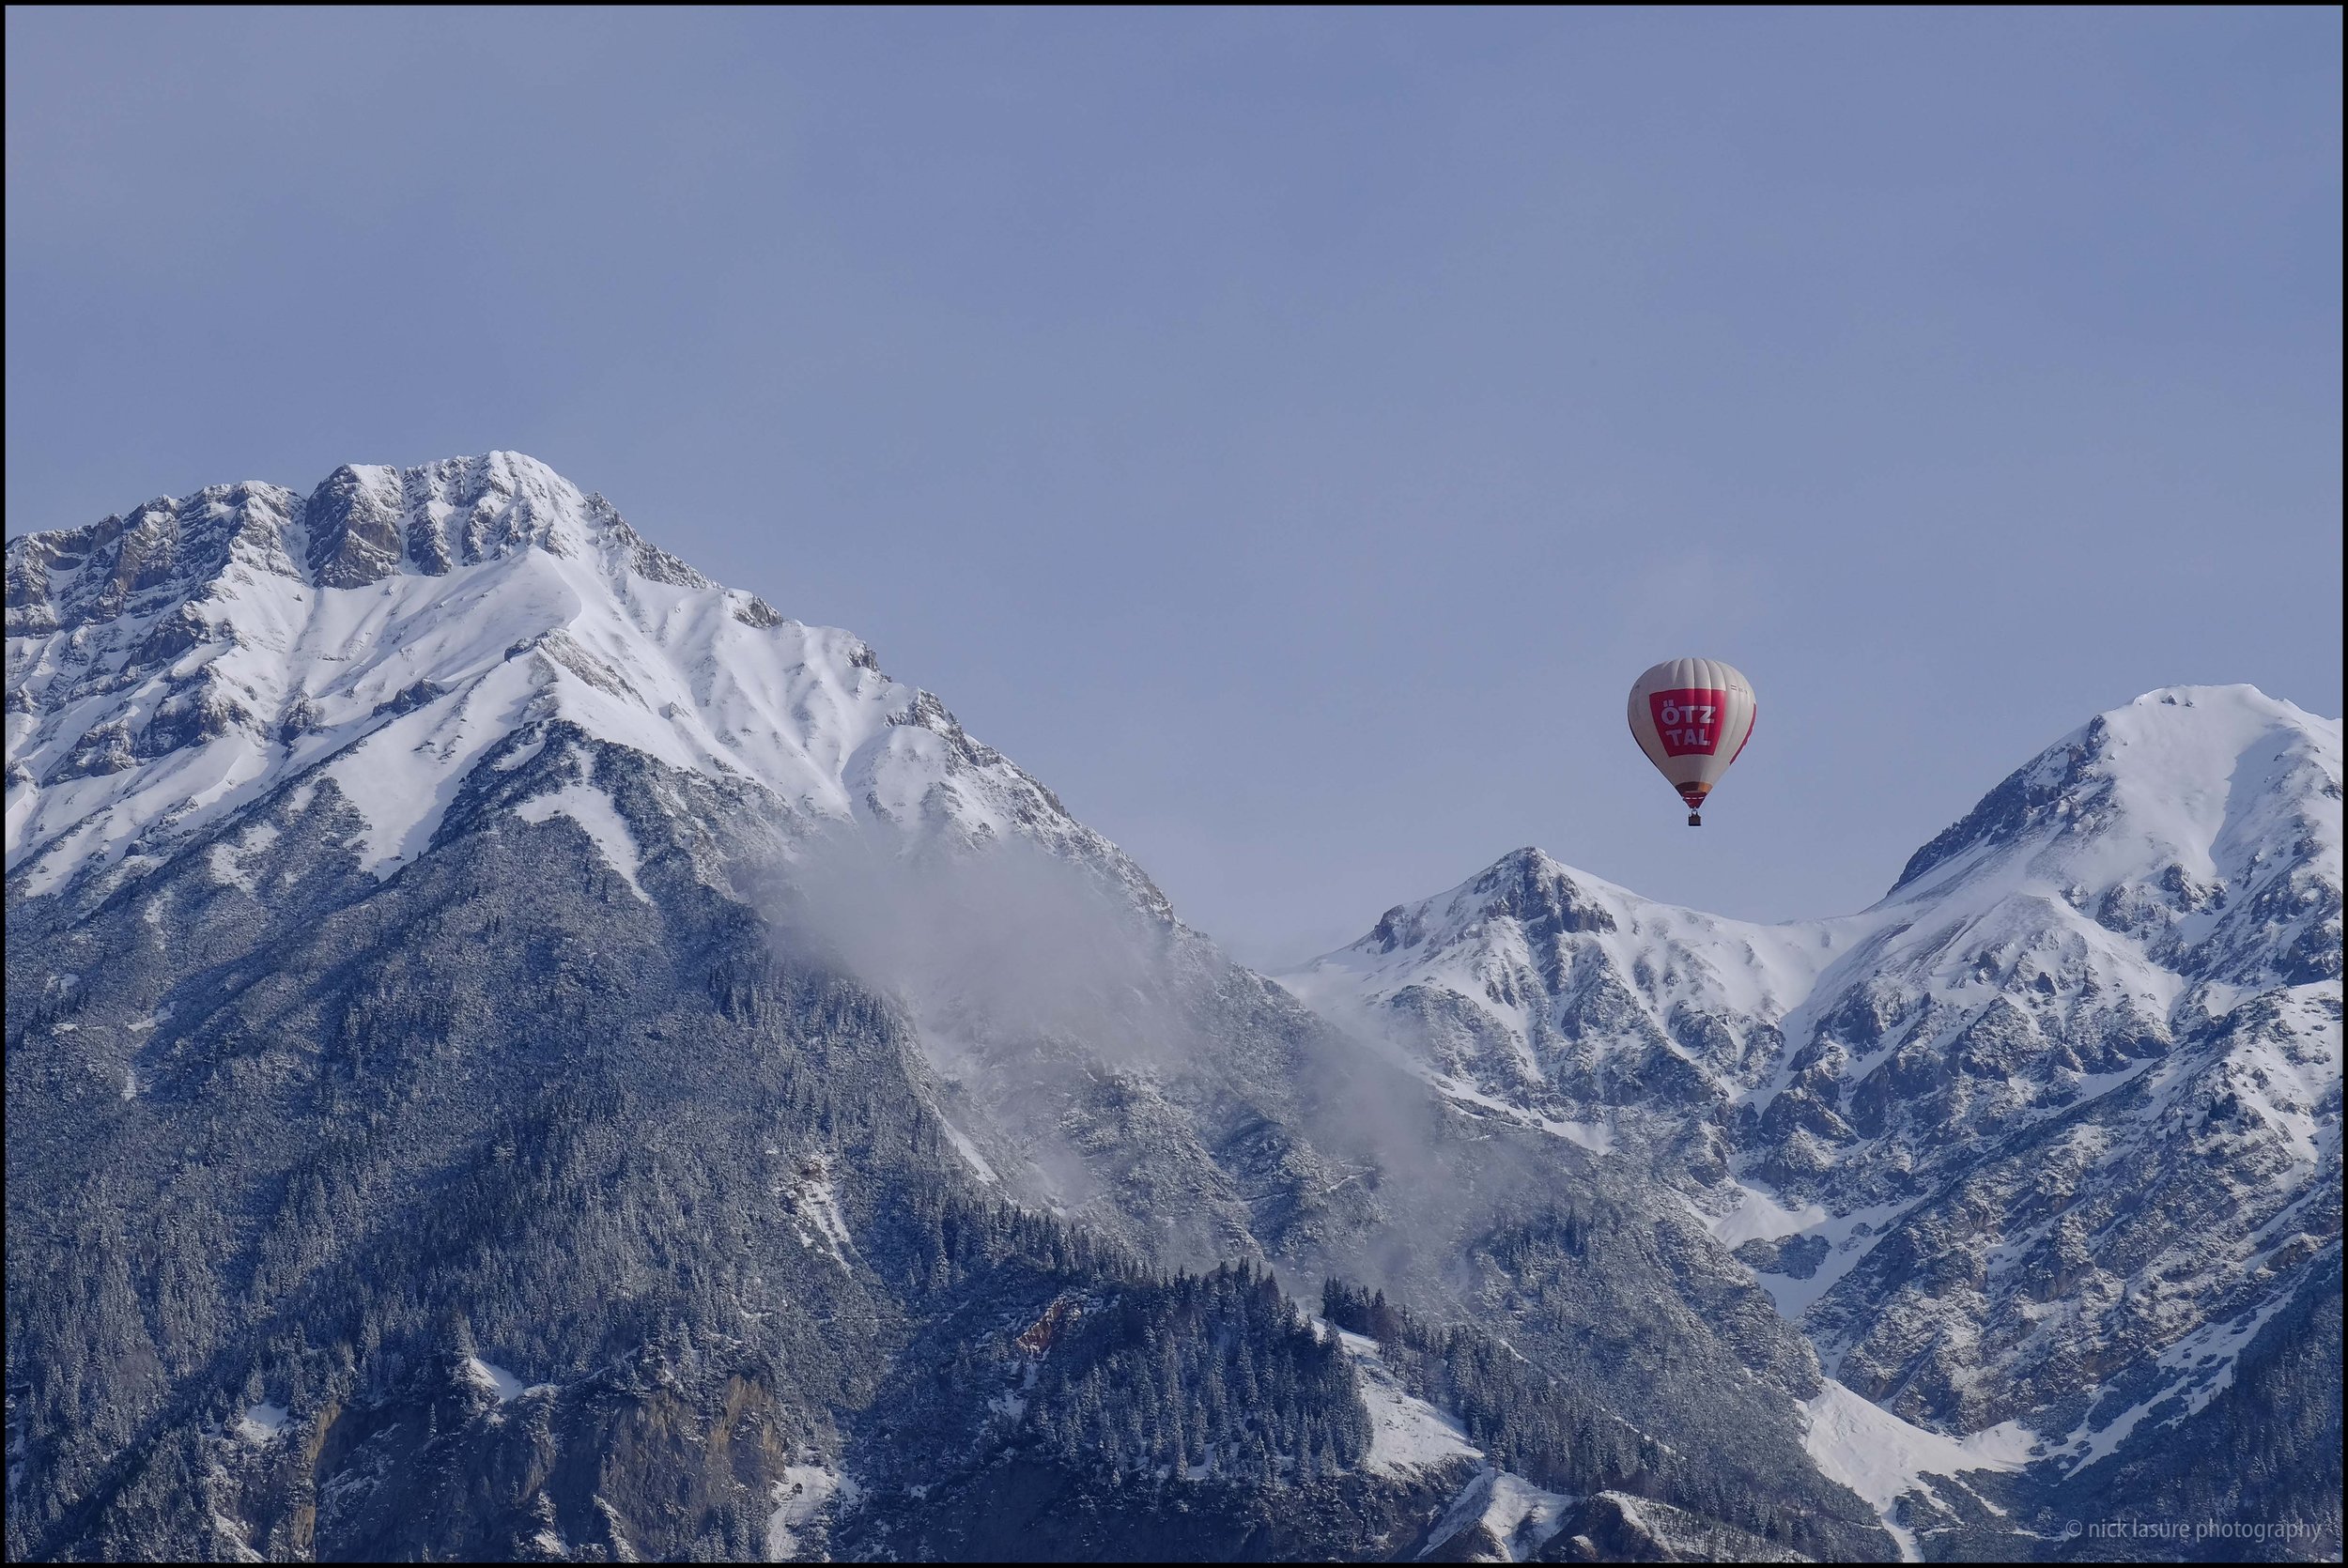
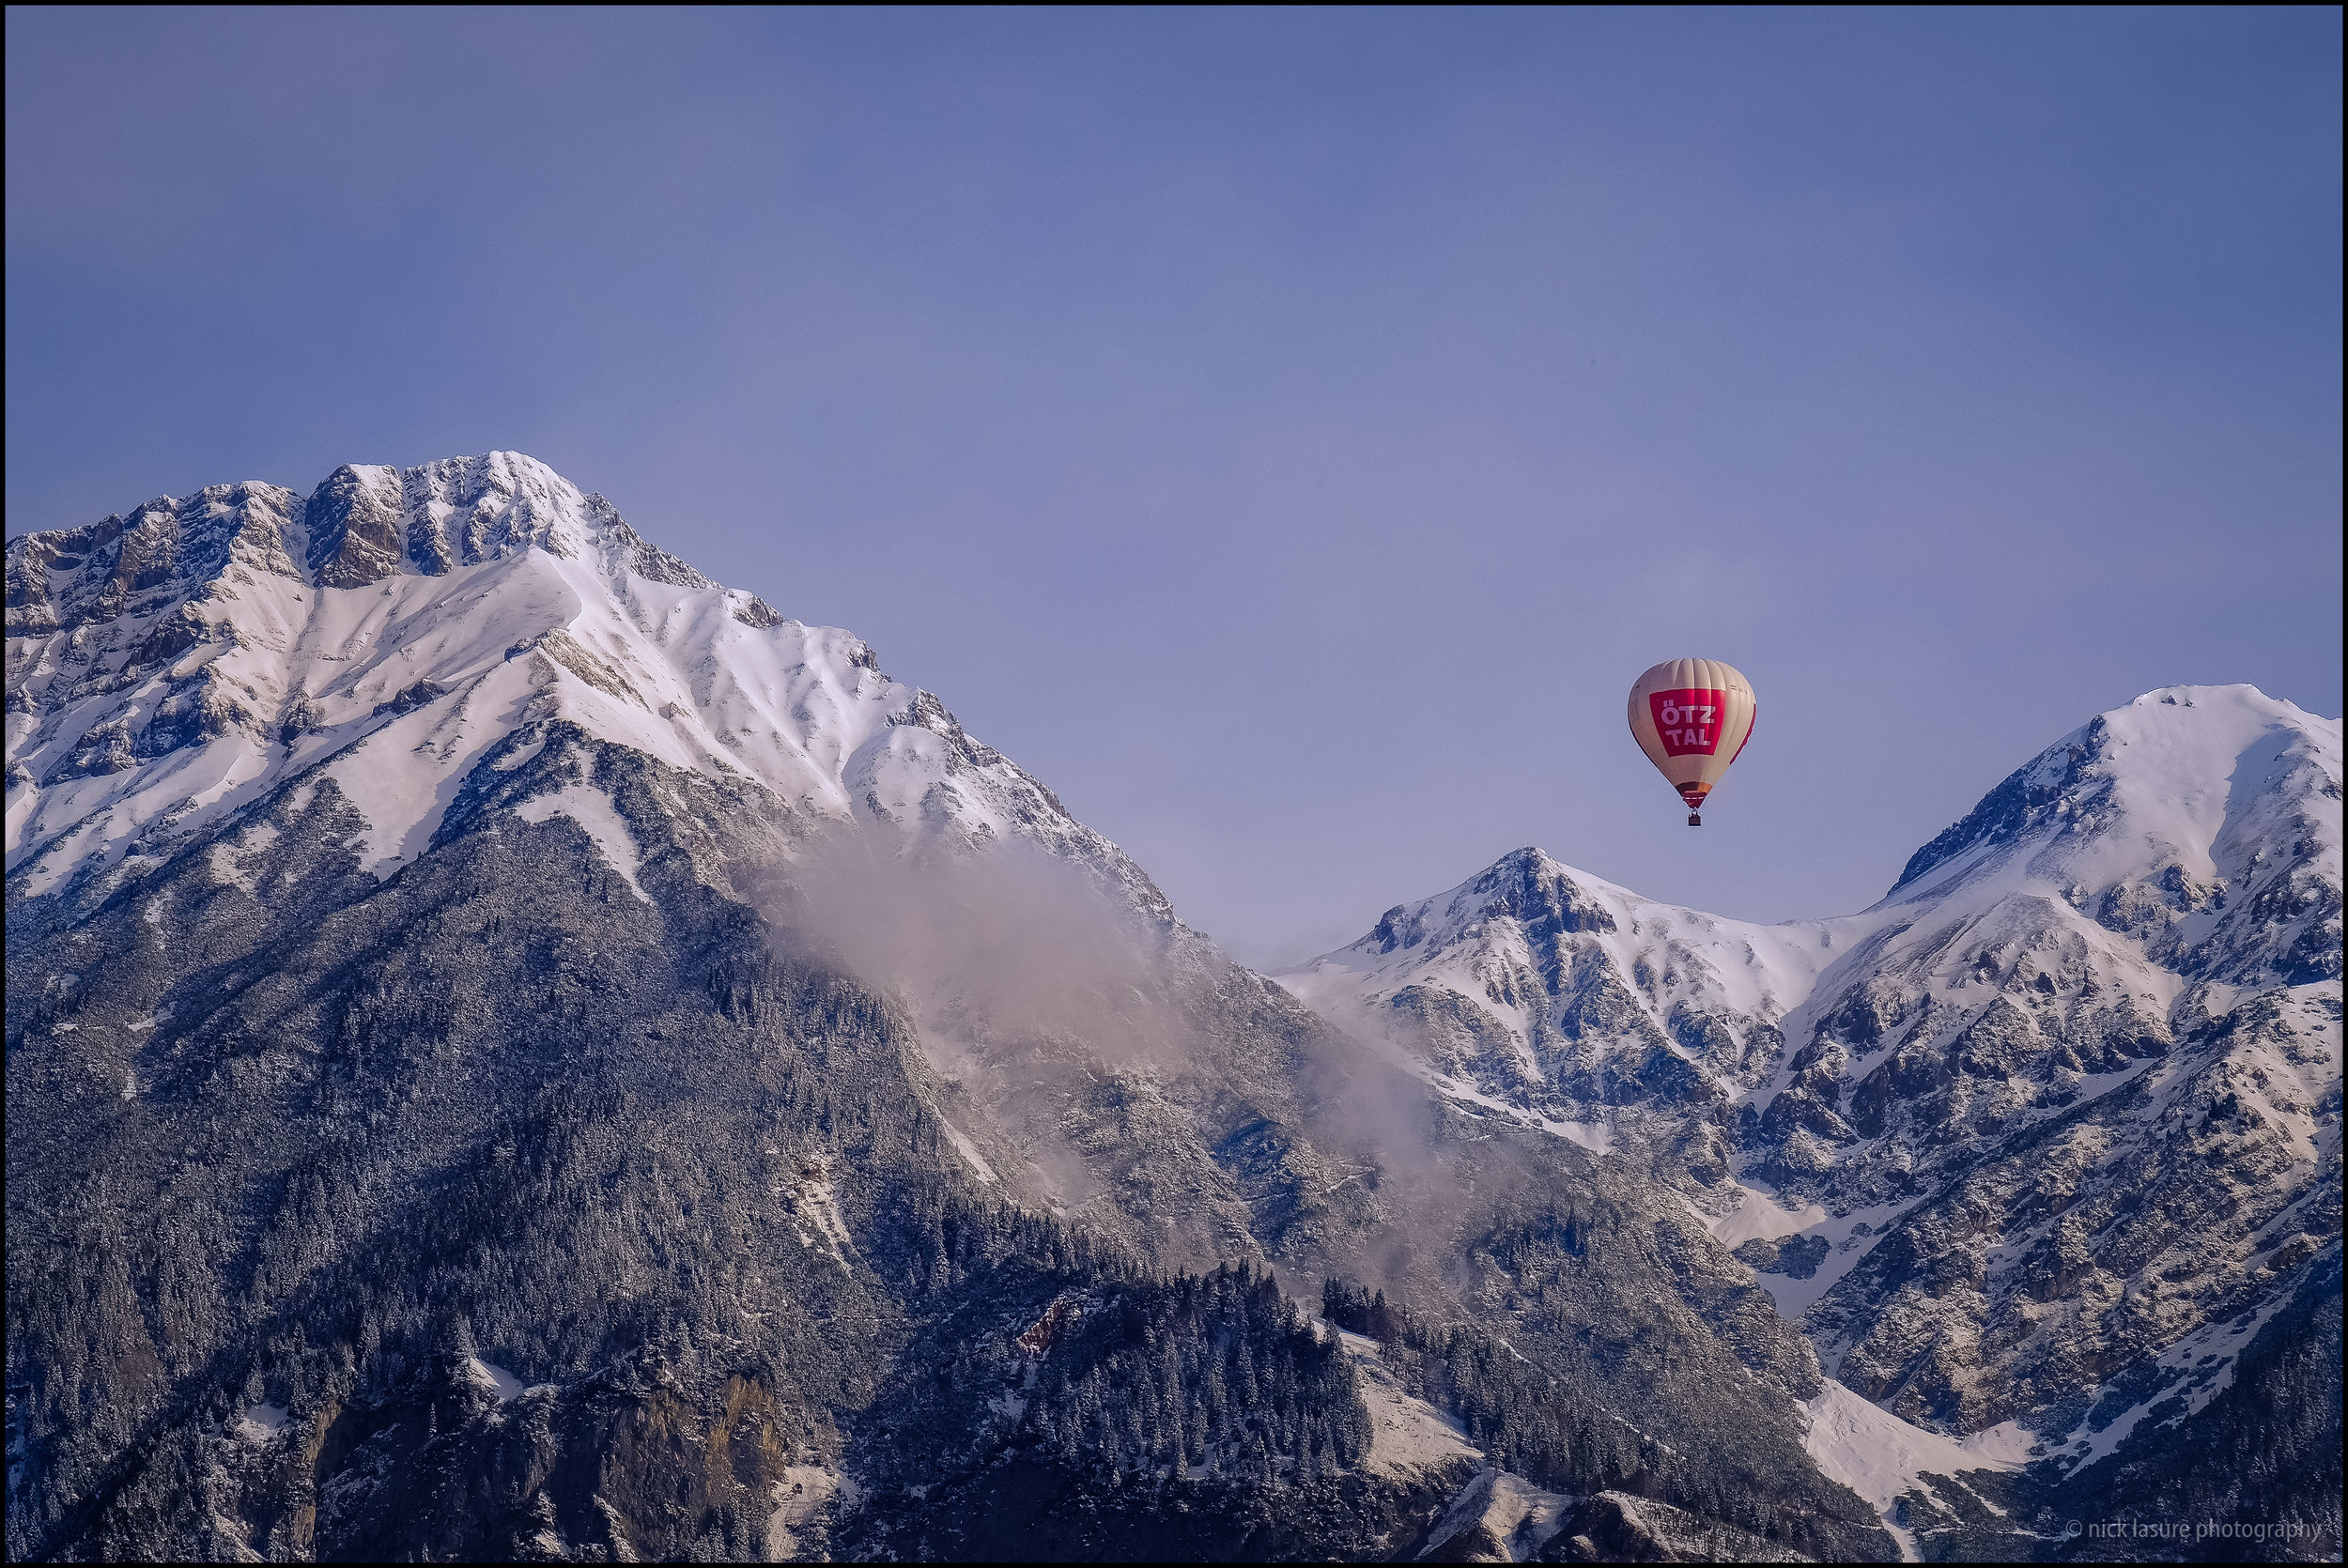
Before/After #3 - The final image was taken from our balcony in Innsbruck, Austria while on holiday. Once again, the first image was well exposed from my Fuji X-T1 and another SOOC JPEG. I utilized the entire suite of options from the 'Through the Woods' landscape preset offering to include local brush adjustment presets. (1) Base - Cinematic (2) Exposure - Less Highlights (3) Color Correct - Reduce Yellows (4) Tone/Tint - Warm (5) Polish - Sharpen (6) Vignette - Subtle Black + Bright Shadows Adjustment Brush on the ballon and Darken Shadows Brush on the mountains.
Conclusion - Presets Worth the Investment?
So in the end are presets like what Sleeklens offer worth your hard earned money? Absolutely, but with a few caveats you should consider.
Preset packages tend to come with lots of looks/options some of which are superfluous or overkill for some photographer's editing needs, this package included. With so much at your fingertips it is easy to over-edit your images or just get lost in the editing process. If you know your way around Lightroom and have your own style chances are flooding your presets menu with more options isn't for you.
That said, presets tend to help photographers develop their style, help work through editing mental blocks and can be useful in learning how to edit as you can see the changes that happen.
While presets can be a dime a dozen the Sleeklens offering is different enough in the building block/layering methodology to offer something unique. While I'll remove certain presets & brush/gradient options I'll definitely keep a lot of it around for future use. If you are in the market for presets I'd definitely give them a solid look.
https://sleeklens.com/product-category/lightroom-presets/
https://sleeklens.com/lightroom-tutorials/
*disclaimer - I did receive the presets free in exchange for an honest review.