The Alps, Amsterdam & the Fuji X100T
Awhile back I wrote a post about my search for the 'Ultimate Travel Camera', eventually purchased a camera after much deliberation, lazily never made a follow up post about it and have since purchased yet another camera to replace the first 'ultimate travel' camera. Whew. The long short of it? I purchased a Panasonic Lumix LX10, didn't fall in love with it and decided to go back for my gut instinct of the Fuji X100T.
So here I am a few weeks into owning the X100T and I've been loving every minute of shooting with it. While I won't dwell on the Lumix (I plan a post about my experience with it soon), I just never fully loved shooting with it. It simply stayed in my bag too often and I was rarely inspired to shoot with it. I should've known the Fuji brand would be calling my name and I'm happy it's my new everyday carry.
This post won't be a 'review' because there a million such things out there to geek out about over specs & pixel peeping. Nope, just some pics and the simple joy of shooting with a very capable compact camera that produces gorgeous images.
The Alps offer nothing less than impressive views.
Typical scene around Chamonix.
Made friends with this amiable bar keep over our shared passion for Fuji cameras. Bummed I didn't get him in focus as I was still getting used to handling the X100T. Good to show failures & successes too. Next time.
Wow.
Then it was off to Amsterdam for a few days to let the legs recover before we headed home. I wanted to put the X100T through the paces in an urban environment and one I'm more familiar with. Definitely starting to get used to this thing.
Amsterdam is for...
Locals.
Photo Lego Dude checking out the tulips.
Best way to get around town.
Bikes everywhere.
Haarlem.
Photo Lego Dude approves the design of the X100T. [iPhone X]
Delta Airbus 350 at the gate. Goodbye for now Amsterdam and welcome to the family X100T.
Don't Steal Photos
One of my best selling & favorite images from Sri Lanka also happens to be one of my most stolen.
The Demodara 9 Arches Bridge is an iconic structure built by the British when Sri Lanka was still called Ceylon during WWI. To create this photo my wife and I journeyed along the tracks, sweated profusely, made it through a tunnel full of bats, met friendly folks clearing fields with machetes and I even got my first leech to capture this photo. Then we even got to ride back on another train for about 25 cents (USD) and were able to cross the same bridge to Ella where we were staying, it was a fun but exhausting day.
It was all well worth it and just one example of what photographers do to capture the images you see. From postcards to online use, this picture has been illegally used by many companies. I've spent this week tracking down image thieves, issuing invoices and take down notices. Please, if you are going to use someone's work for commercial purposes do it properly! Good photography isn't done cheaply, easily or for free.
Dinner on the Canal
Amsterdam at night is always beautiful; lights from a passing boat, the moon, passing bicycles & cars and even the subtle glow from the famous red lights from across the canal make for a wonderful scene.
Sleeklens Presets Review
I was recently given the opportunity to test & review some handy Lightroom presets from the nice folks over at Sleeklens. If you use Lightroom much you are probably familiar with the usefulness of presets. Though it's nice to have handy one-click editing at your fingertips, I always consider presets to be a starting point and not a finishing point. This is where presets such as those offered by Sleeklens can come in handy.
How I Create & Edit Images
Before we delve into the before & afters, a quick primer on how I shoot & edit might be handy. I'm of the school of thought that getting the image right in the first place is the best starting point in making good images. Though the camera's sensor and human eye never see the same scene as it was. Digital images often need updated [edited] to do the scene justice as your eye saw it.
So when I do use presets they are 'primers' or 'starters' then I fine tune the image with Lightroom's individual controls as I go along. The nice thing about Sleeklens' offering is that it is built as a 'layered' system to editing in Lightroom that others don't accomplish. So there can be less 'right panel' editing and quicker 'left panel' edits to achieve a similar result.
Not Just Another Preset
As I mentioned above, Sleeklens presets use a sort of building block or layering method. While their presets also come with 'all-in-one' clicks that you might be used to the stackable options are a different approach. I won't explain how that works in detail as they have put together a short video on exactly how it works, but you can see some examples I used below.
The other handy thing I really enjoyed using are the brush presets, which handily also function in the gradient tool. While you can always customize your brush settings to your heart's content having quick presets in the brush & gradient menu can speed up your workflow.
Alright, enough chatter - let's get into some before & after images to see what these presets are all about.
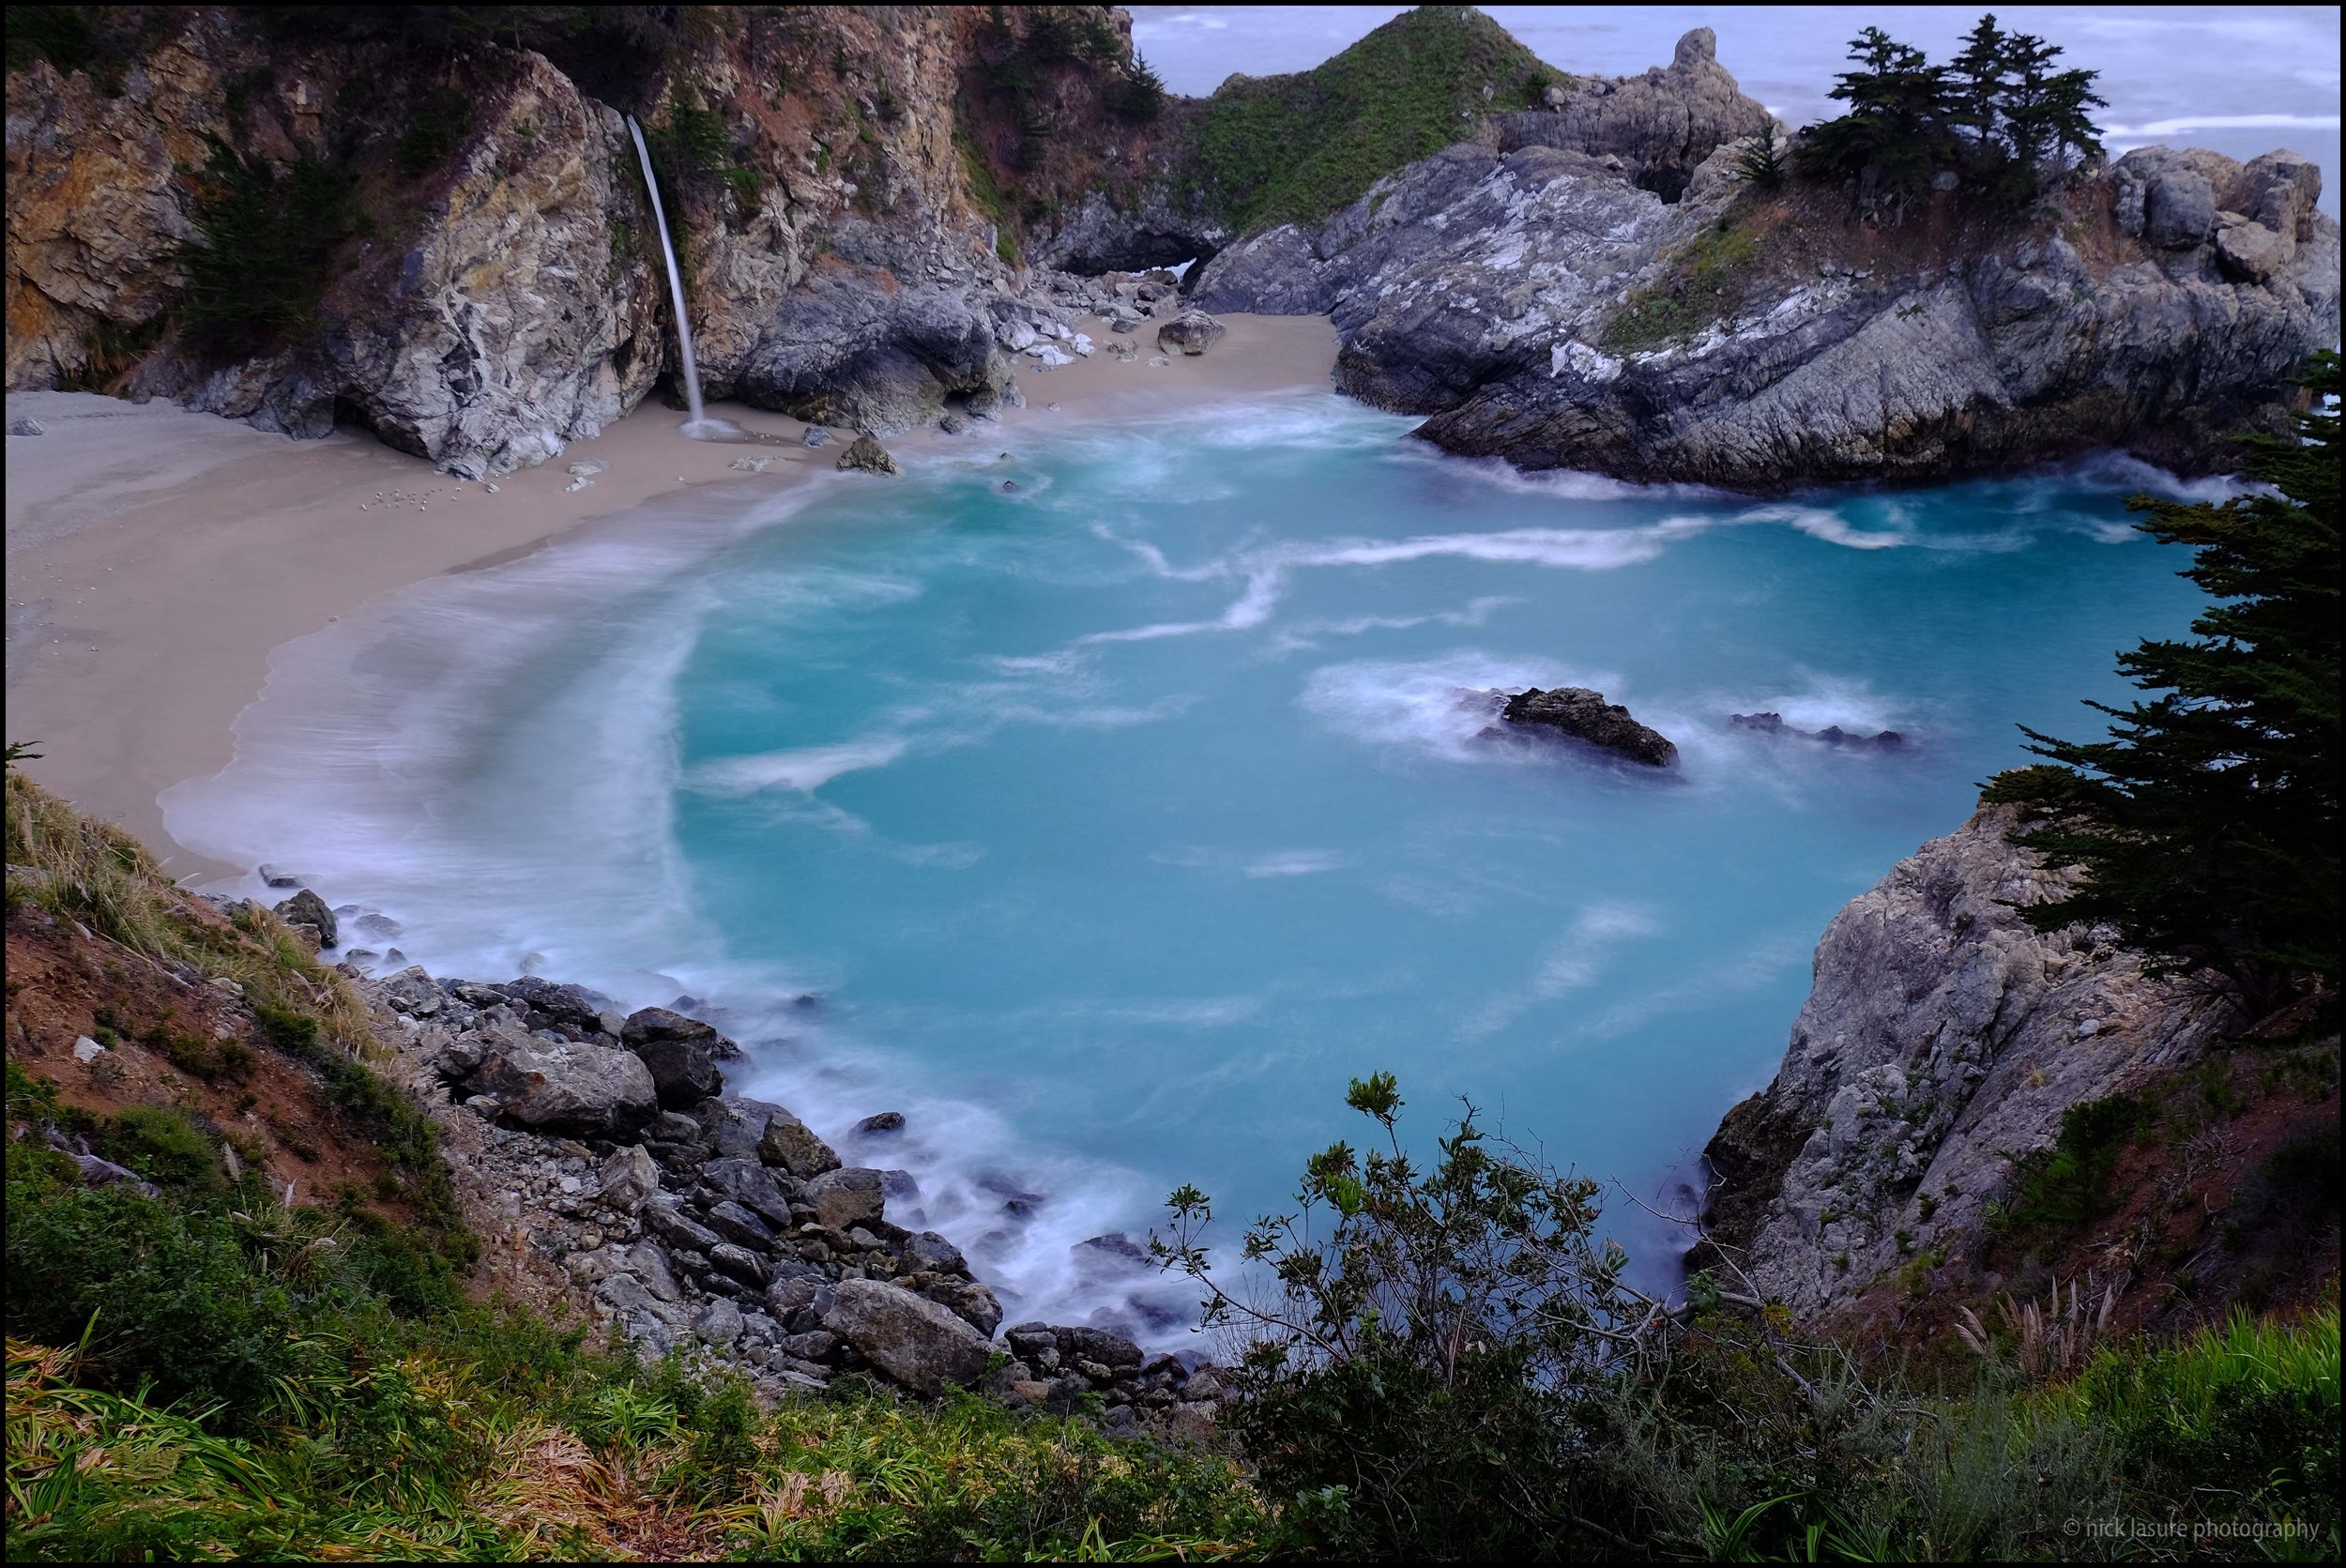
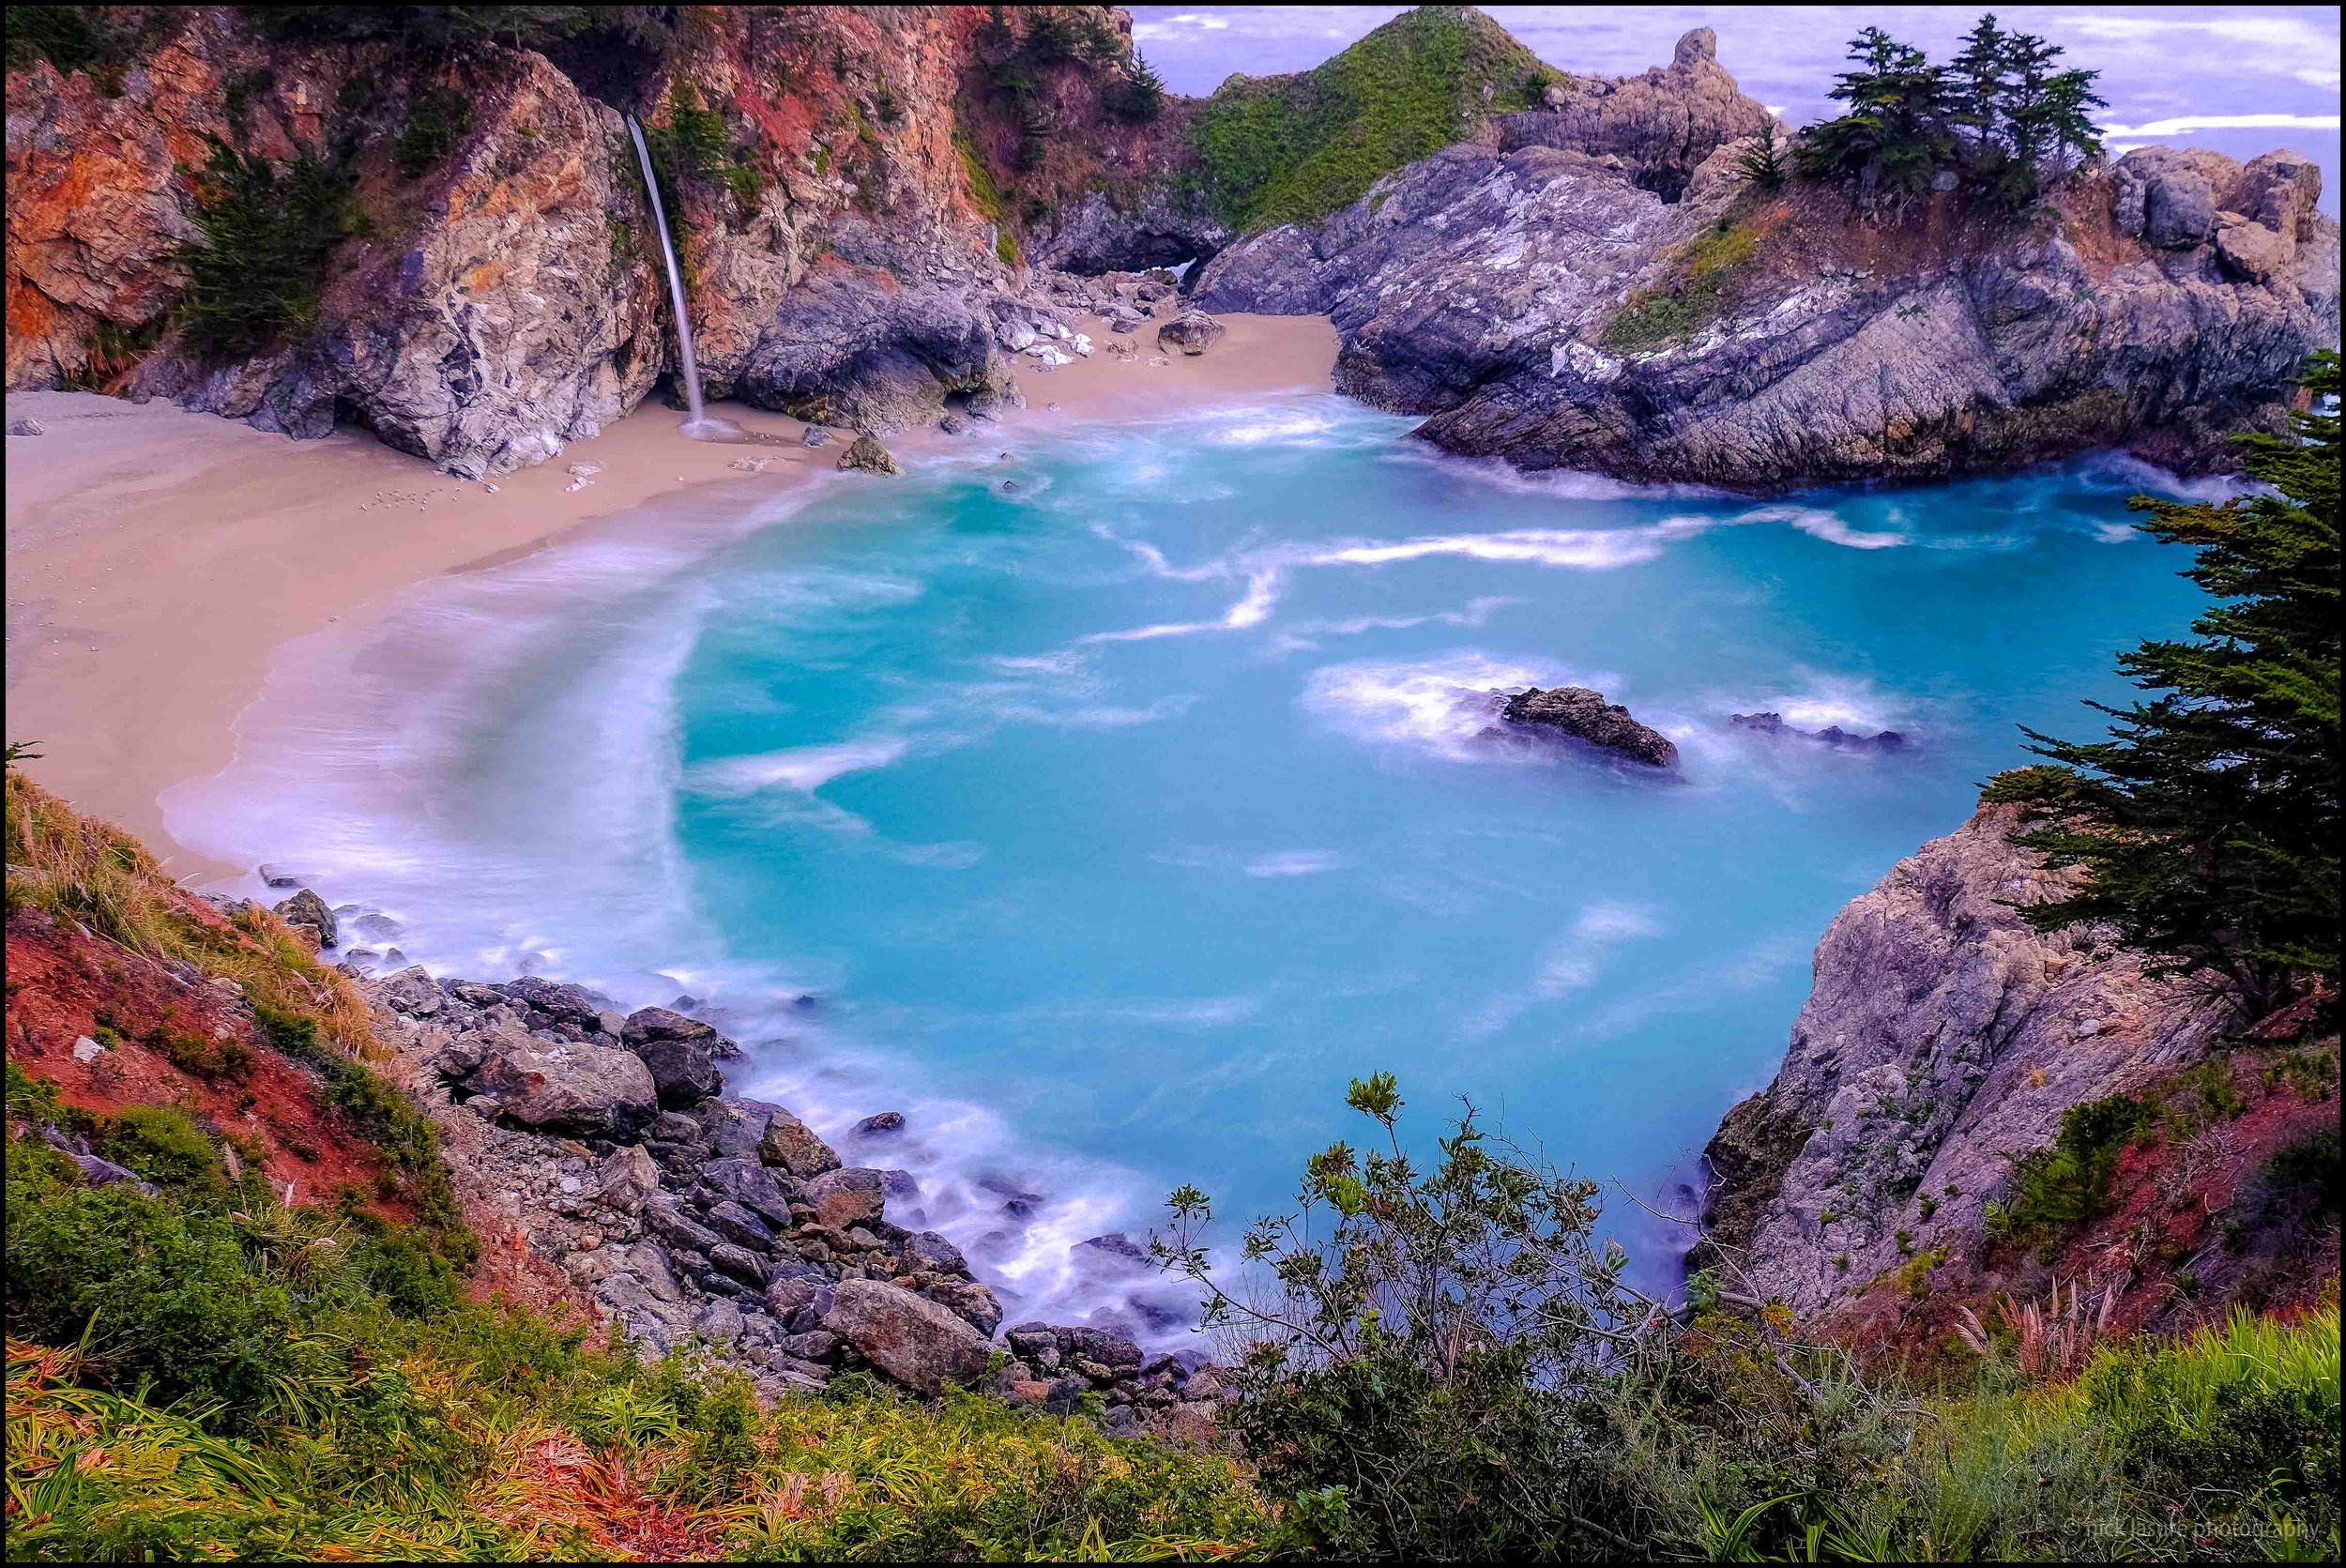
Before/After #1 - This was an image from McWay Falls in Big Sur, California. The image on the left was SOOC from my Fuji X-T1 as a JPEG with a 10 second exposure. For this edit I decided to show what the all-in-one preset can do with no further touches. This was the Calm Sunset preset from the Through the Woods landscape collection. I really like the warm tones and clarity the preset gave the image.
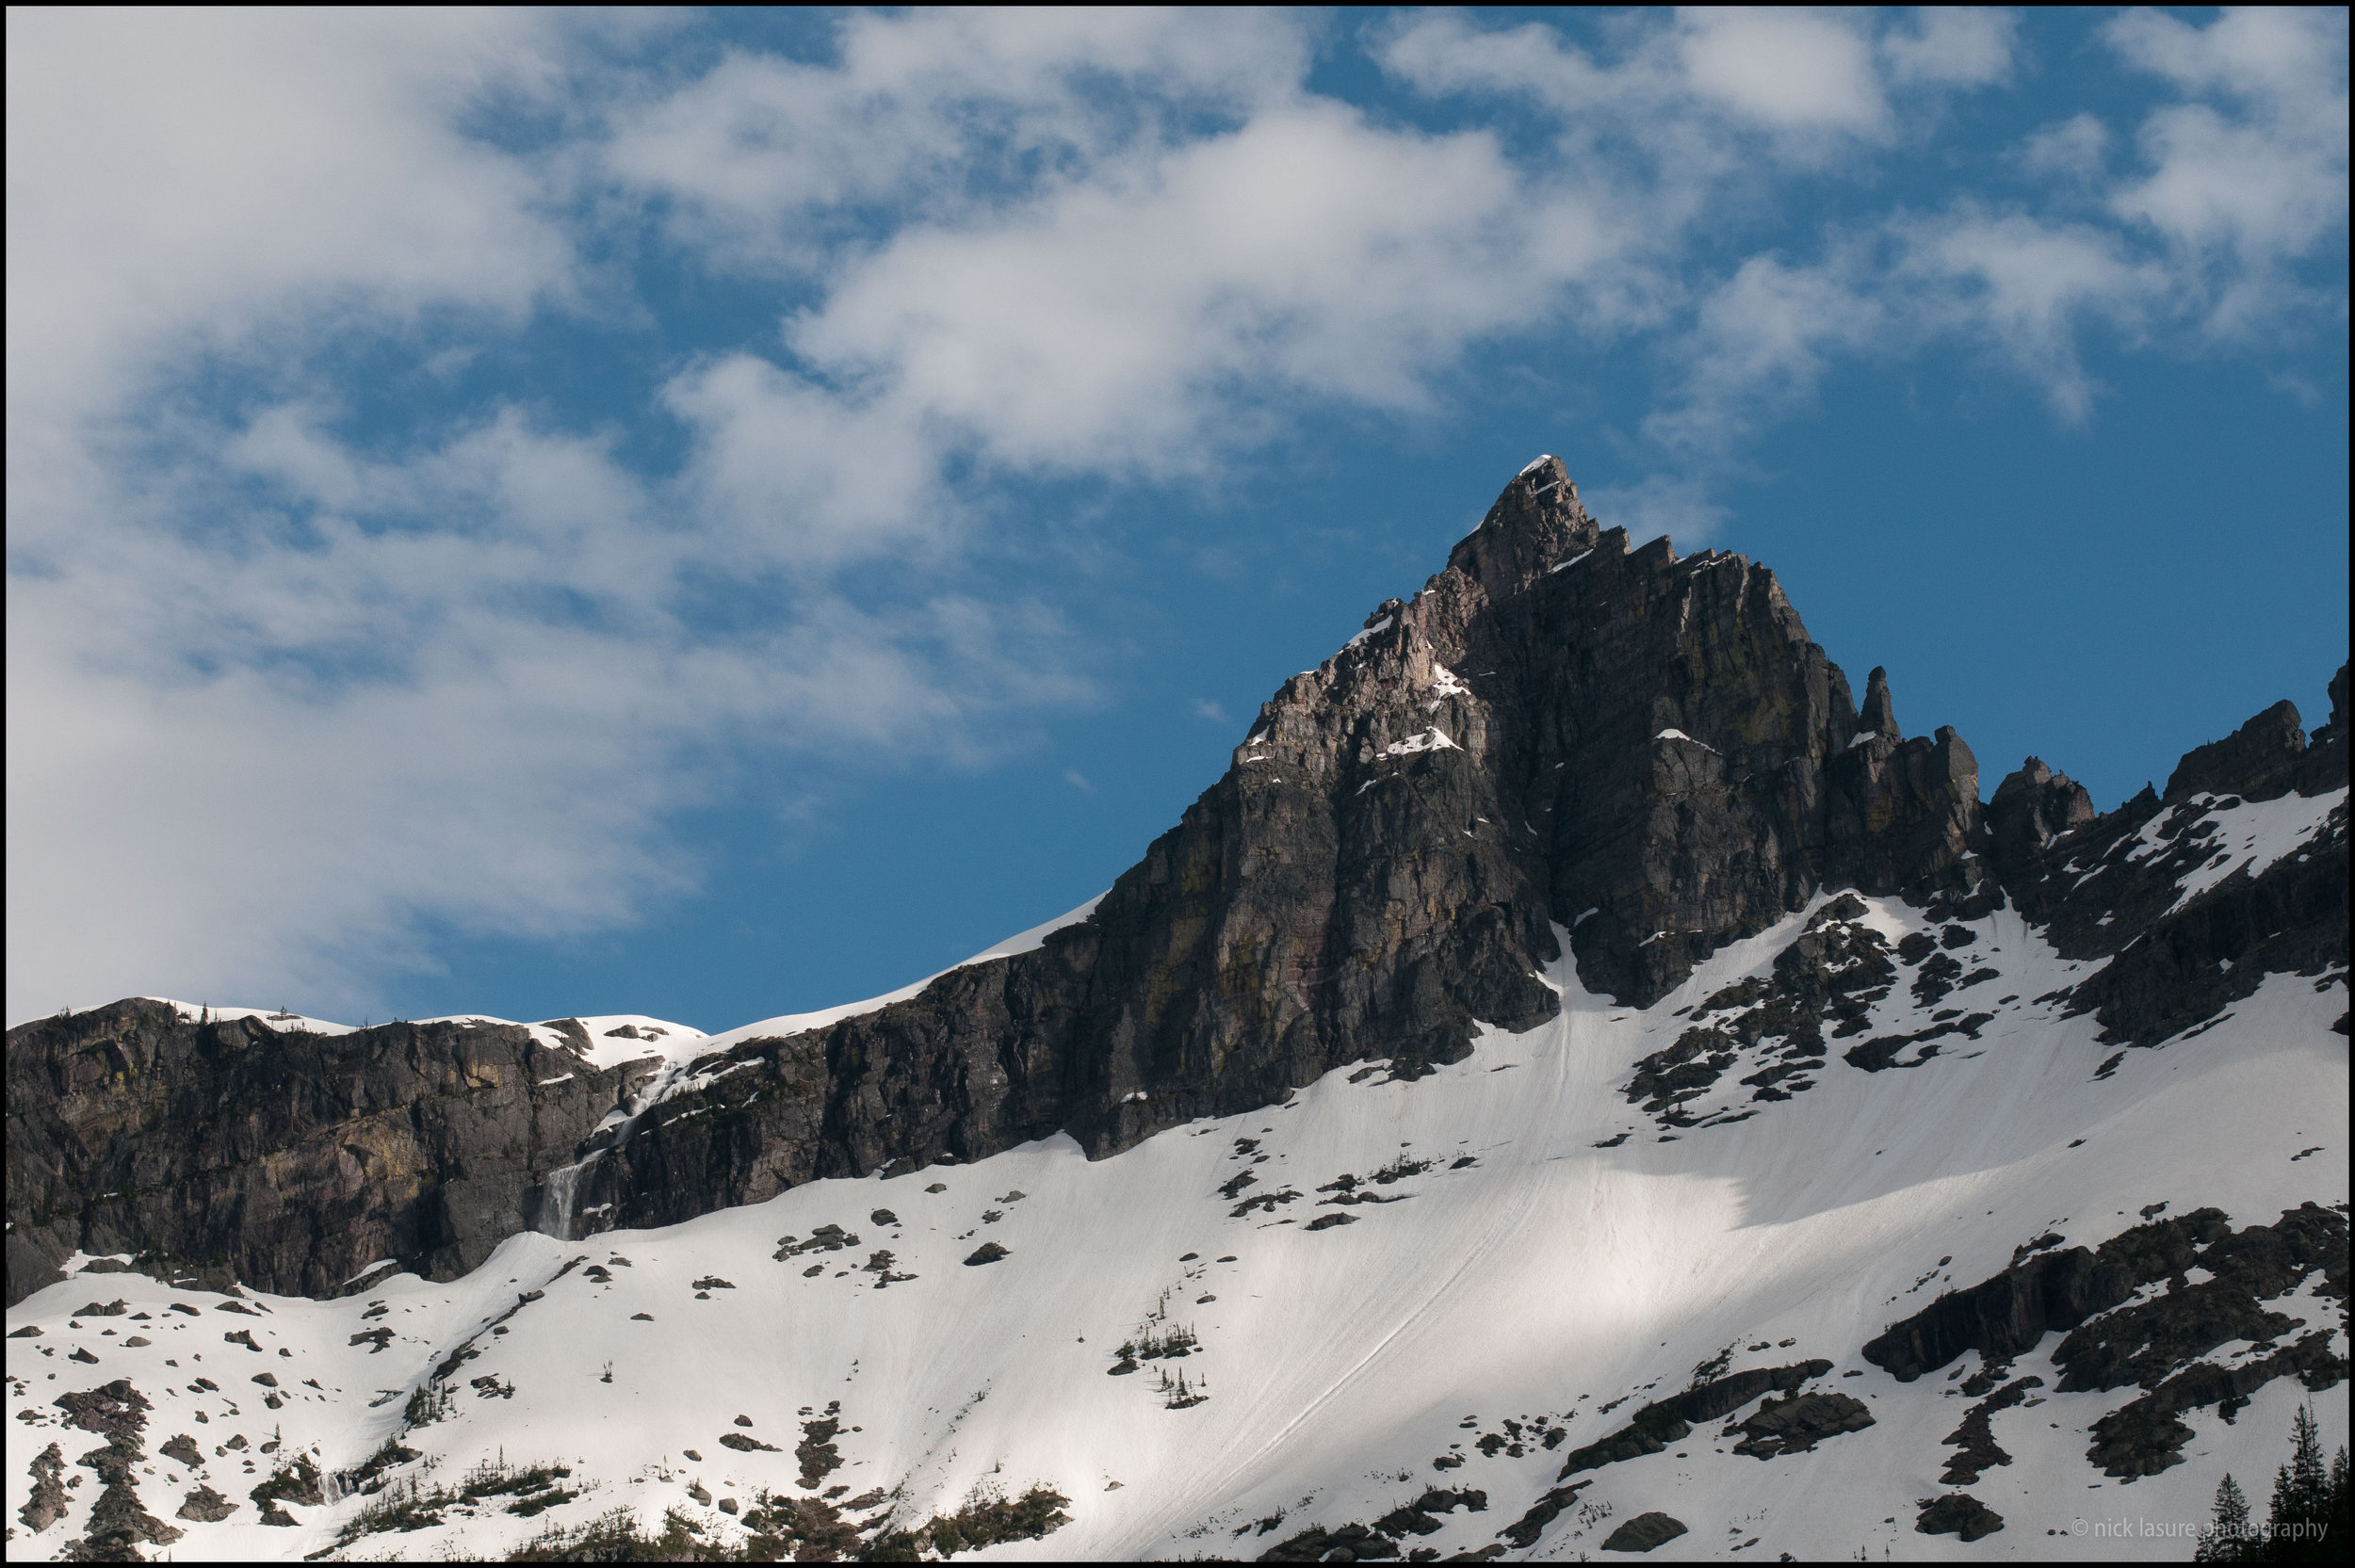
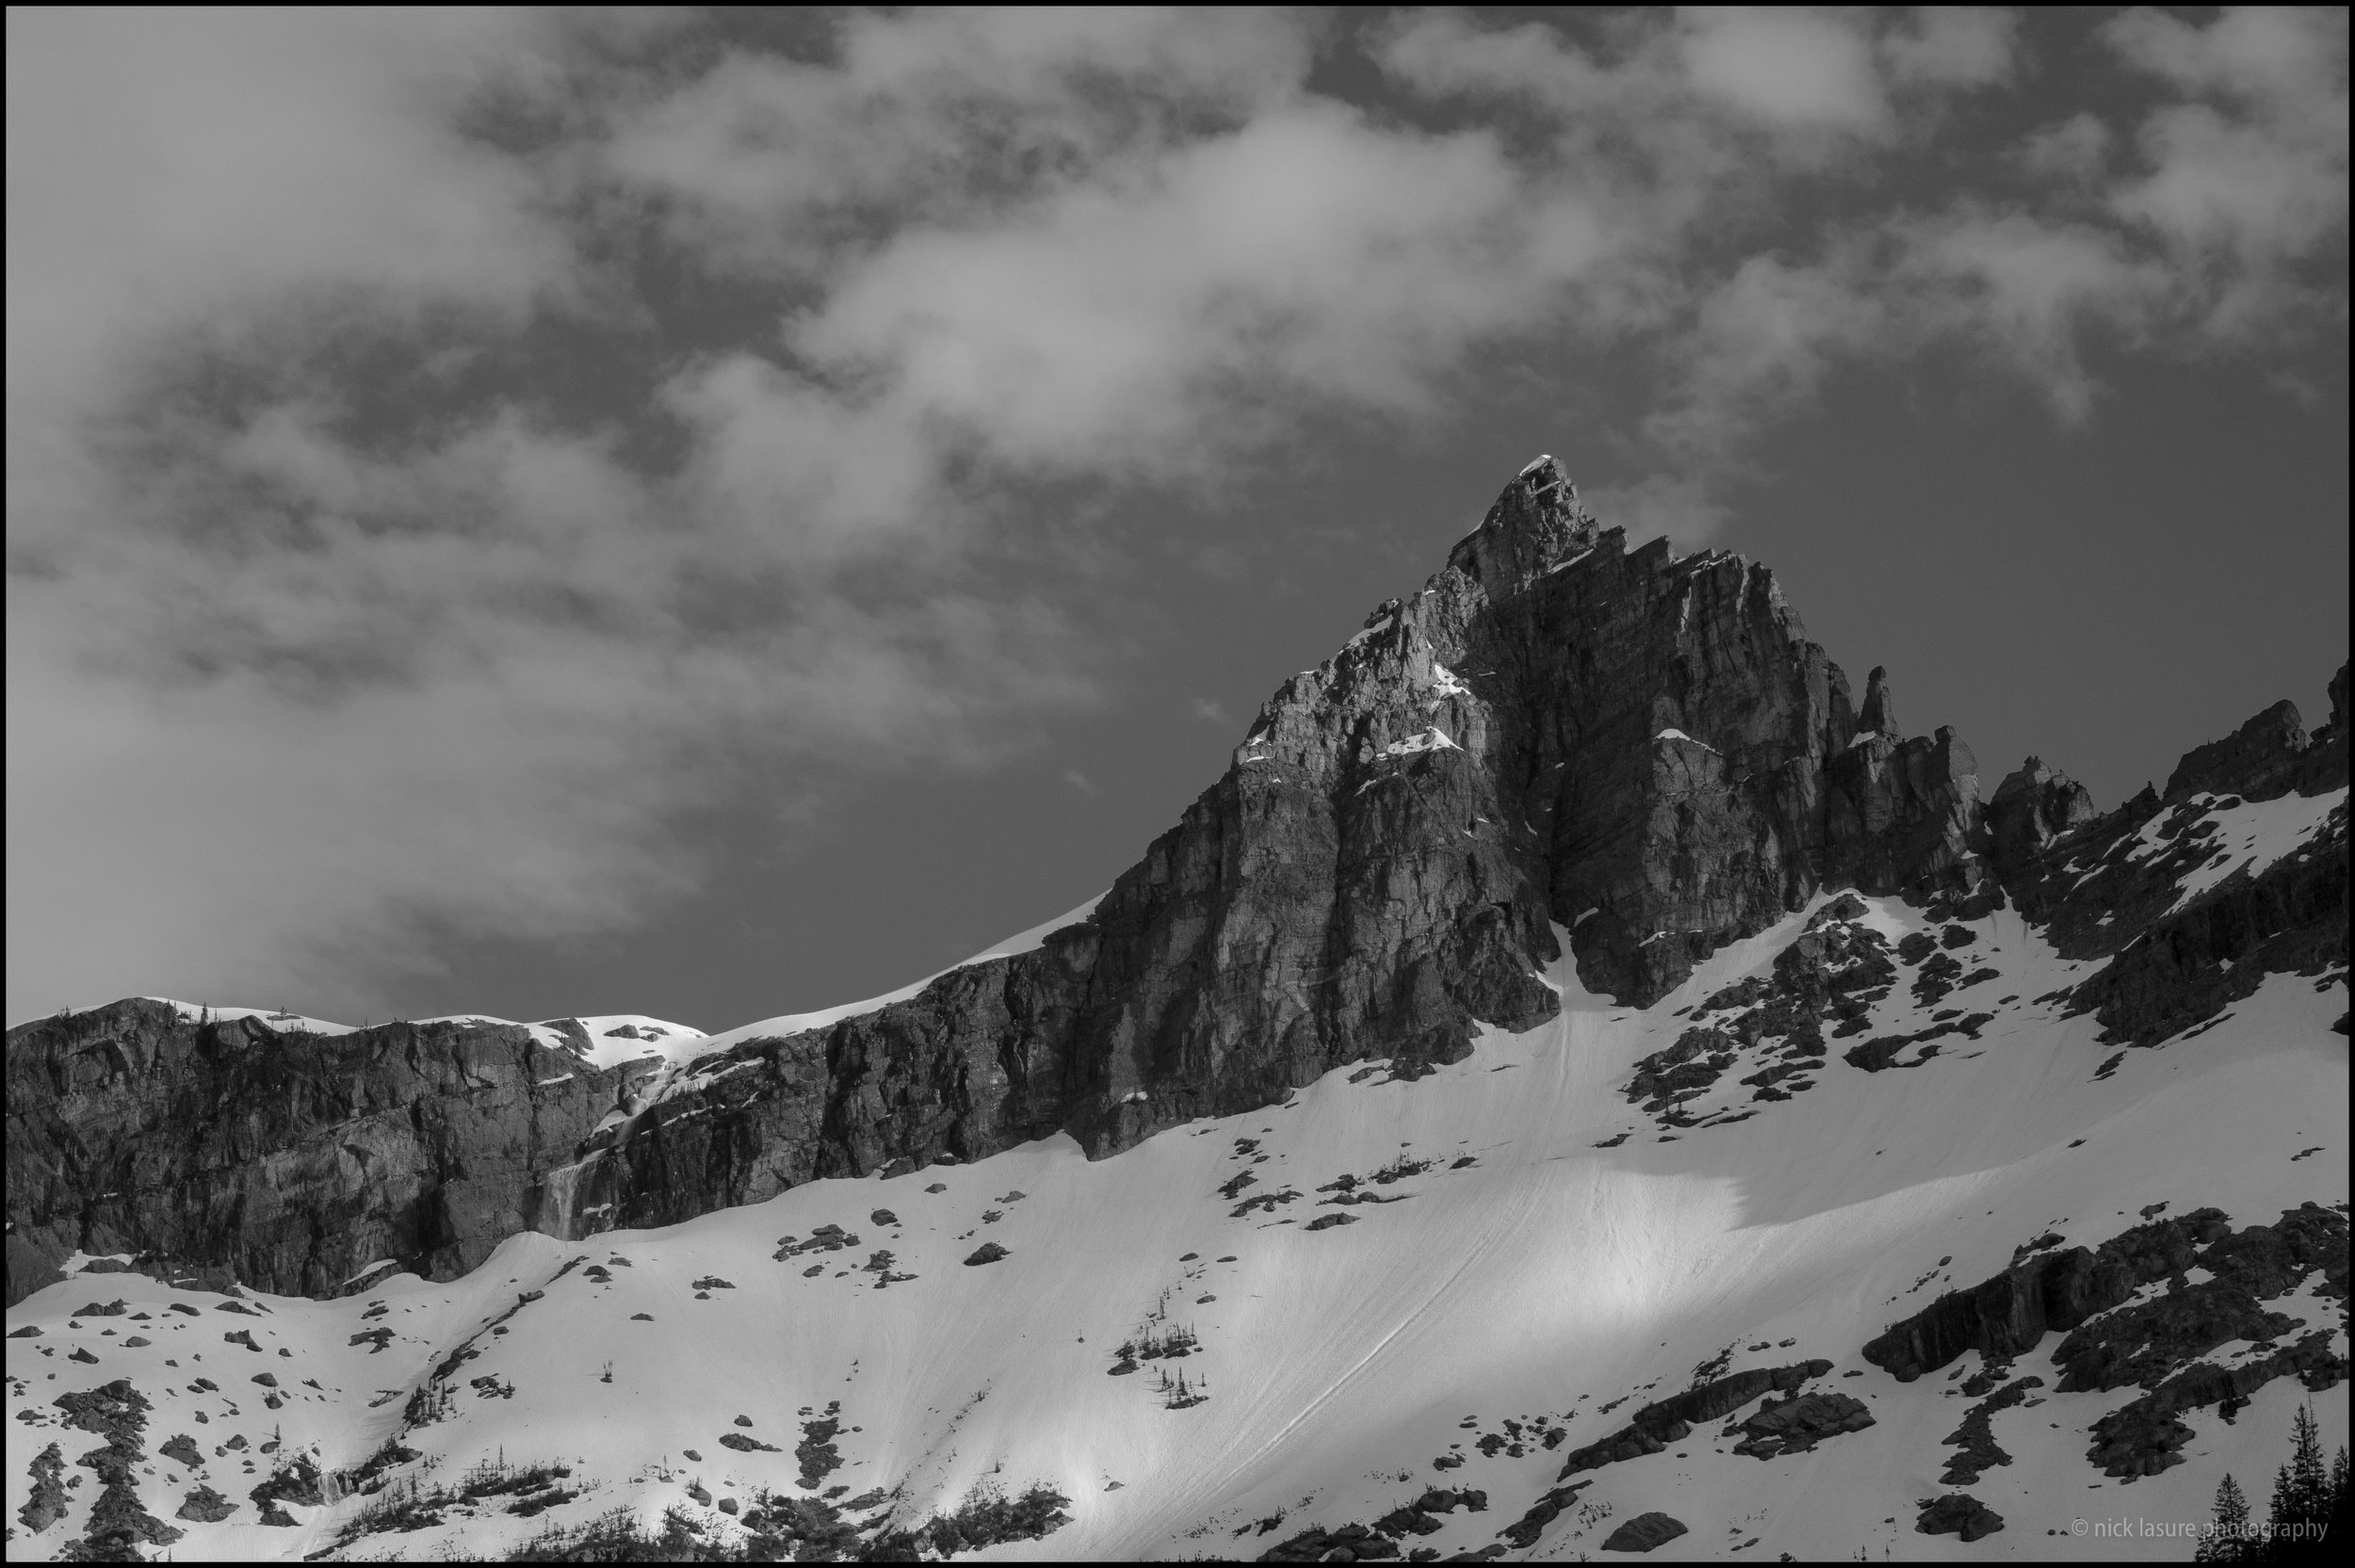
Before/After #2 - This image is from Glacier National Park in Montana. Taken with my old Nikon D300 the original file was a RAW file (NEF) with good exposure. Though I thought it might look better as a black & white image with a few adjustments. So I used the layering/stacking method with the following presets in this order: (1) Base - Monochrome Fantasy (2) Exposure - Less Highlights (5) Polish - Less Contrast (6) Vignette - Subtle Black.
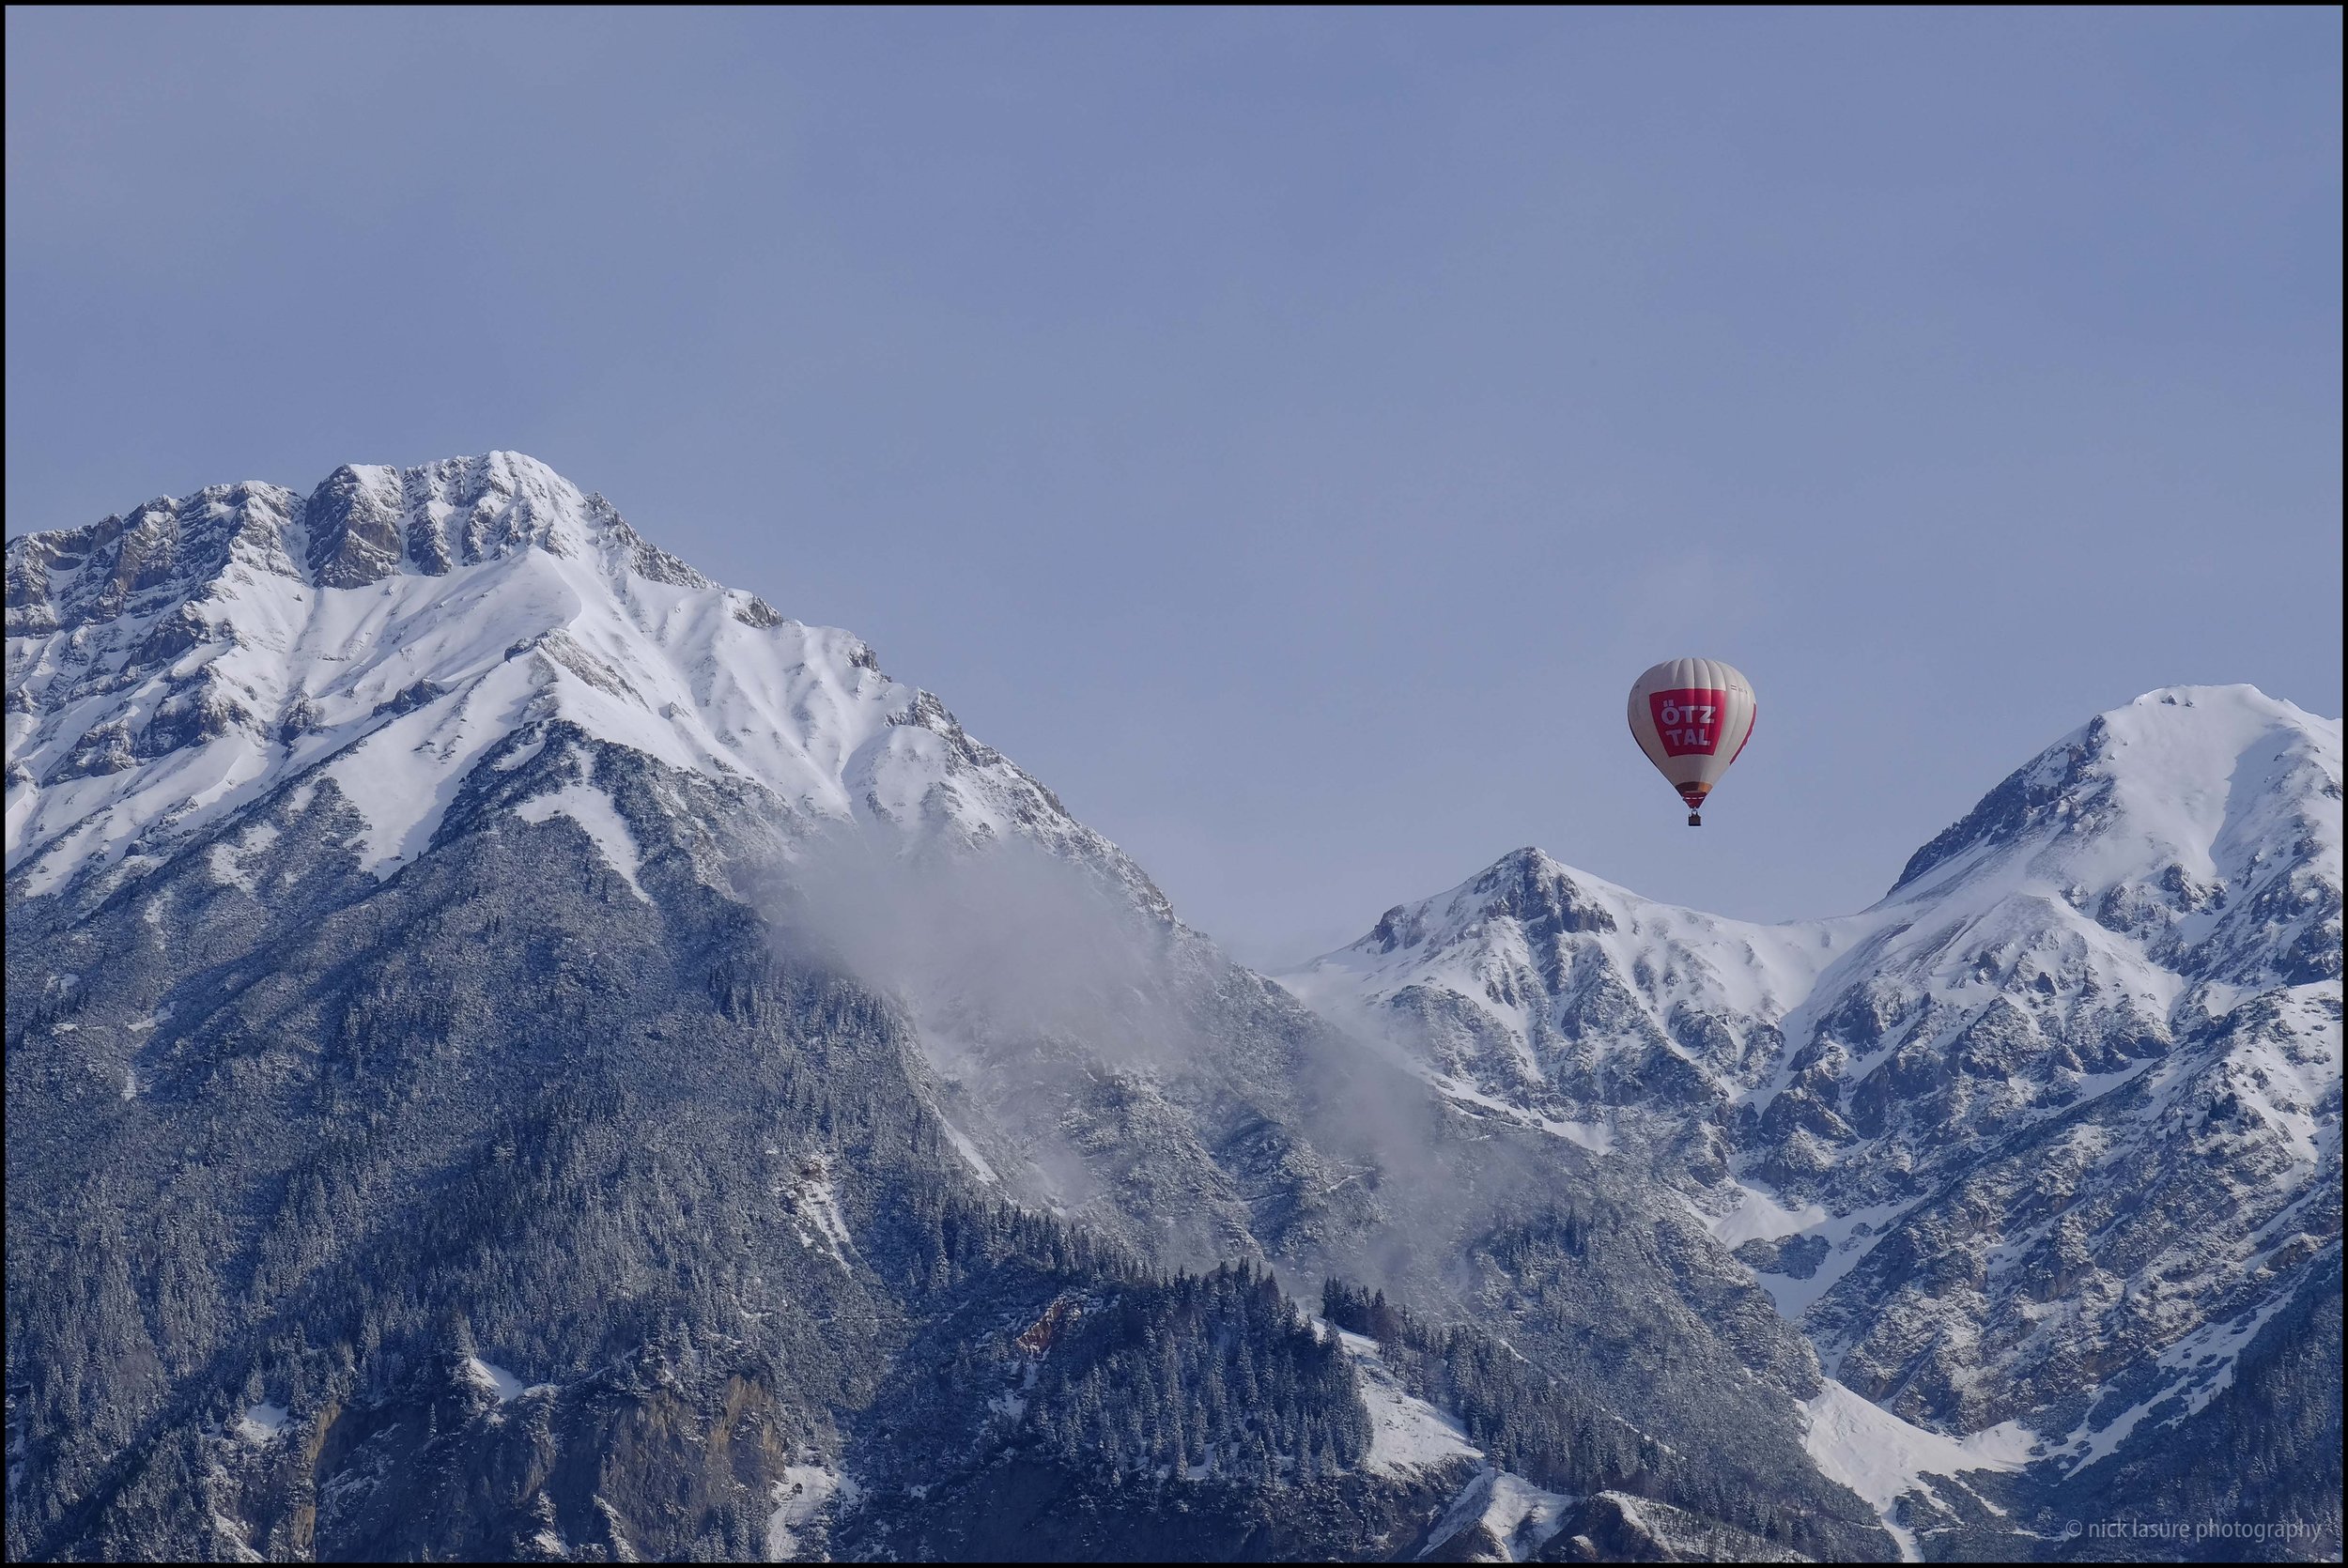
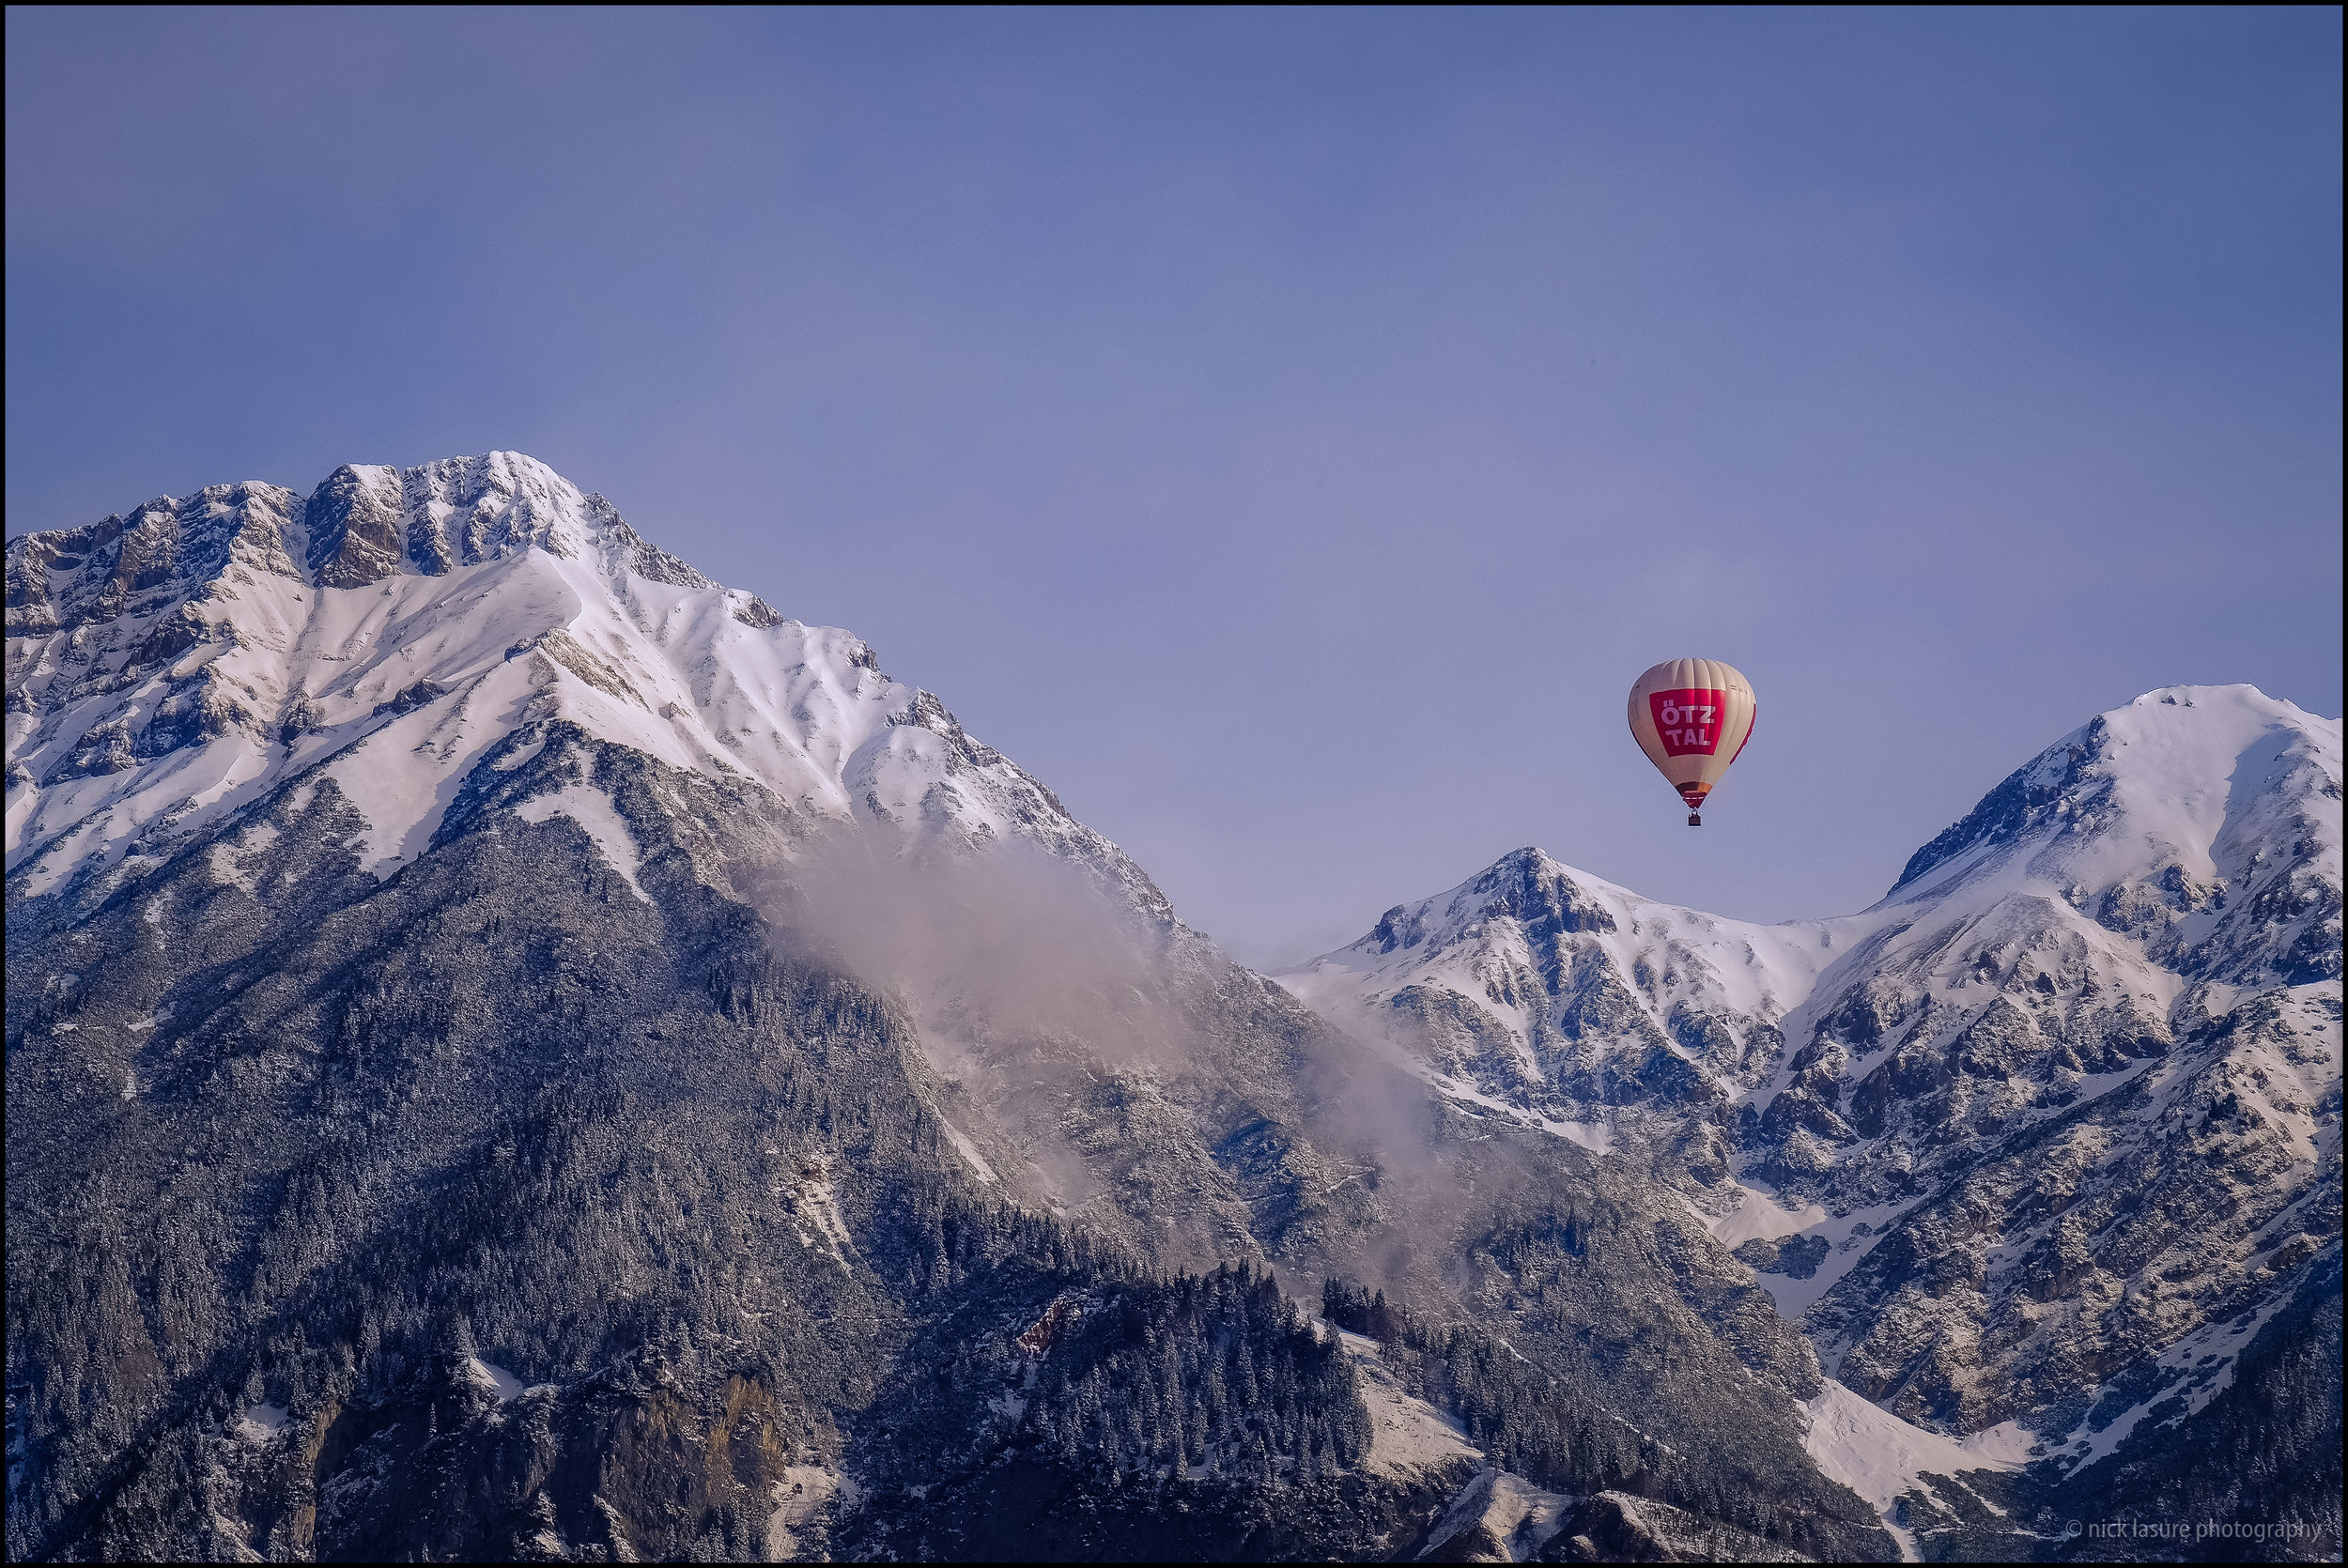
Before/After #3 - The final image was taken from our balcony in Innsbruck, Austria while on holiday. Once again, the first image was well exposed from my Fuji X-T1 and another SOOC JPEG. I utilized the entire suite of options from the 'Through the Woods' landscape preset offering to include local brush adjustment presets. (1) Base - Cinematic (2) Exposure - Less Highlights (3) Color Correct - Reduce Yellows (4) Tone/Tint - Warm (5) Polish - Sharpen (6) Vignette - Subtle Black + Bright Shadows Adjustment Brush on the ballon and Darken Shadows Brush on the mountains.
Conclusion - Presets Worth the Investment?
So in the end are presets like what Sleeklens offer worth your hard earned money? Absolutely, but with a few caveats you should consider.
Preset packages tend to come with lots of looks/options some of which are superfluous or overkill for some photographer's editing needs, this package included. With so much at your fingertips it is easy to over-edit your images or just get lost in the editing process. If you know your way around Lightroom and have your own style chances are flooding your presets menu with more options isn't for you.
That said, presets tend to help photographers develop their style, help work through editing mental blocks and can be useful in learning how to edit as you can see the changes that happen.
While presets can be a dime a dozen the Sleeklens offering is different enough in the building block/layering methodology to offer something unique. While I'll remove certain presets & brush/gradient options I'll definitely keep a lot of it around for future use. If you are in the market for presets I'd definitely give them a solid look.
https://sleeklens.com/product-category/lightroom-presets/
https://sleeklens.com/lightroom-tutorials/
*disclaimer - I did receive the presets free in exchange for an honest review.